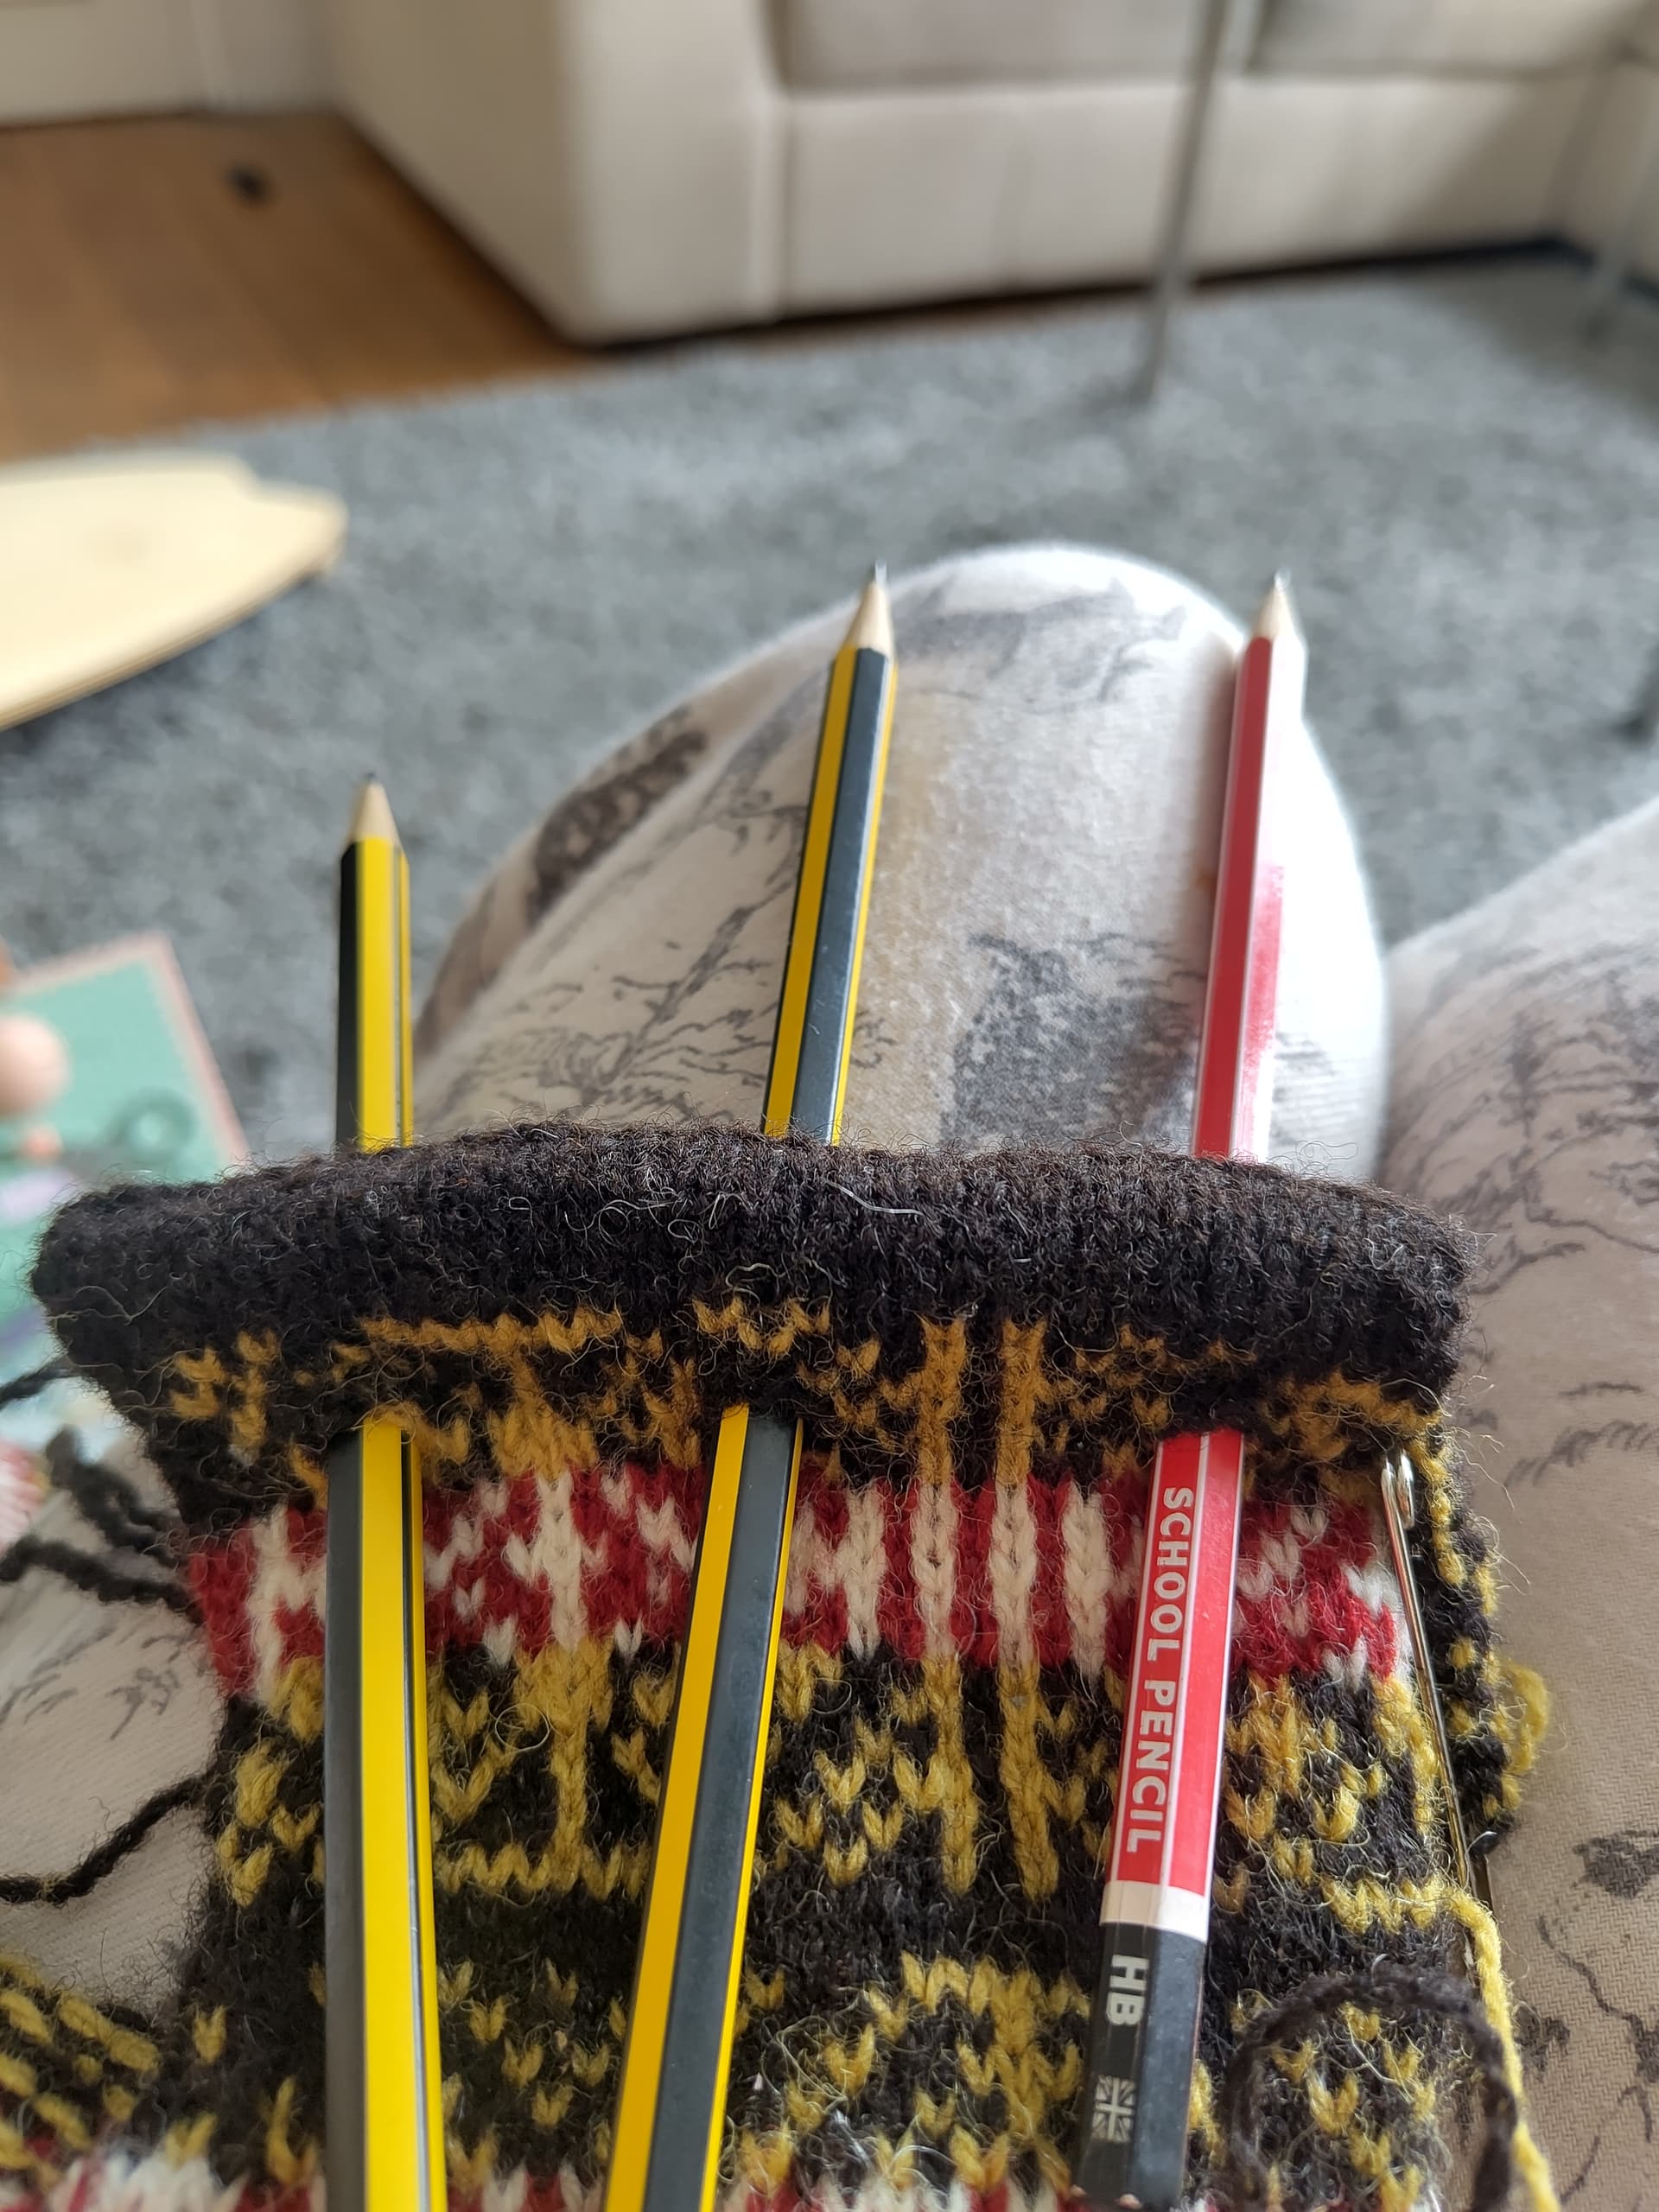
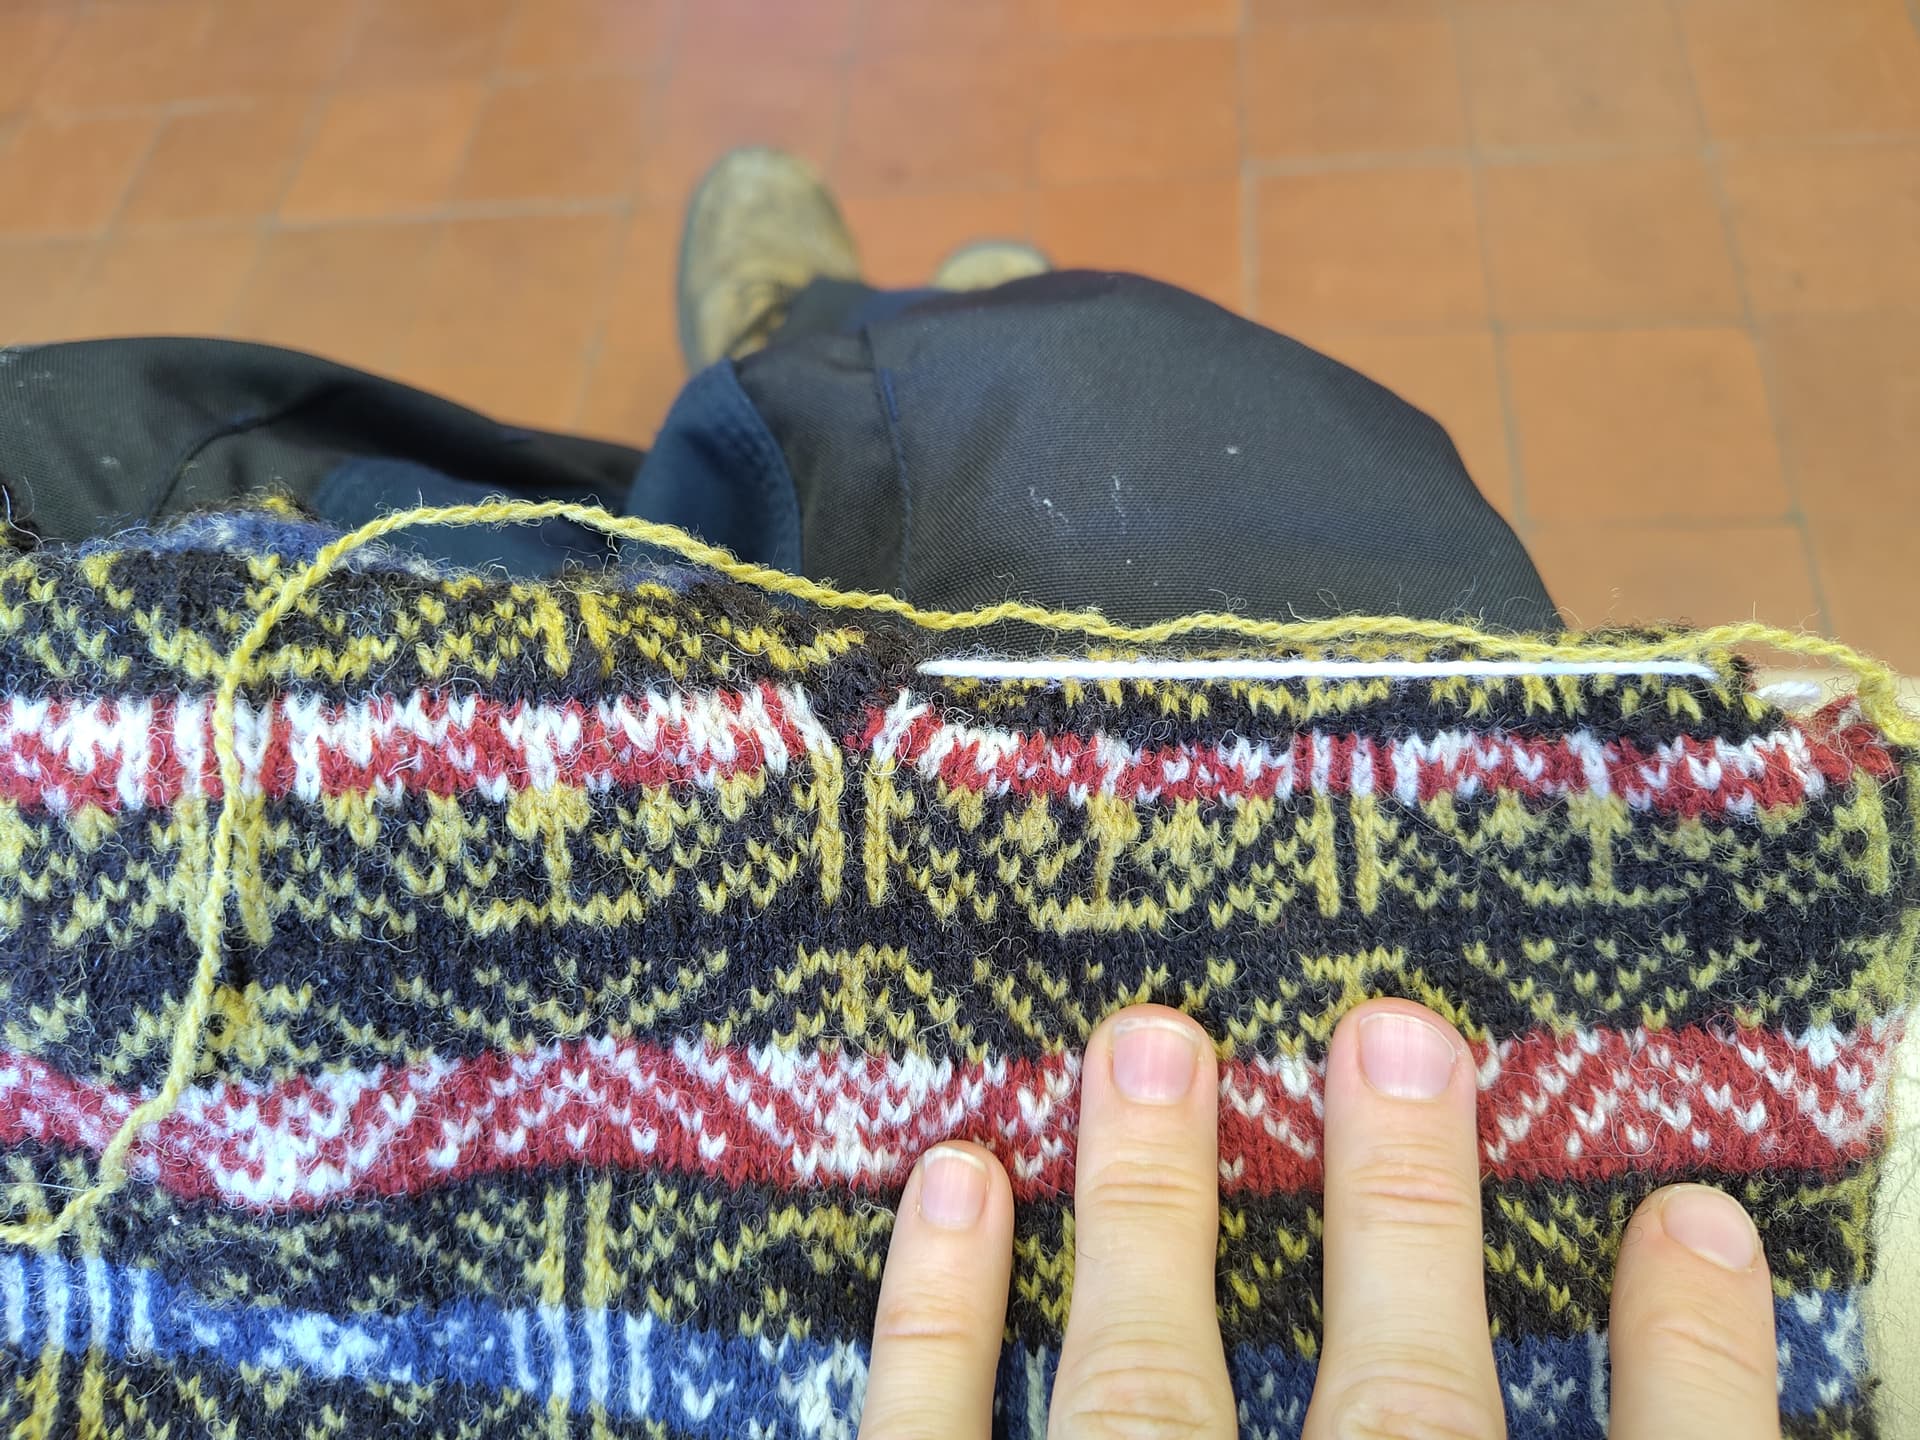
My best effort for aligning the button holes ![]()
3 Likes
Great idea! It may take a few sewing sts to firm up the join of the two sides of the buttonholes so there’s no hunting for the two sides.
There’s at least one project on Ravelry that eliminates the buttonhole/button bands entirely. The neck in that case is stretchy enough without need for the bands.
1 Like
Canted means angled. Some shoulder seams don’t sit on top of the shoulder but slant downward from neck to armhole on the back panel, though the front shoulder may be worked straight across. It gives a nice fit over the top of the shoulder.
1 Like
The neck band does seem overkill - but it’s the (most) traditional pattern in the book according to the author!
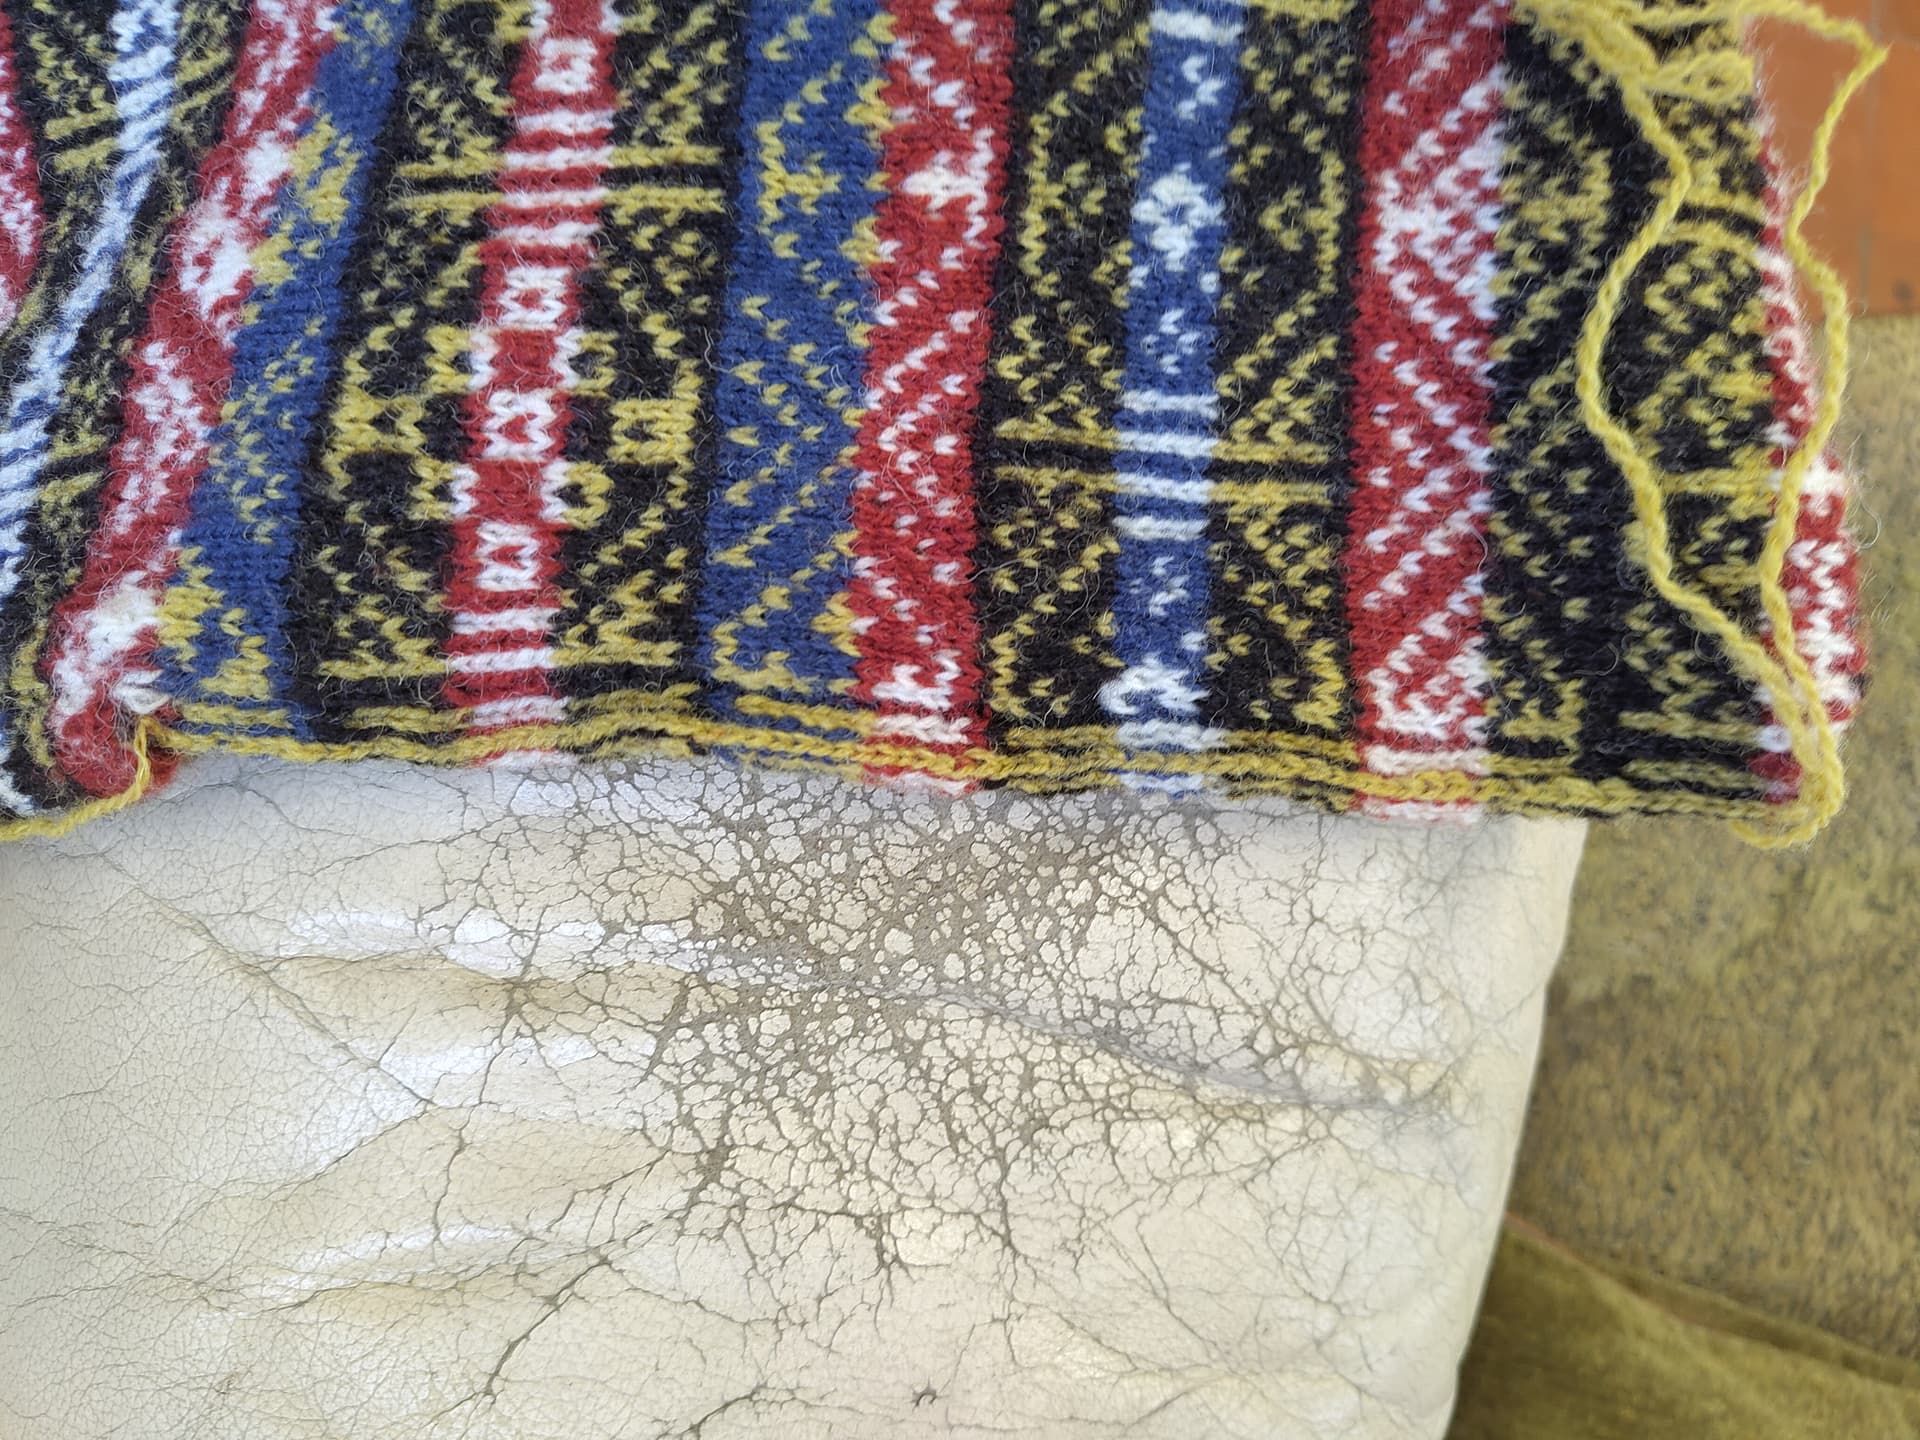
I’m sorry, I’ve not read the post but do have to say your colour work is superb. Your tension is sublime!
xx
1 Like
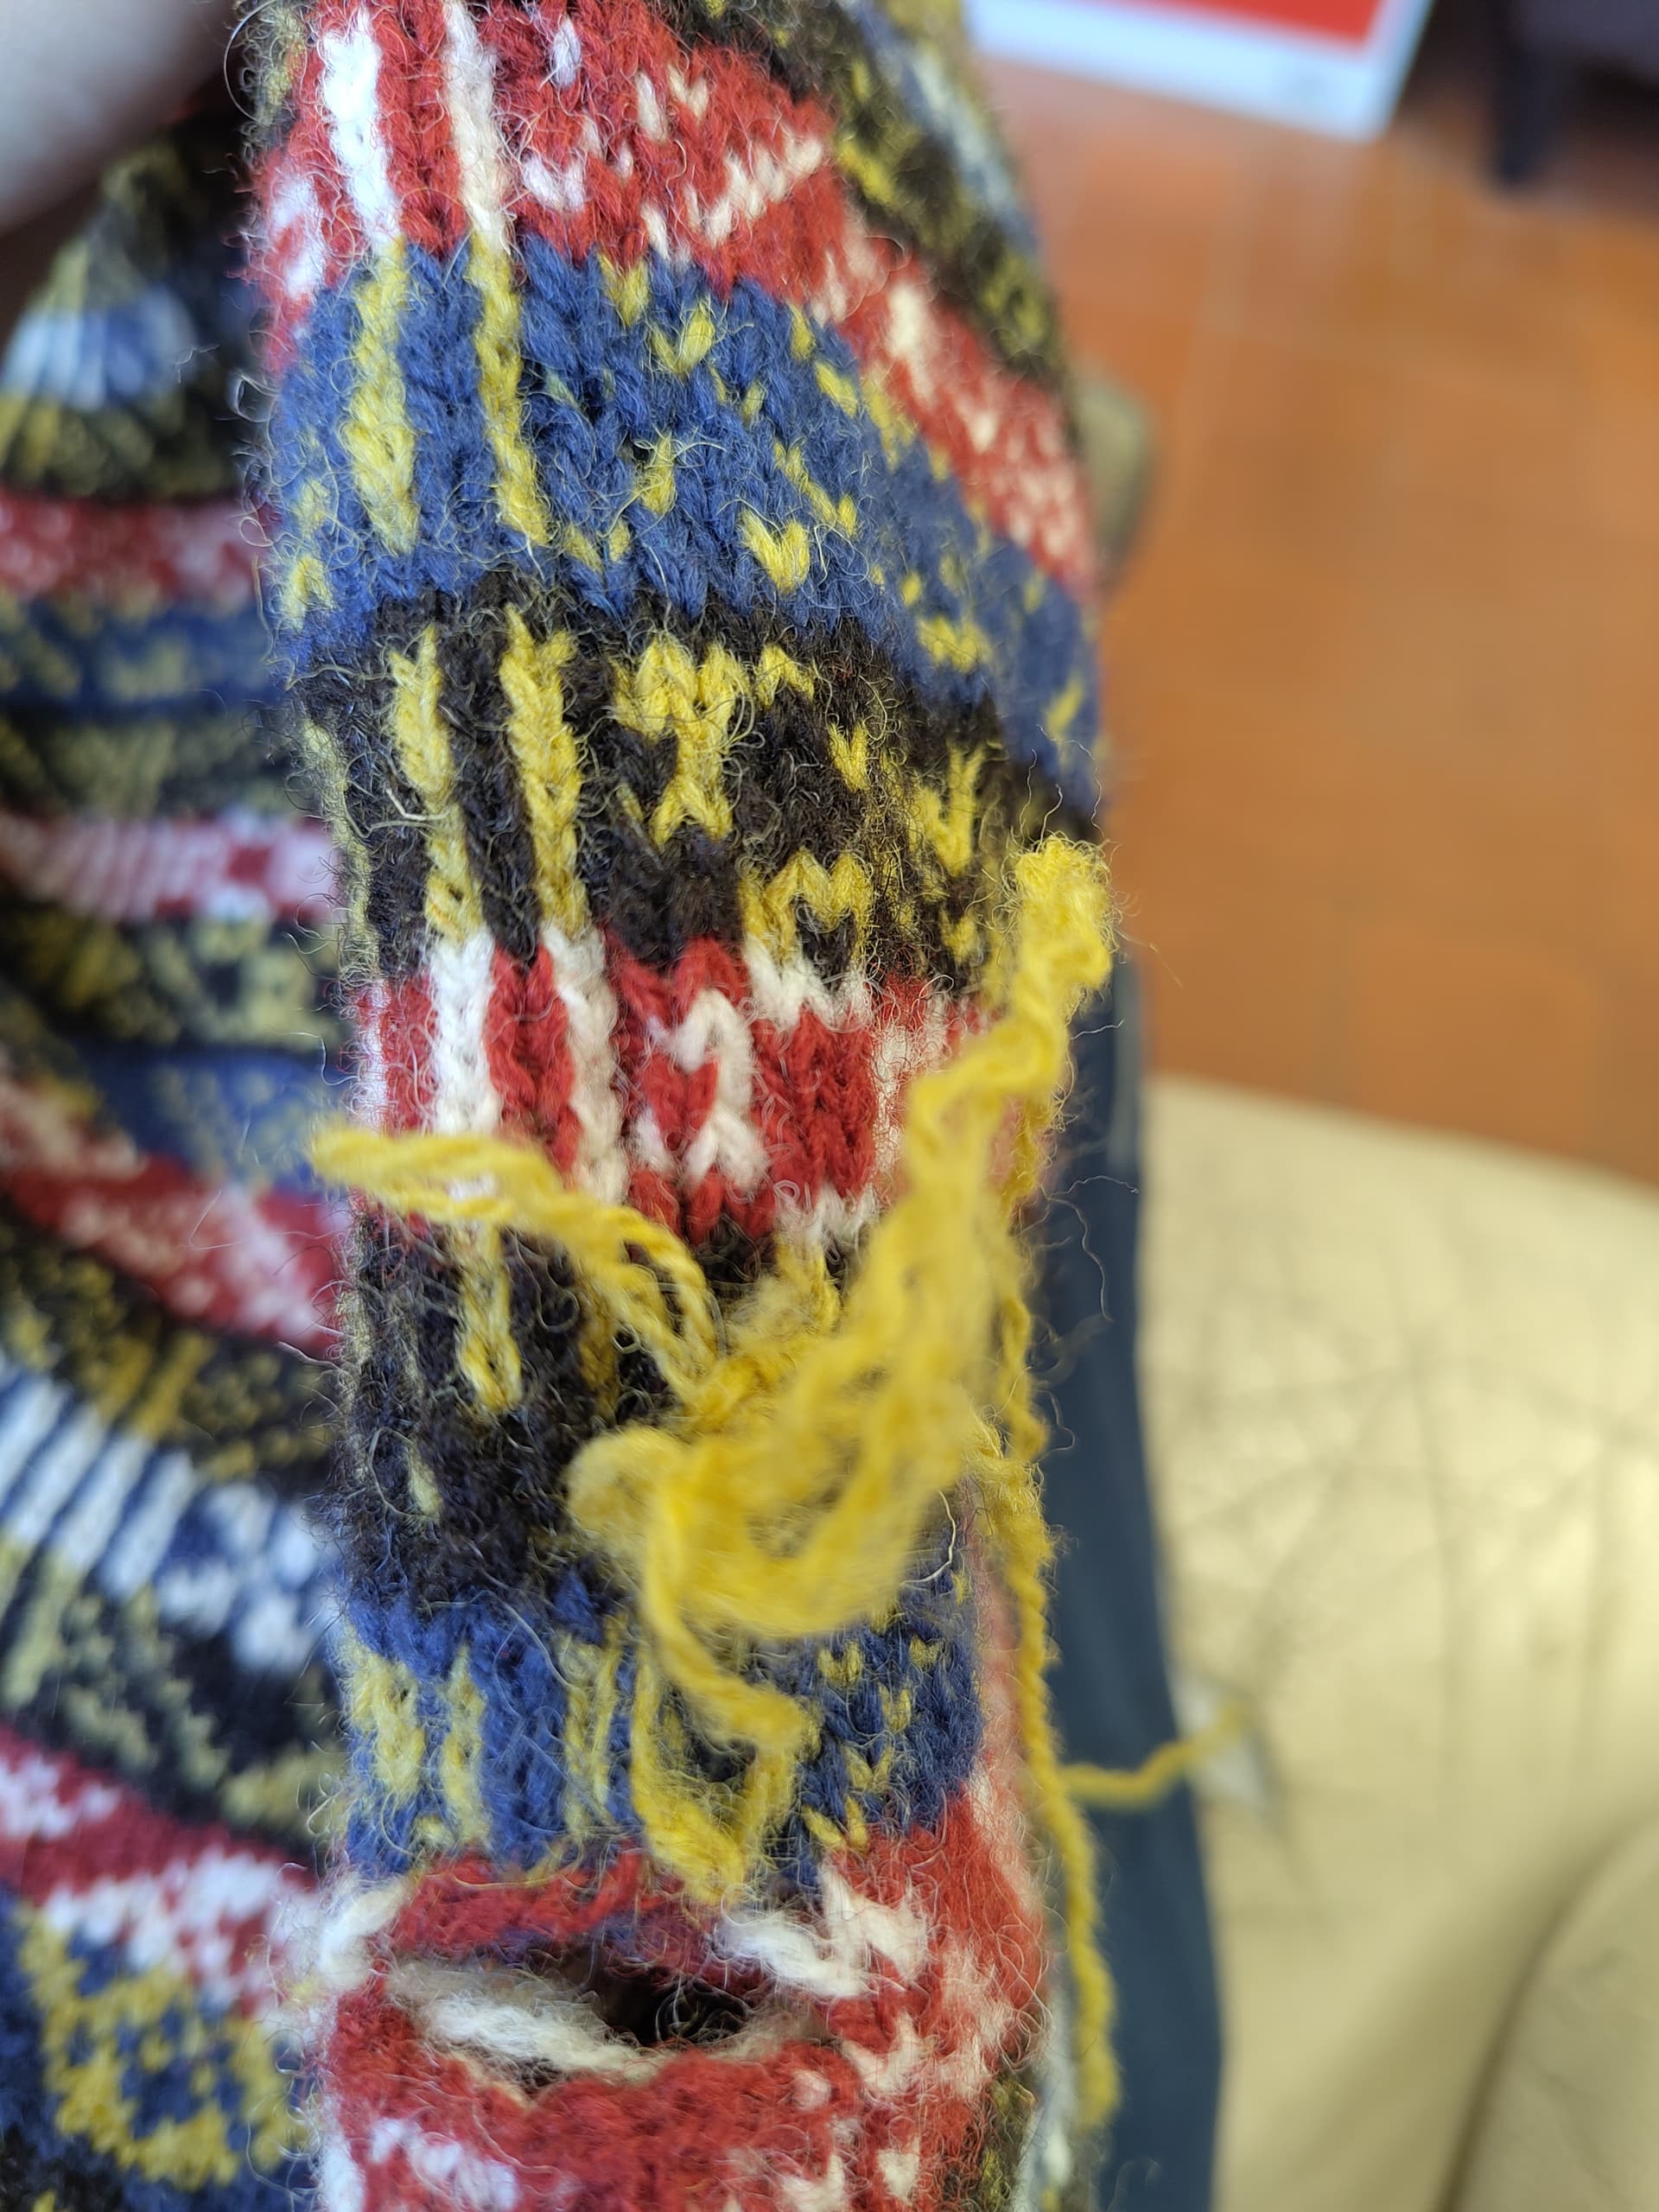
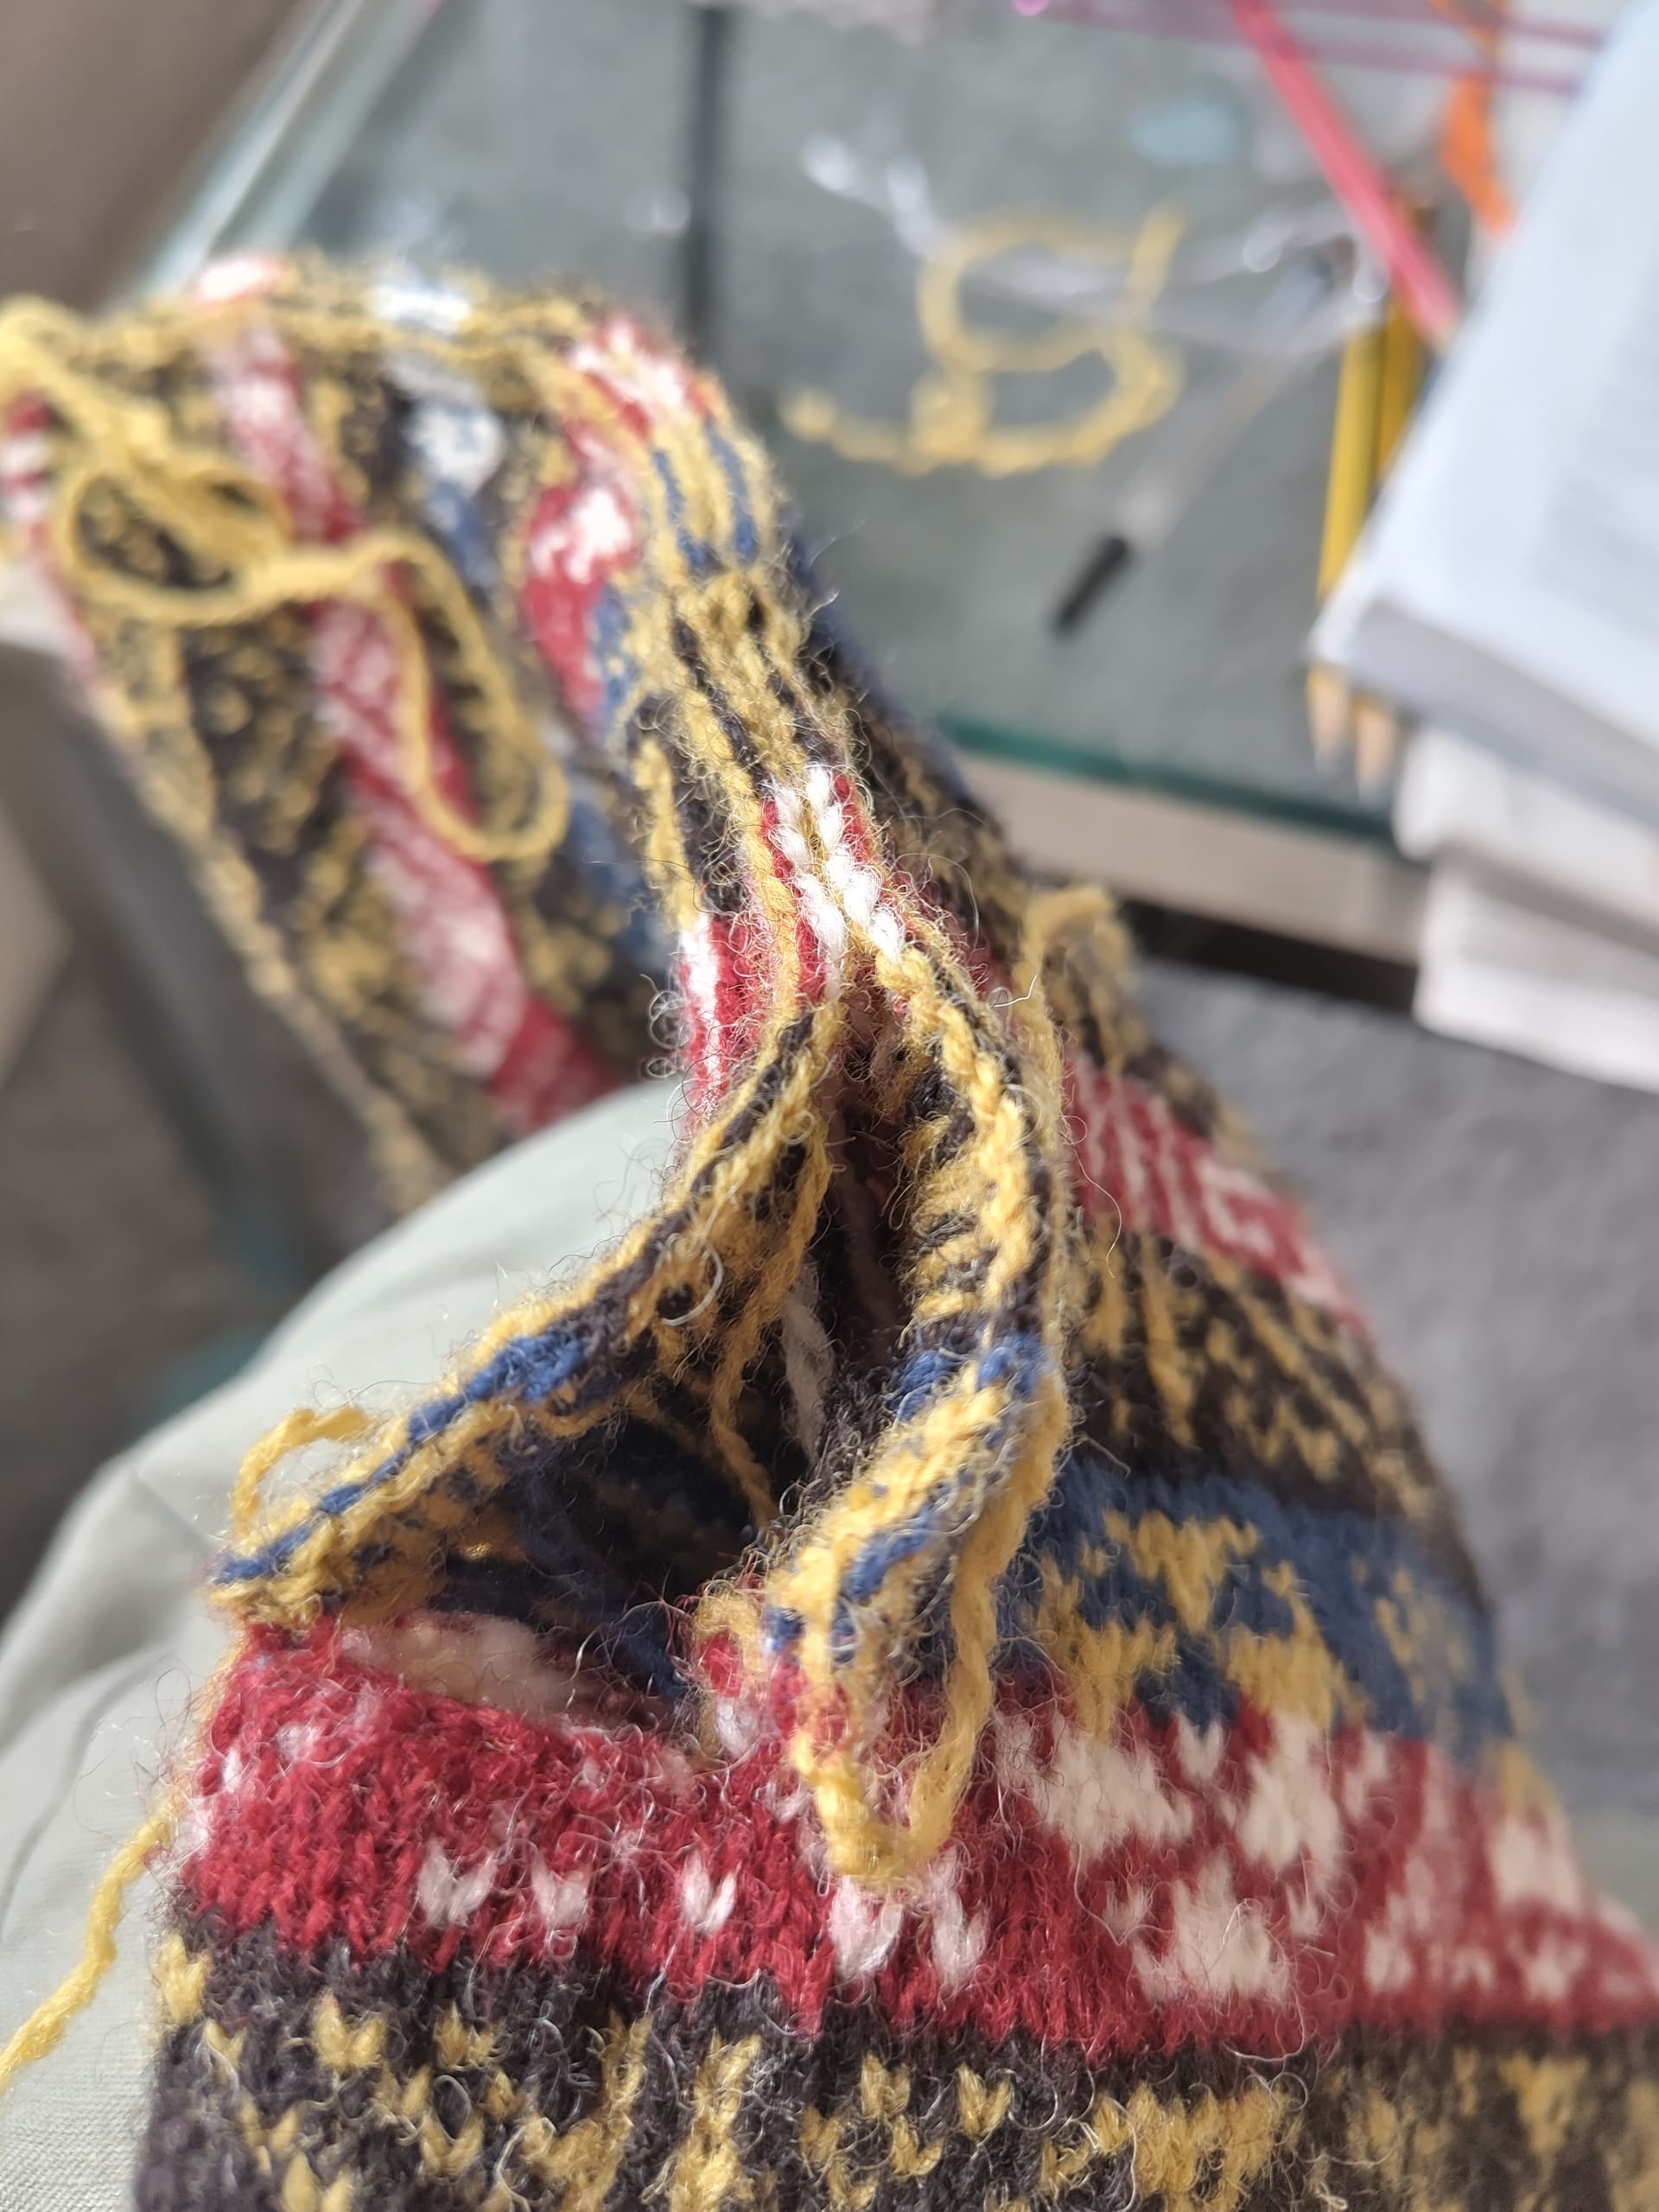
And I’ve finished the first steek crochet columns but I also made a big error on the other one and have unravelled quite a bit of colour work having broken a strand of gold (oh no!!!)
1 Like
Thank you! I really appreciate the support from this community ![]()
It looks great! Those steeks. Good for you for persisting with them. It’ll be worth it for this beautiful sweater.
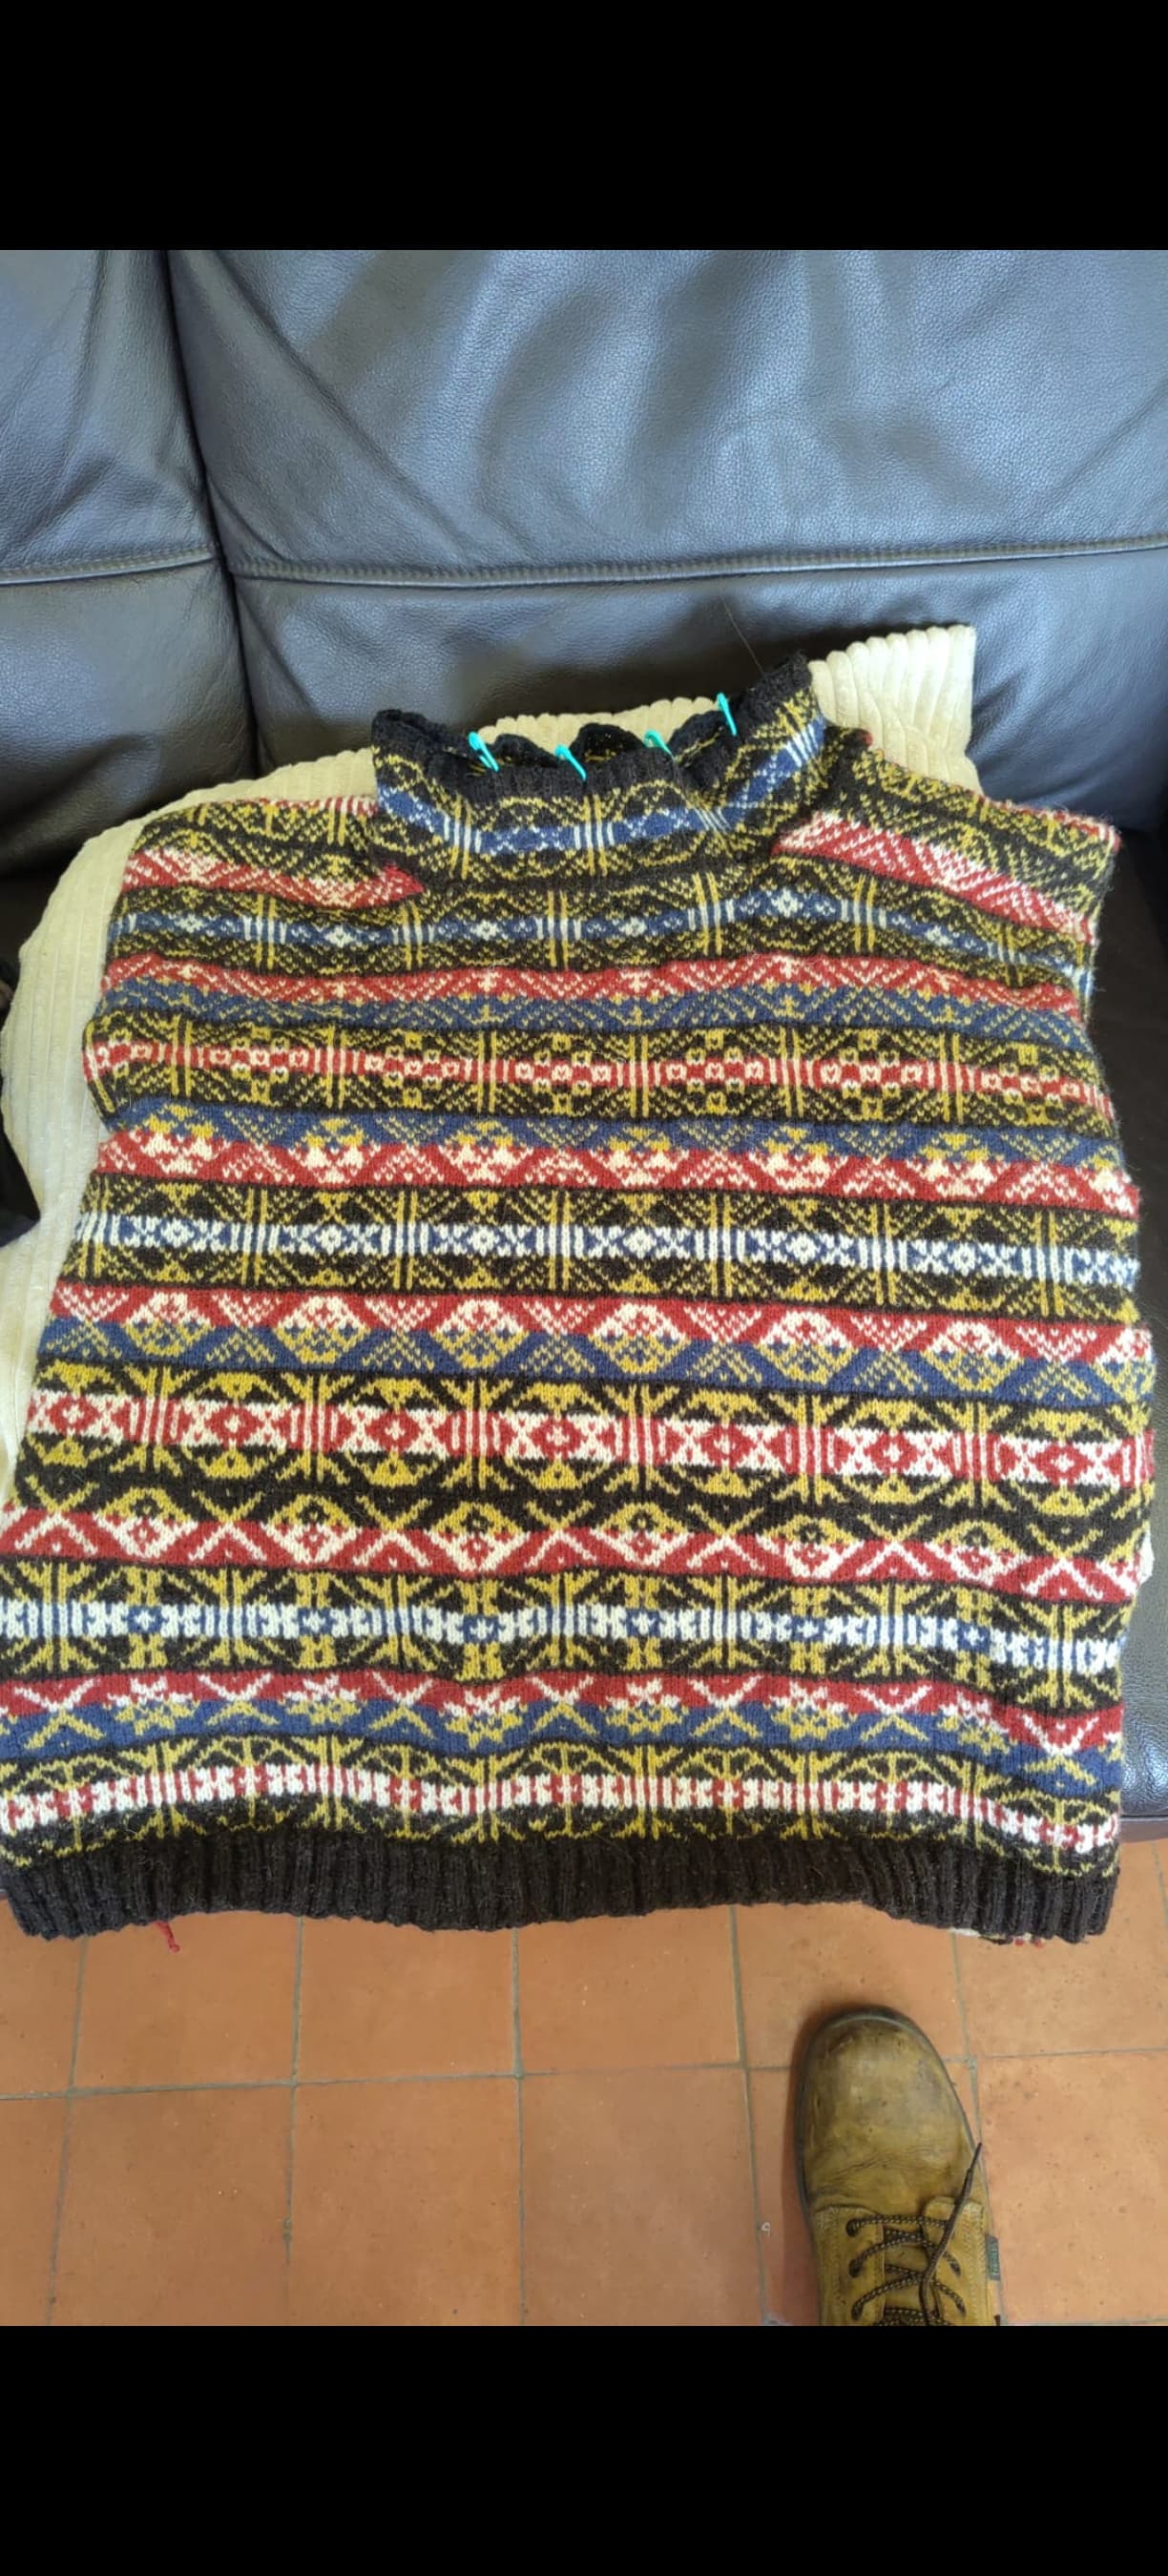
This looks super. Do we get a pic of the back too?
Steeks sound scary to me, good on you for taking on the challenge. The other side isn’t ruined is it?
Back, doesn’t look great at the moment because I have safety pins where the buttonholes are on the shoulder flap.

Q
1 Like
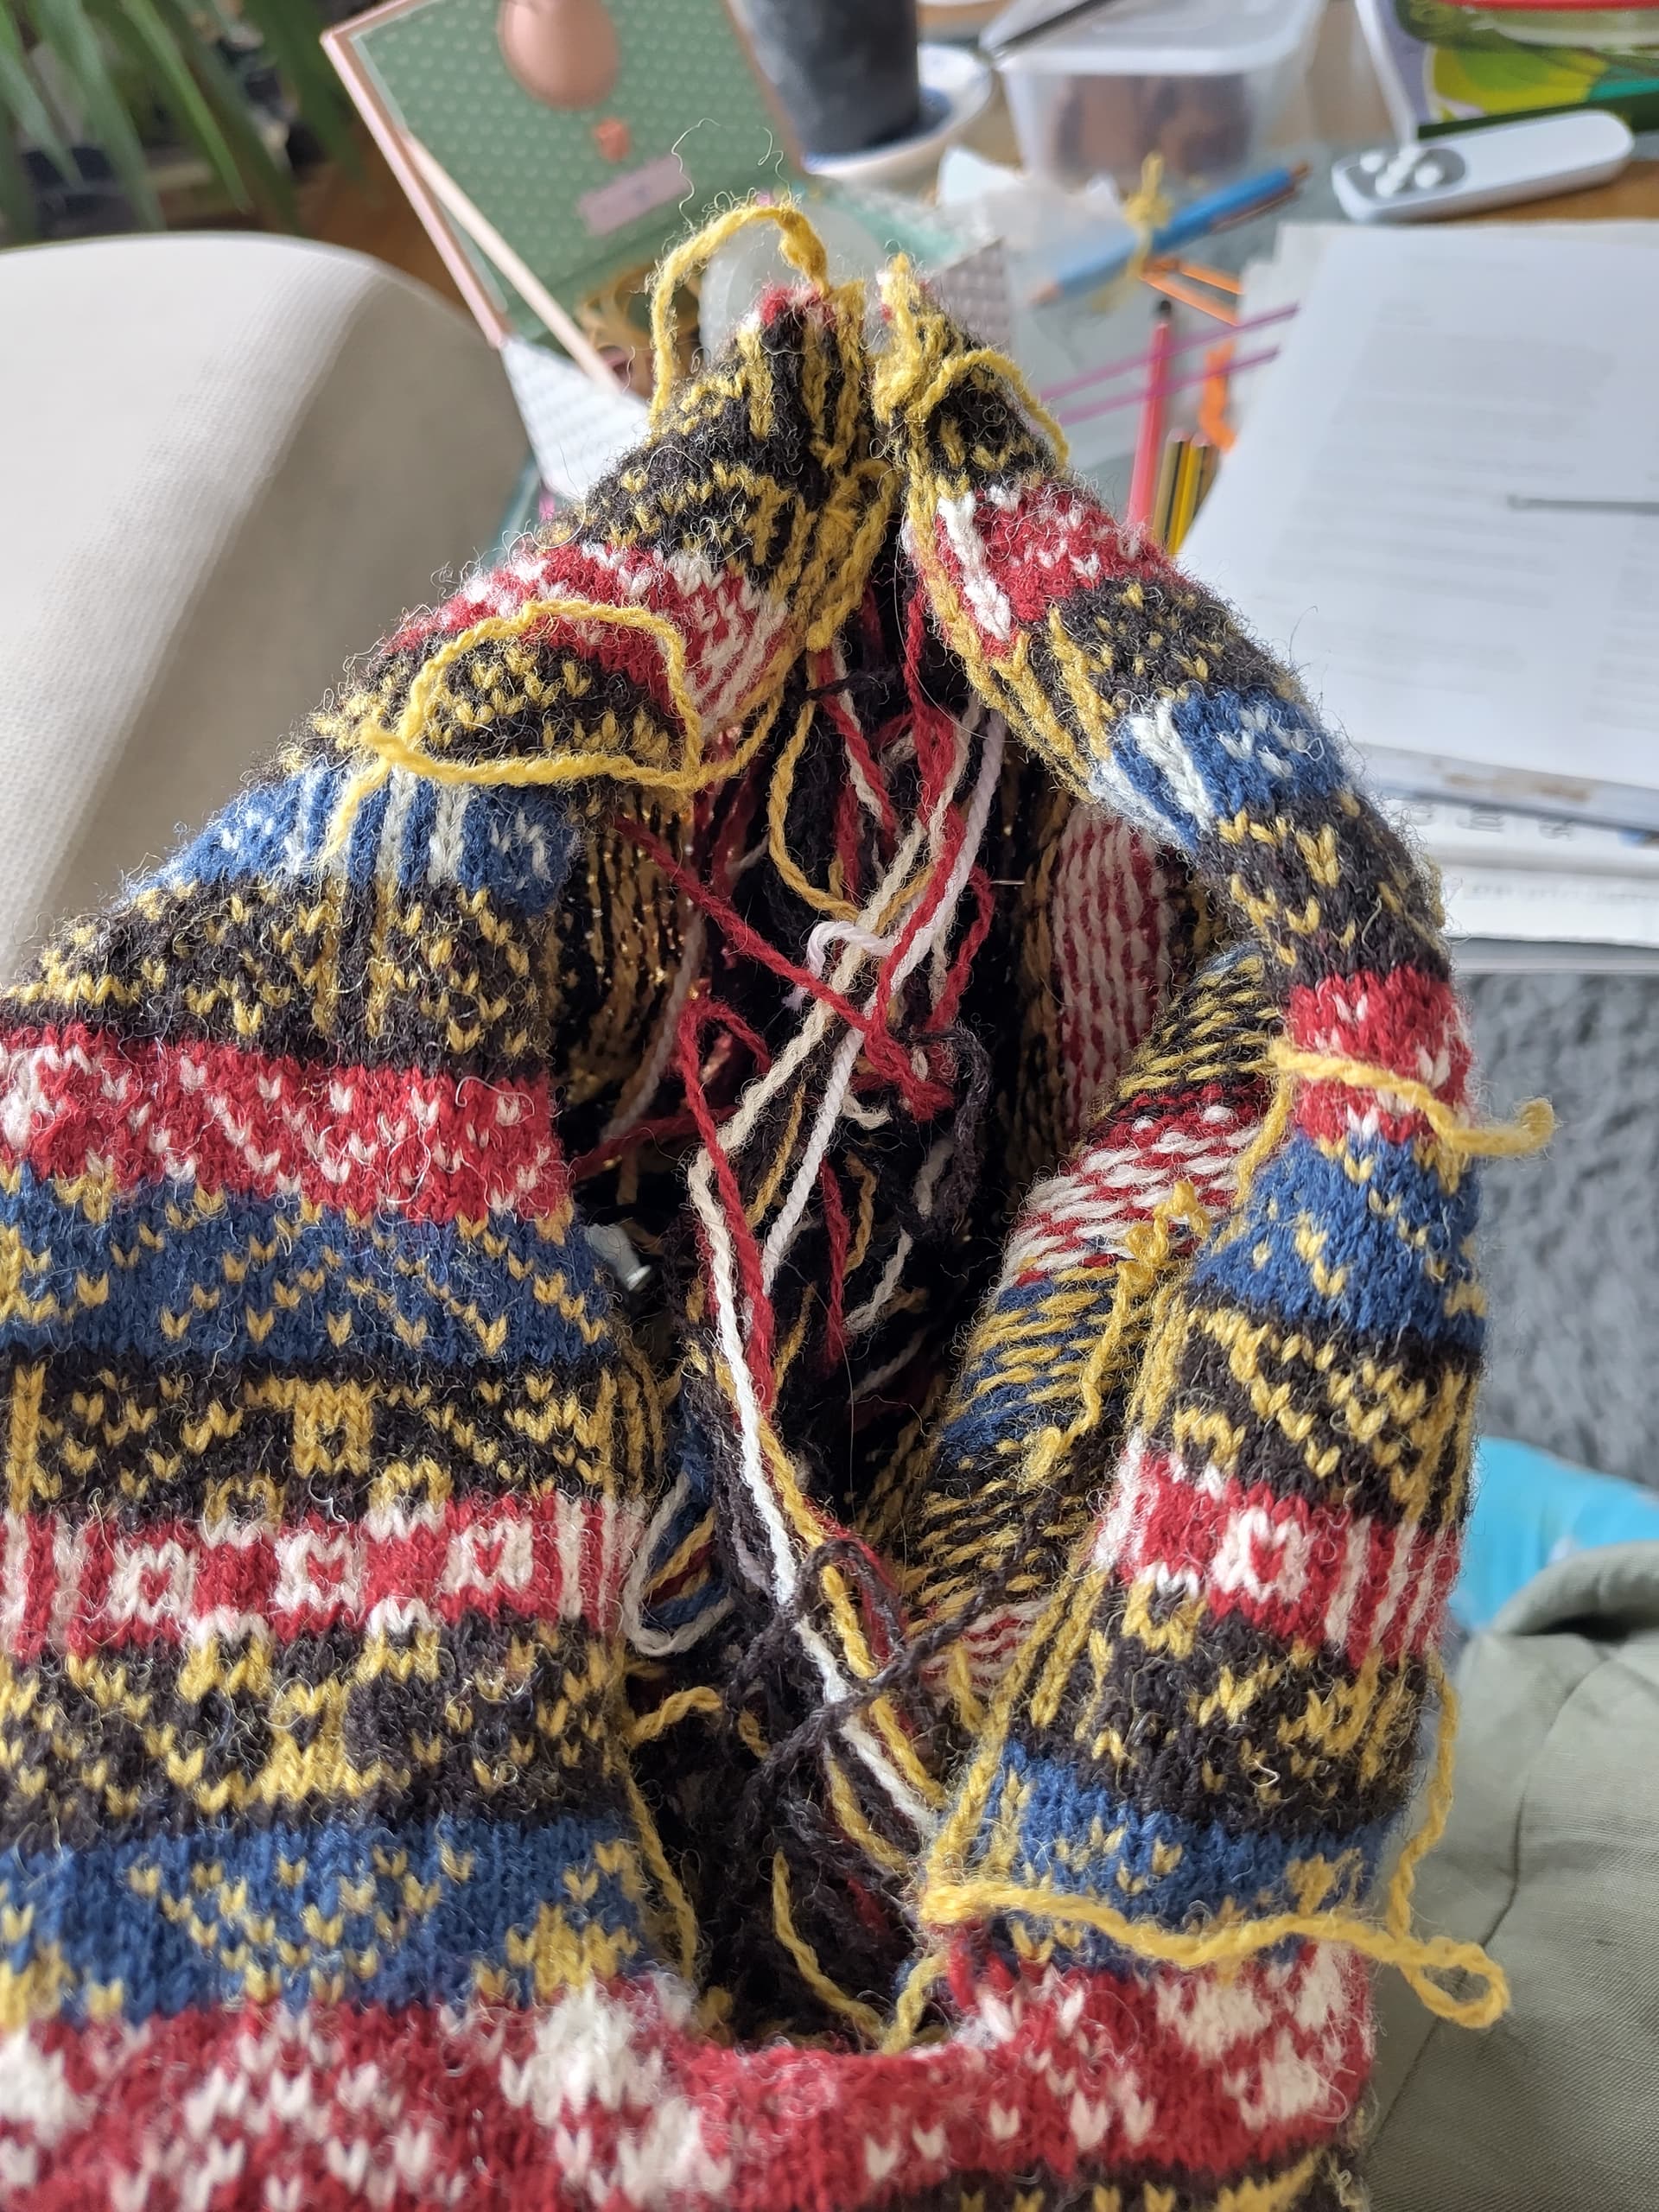
The other steek… I got a few slips/chains in and then panicked - the stitches are very teeny and tight and I forgot how to crochet so I got into a pickle and tried to reverse what I’d done and all of a sudden lots of knit stitches has become loose stitches! I’ve tied the loose stitches with waste yarn to stop any further unravelling for now!
Looks great. The red pattern section looks really good to me, I’m looking at the right shoulder as the left has its pins in. It visually makes sense, I think if it hadn’t been there, or had been a band of black, it would have looked out of place with the rest of the back. Although it’s an incomplete pattern we are used to seeing this sort of incompleteness on most clothing where seams are placed so it looks normal to me.
It’s stunning.
1 Like
I agree! Thanks for the advice on that. It keeps in pattern with the back of the neck too. Otherwise it would also be very unclear where the shoulder would sit too.
2 Likes
I like a sewing stitch on the steeks insead of or in addition to the crochet chain. Using wool, it seems to work well even on children’s sweaters.
There’s often a hiccup at the end but you’re almost there!
1 Like
Well, I’ve gone over the messed up chain with another chain. Are you suggested I also oversew the mistake with a back stitch?
Just to make sure. If you think you’ve got all the sts secure then it’s probably not necessary. The stitching has less give than the crochet chain so it’s a trade off.
1 Like
I was wondering if I need to double check I’ve reinforced all the cut steel chains but I’m about to pick up stitches for grafting the arms - I read online that picking up stitches a few rows apart acts as a natural steek reinforcement… Is this true?