I’m following a Leisure Art pattern for Alluring Fisherman Blanket. The cable stitch is described as; skip next 2 sts, work FPDC in 3rd and 4th sts, working in front of FPDC just made, work FPDC in 2nd skipped st ,and FPDC in 1st. That is the easy part, but the return row simply says to do 4 BPDC in these sts, which makes this cable look like twisted yarn. I’ve never made a cable stitch like this. Any suggestions would be helpful.
Welcome to KH! I think this is your pattern.
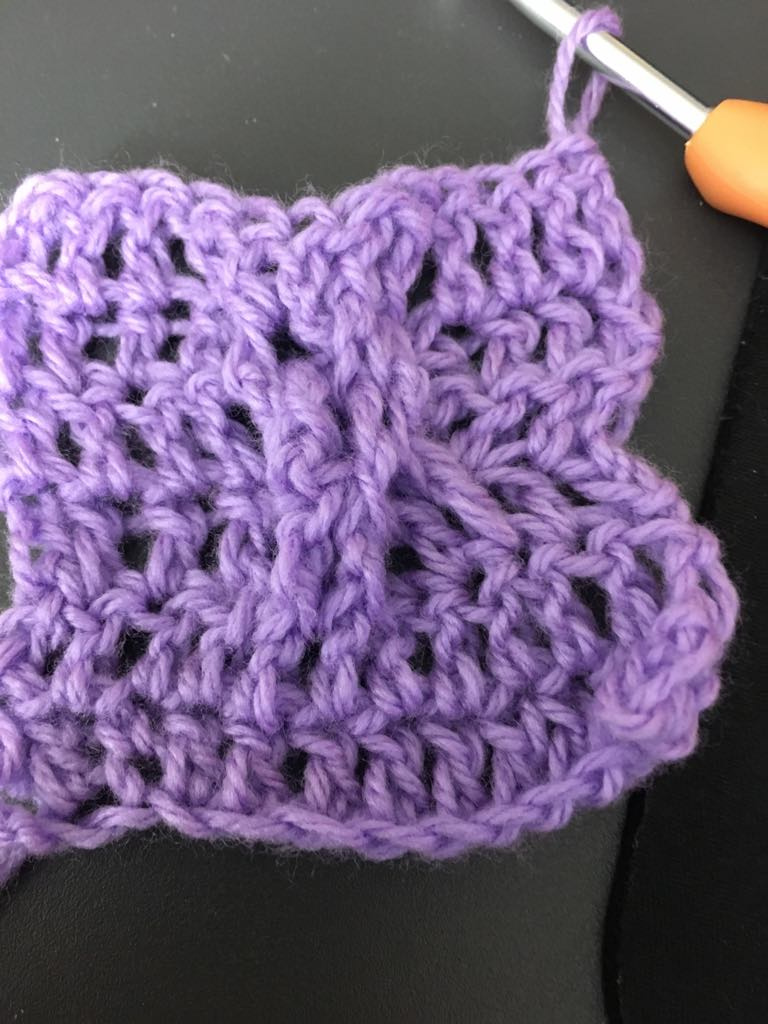
This photo is from a project page. Leisure Arts photos tend to not show detail well IME. Maybe seeing the results someone else got will help.

I think you need to work the post stitches as indicated to get the look in the photo above. The best I can tell from the LA photo this one is right.
1 Like
Thank you so much for getting back to me. This is indeed the bad boy I’ve been fretting over. I’m going to keep trying, but my cables look more inverted than puffy. Obviously my technique is way off, so I’m going to practice more.
Could you post a photo of your work showing the problem? On the next row are you doing back post dc into (around?) the front post dc on the previous row? I’m thinking that bpdc should put all the raised stitches on the RS of the work.
I’ve not done cables like this before, just the ones worked on the RS only. I can’t find a video for even just alternating fpdc with bpdc on the WS. I’d give it a go but my wrist screams when I do post stitches.
1 Like
I’m so rubbish with crochet that I shouldn’t offer any advice at all… however you said the cable looked inverted rather than puffy and the pattern pic seems to have a bobble sort of thing, is it possible you just need to push the stitches through so they are puffing on the right side? Maybe you did the stitch correctly but the fabric just needs some manipulation?
Anyway, hope you manage to resolve this.
This is a fairly standard crochet cable pattern, although it’s maybe not as clear as those with a little more space between the twists. Are you possibly confusing FPDC and BPDC? That would put the cables on the wrong side. I’ve done this inadvertently myself.
Just to be sure:
FPDC–insert hook from front, across behind the post of the stitch you’re working into, then out again.
BPDC–insert hook from back, across in front of the post of the stitch you’re working into, then out again. I find I have to tilt the work towards me when working BPDC, so I can see what I’m doing.
If you’re doing these correctly, then possibly as @Creations says they just need to be poked through to the right side. I sometimes have to do this with popcorns as well.
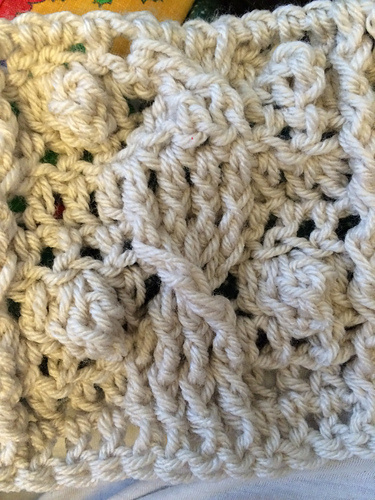
Here’s a good pic of the cables from a Ravelry project (boy, the LA photo is very blurry!):

This person says she did Trebles for the crosses, which is also common, because they need a bit more length to go on the diagonal. Maybe that would help? FPTR on the right side, BPDC on the back?
1 Like
I’m so grateful for your help. I’m trying to post a picture of the mess I’m making. I have searched online for videos and tutorials for cables over 4 stitches using the FPDC. There is nothing I can find. When I do the return BP it seems to twist in a peculiar way, also puckers and pulls the project inward. I know I’m doing something wrong, just don’t know what.!

I’m not claiming I know anything and could well be wrong but it looks like your cable stitches worked with fpdc aren’t crossed correctly.
1 Like
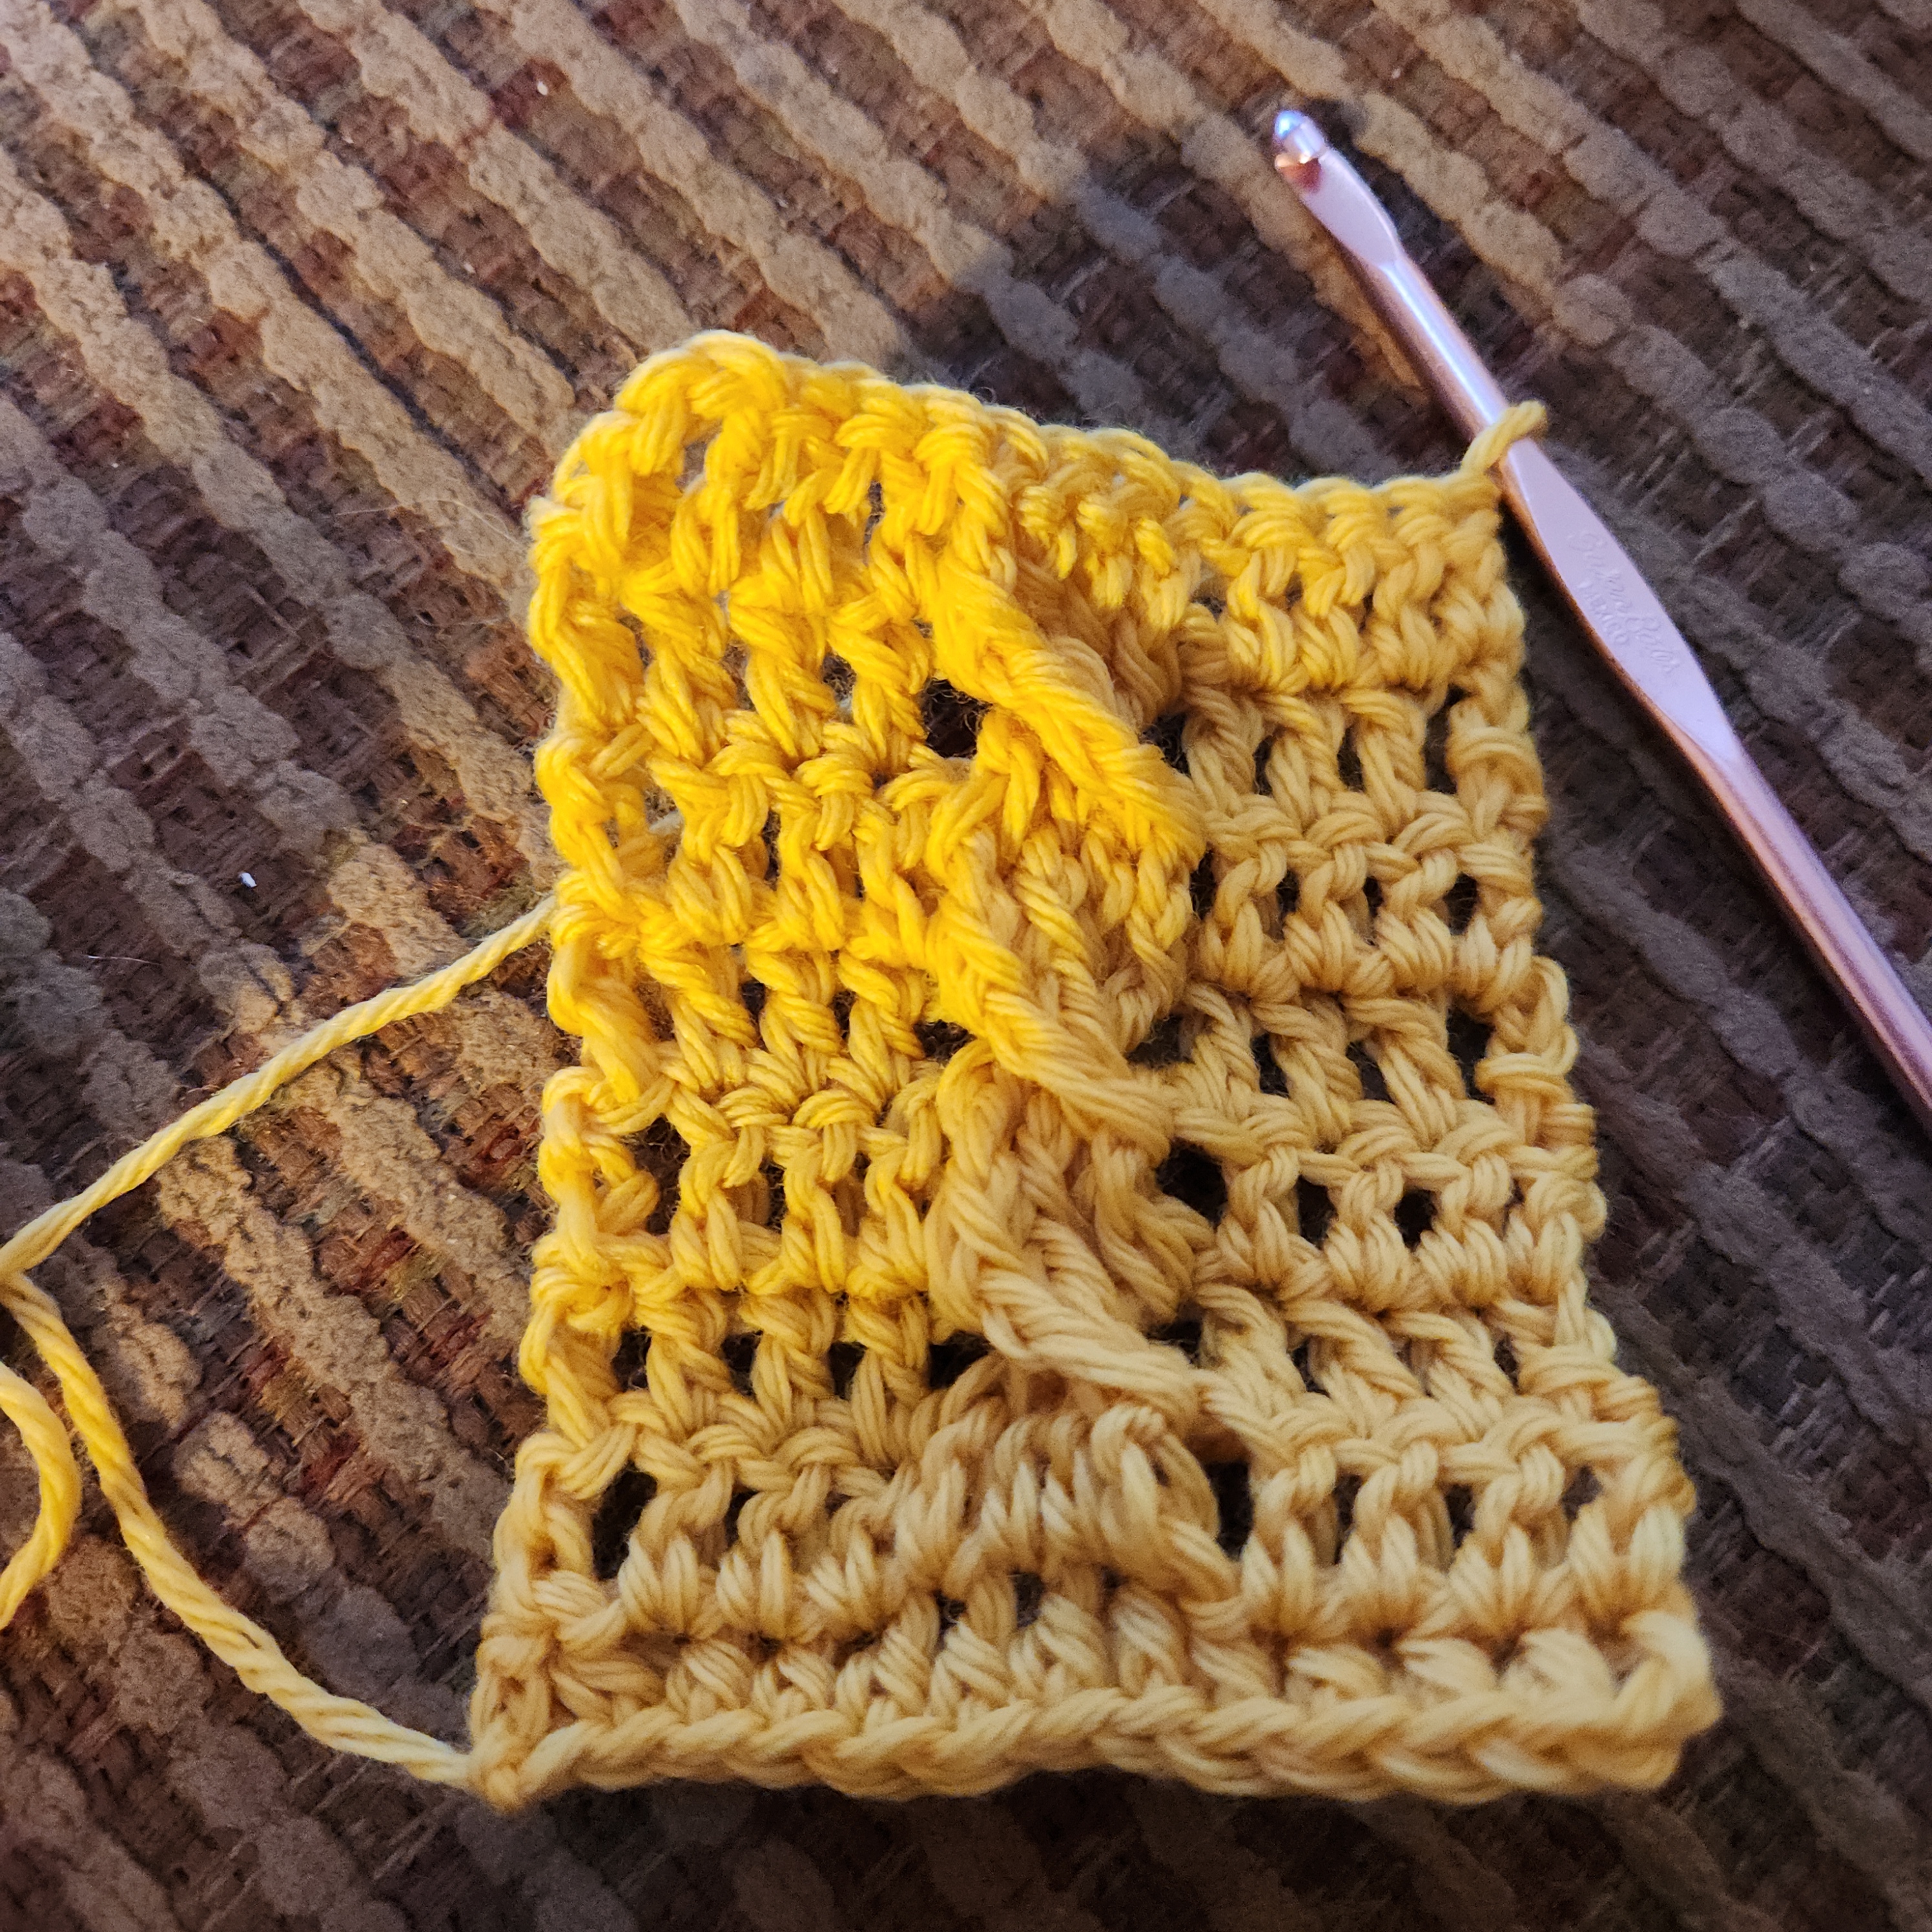
I decided to attempt the instructions you posted and here’s what I got. I put your photo in the same post hoping comparison might be easier. I’ll remove it if you wish.

I think if I kept going the cable crossings would look more like the project photo I found. My wrist says no more. Is mine different from yours? I don’t know. Finding the stitch post I needed and then where to start the typical dc, not fun. Wanting to do fpdc rather than bpdc happened also. Since you really want to make this I hope you work it out. I’ll be sticking with knitted cables.
ETA my tension is a disaster! That doesn’t help.
ETA2 I also found that getting the stitch posts in the right order for bpdc was difficult. I wonder if yours are worked in the wrong order somehow. I’m not out of guesses.
I don’t see your FPDC stitches criss-crossing at all…I think that’s where the problem is. You give the pattern as:
skip next 2 sts, work FPDC in 3rd and 4th sts, working in front of FPDC just made, work FPDC in 2nd skipped st ,and FPDC in 1st.
So to clarify–you SKIP 2 stitches, work 2 FPDC, then go BACK (crossing in front of the 2 stitches you just made), and work in the 2 stitches you skipped. That’s what makes the cable cross.
X X X 4 3 2 1 X X X—skip 1 and 2, work 3, 4, then cross in front and do 2, 1.
I really think it would be better to make the 2nd set FPTR instead, to add extra length. You can see in the photo I posted earlier from Ravelry, that the 4th stitch does cross all the way over to the 1st skipped stitch. That’s quite far for a FPDC.
Here’s a photo tutorial for a standard cable, where you work the skipped stitches in order–1, then 2. Your pattern reverses this for a more distinctive cable cross.
Maybe practice some of this type on a swatch until you get the hang of how to cross the stitches, and then do it the way it says for your pattern. That way, you aren’t having to rip back all of those popcorns!
2 Likes
And here’s a video!
https://www.youtube.com/watch?v=P1R1FL1wSYs&ab_channel=CrochetWithTiffany
work FPDC in 2nd skipped st ,and FPDC in 1st.
Watching the video. I thought the instructions for fpdc stitches seemed odd and now I’m more persuaded that the skipped stitches should be worked in the order in the video.
All of these suggestions are amazing. Thank you so much! I’m trying a few of these out. The video is good, but again the cables are worked from the RS. It seems the way the pattern reads the WS should be done using the BPDC. and in doing so, the cable loses it’s twist. I may have to alter the pattern to use the trebles on the RS and something different on the WS behind the cables. I’m not giving up yet!
Are the comments from the Ravelry posters any help? Both seem to have modified the pattern to get the popcorns to pop and to work the cables. Or are you way past that?
But the photo I posted earlier definitely shows the last stitch made crossing clear across to the 1st skipped stitch…at least, that’s how I read it.
Getting yarn and a hook now…
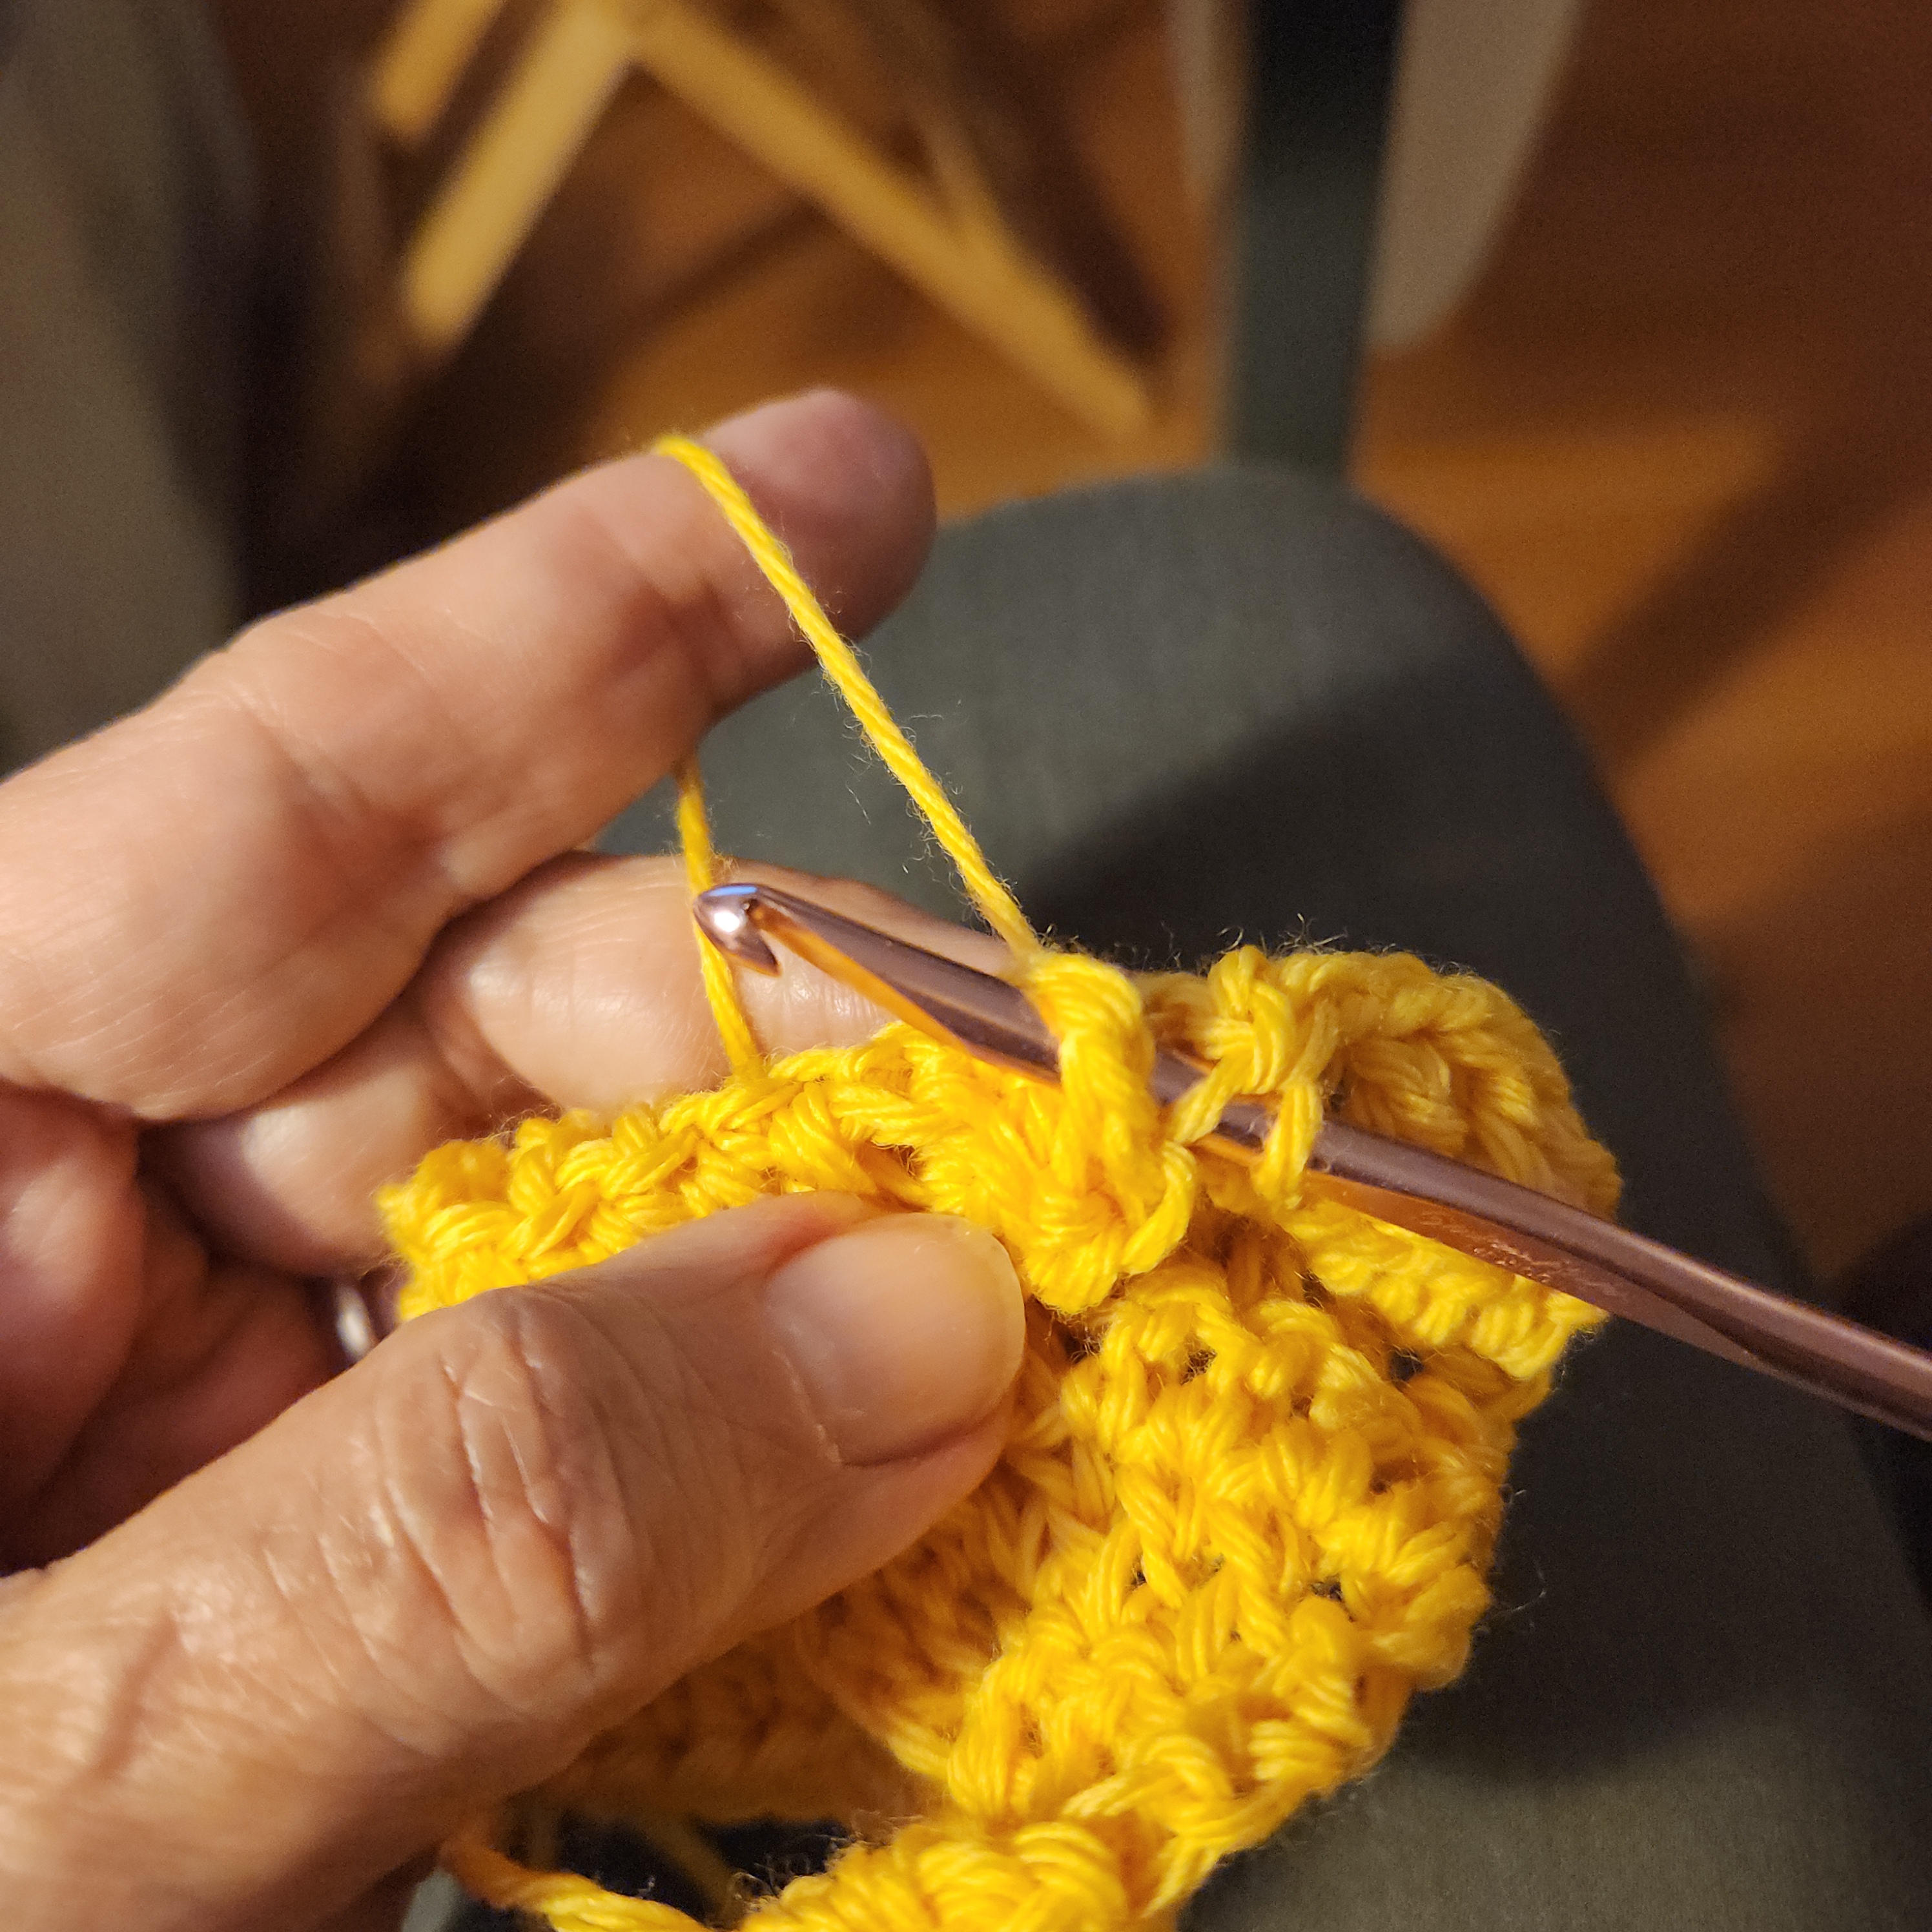
OK, here’s what I get.
I wonder now… when you do the return row of BPDC, you’re looking at the back of the fabric, but the BPDCs are worked by putting your hook into the FRONT of the fabric and under the post, which is what pushes the post forward. If your stitches are being pushed back, could you be doing FPDCs instead, putting your hook into the side facing you, since it’s the back of the fabric?? It’s easy to get all turned around, when sometimes the front is the front and sometimes it’s the back…
The back should look like this;

Another way to phrase it is that all of the post stitches are worked by inserting the hook into the front of the fabric, no matter if that side is what you’re looking at or not.
2 Likes
Wow, that’s exactly how I would like it to look, but having no luck. The FP are fine, I get the cross twist, but the BP is worked from front to back and it goes over the front of my cable cross. How are you doing the BP to go under the crossover? Are you working straight over right to left? That’s what I can’t seem to get right.
Exactly.
Yes, just work them in the order you come to them. It’s a bit hard to find one of the crossed stitches, the 2nd one you come to in the return pass. I had to fold the fabric toward me to be sure I was going under the correct stitch.
I can work another row and take stitch-by-stitch photos, if you think that would help?