The stitch number across the right shoulder including a selvedge stitch, the stitch number across the neck and the stitch number across the left shoulder will help too. I believe this is the 5th size.
I am making this jumper in XXL
At the beginning of left shoulder & at the end of right shoulder is partial repeat, because it is where the pattern says to began to increasing for the neck
Yes, you’re right ![]()
The pattern reads that the A1 chart should be able to be continued without further use of A3.
Reps of 8 (which you will have marked), partial rep of right shoulder, cast on stitches, then continue the next correct pattern stitch in the partial repeat of left shoulder), then full reps of 8 (which you will have marked for A3 but the markers will now need to move so the repeat works across the entire row for A1).
You won’t be starting A1 afresh on the cast on stitches or on the left shoulder but rather as a continuation of the pattern. The markers will really help as they are every 8 regardless of whether you’re counting right shoulder or cast on stitches or left shoulder.
The total count for this row is 155 which is:
1 edge stitch, 19 repeats of A1 (19 × 8 = 152), 1 stitch of A1, 1 edge stitch.
When you join to left shoulder I believe you need the single white stitch on row 25 of the chart. That is worked in what used to be the edge garter stitch, it is now part of the pattern. Then you have 3 stitches of black remaining on chart A1. These align with the next 3 stitches on left.
Your left markers will be incorrectly positioned until you move them.
I’ve edited this post to add some information and to try to make clearer what to do. I think the confusion may be linked to needing to move the left shoulder markers.
Let us know how you get on.
Sometimes we need information said, or shown, in a different way and perhaps my wording doesn’t work for you but someone else’s would.
1 Like
Okay, I will let you know then if something that I still didn’t figure it out ![]()
1 Like
Hopefully you’ll get past this tricky bit and it will all become much easier. Good luck.
1 Like
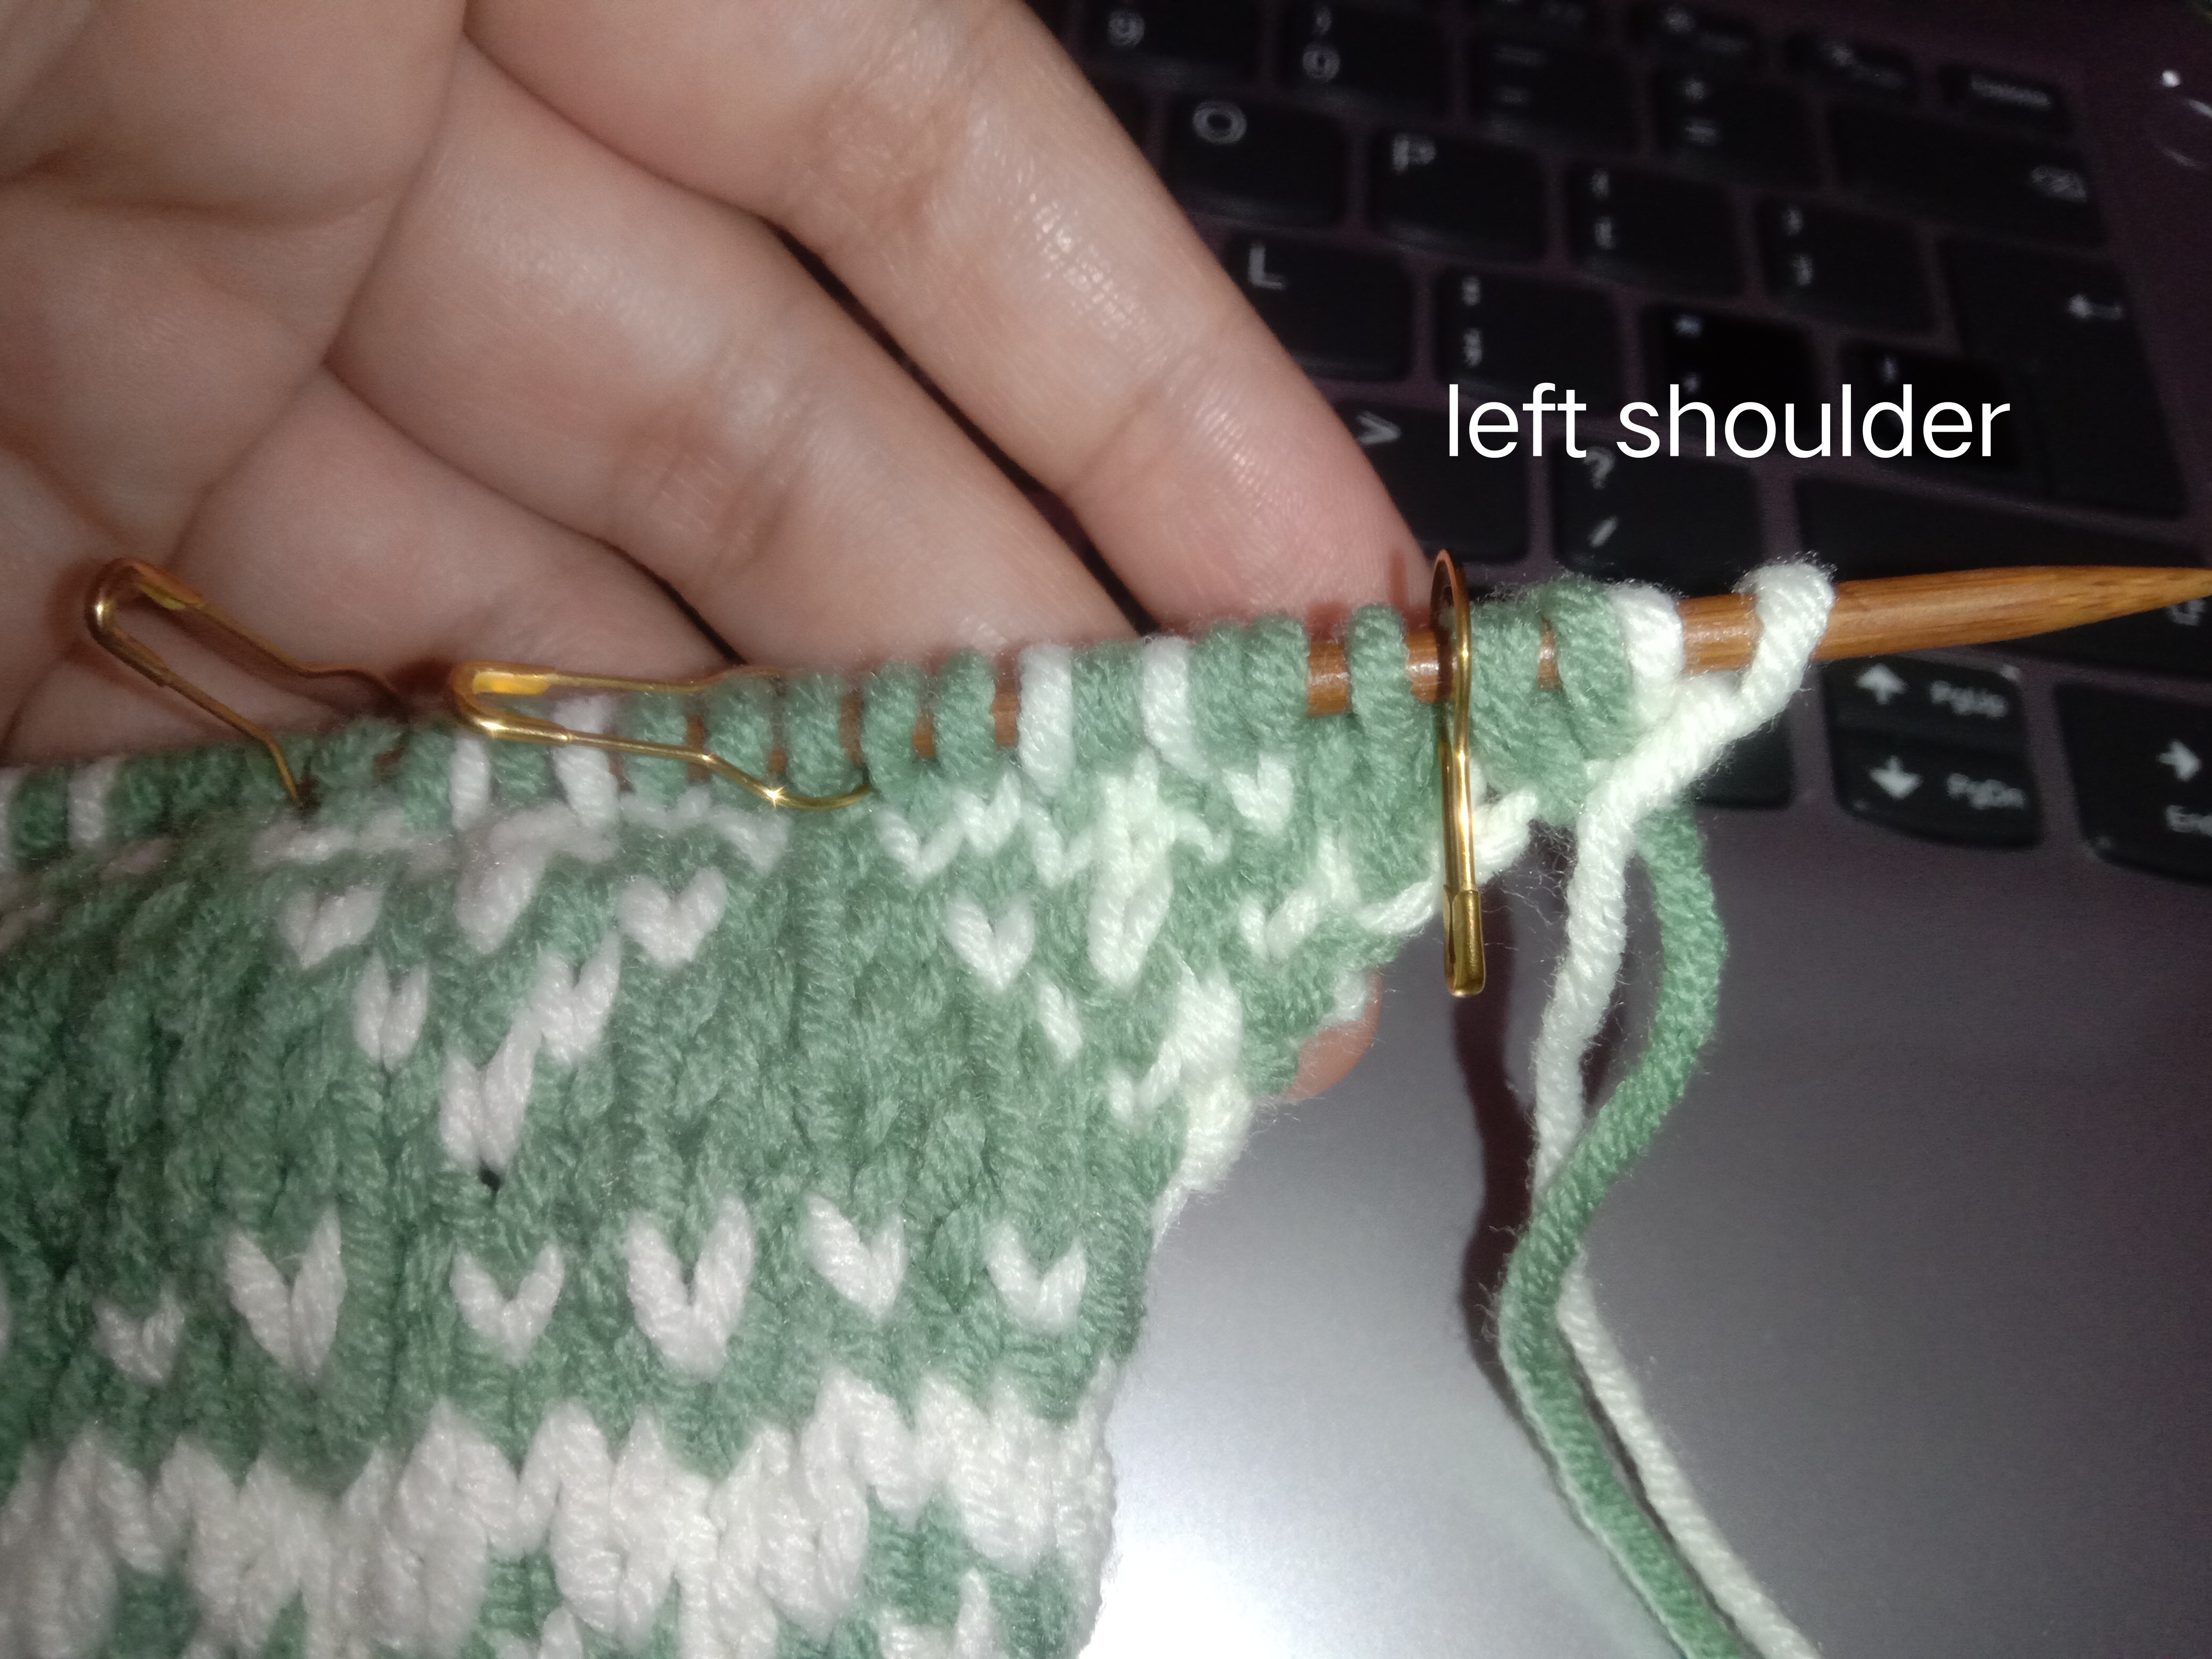
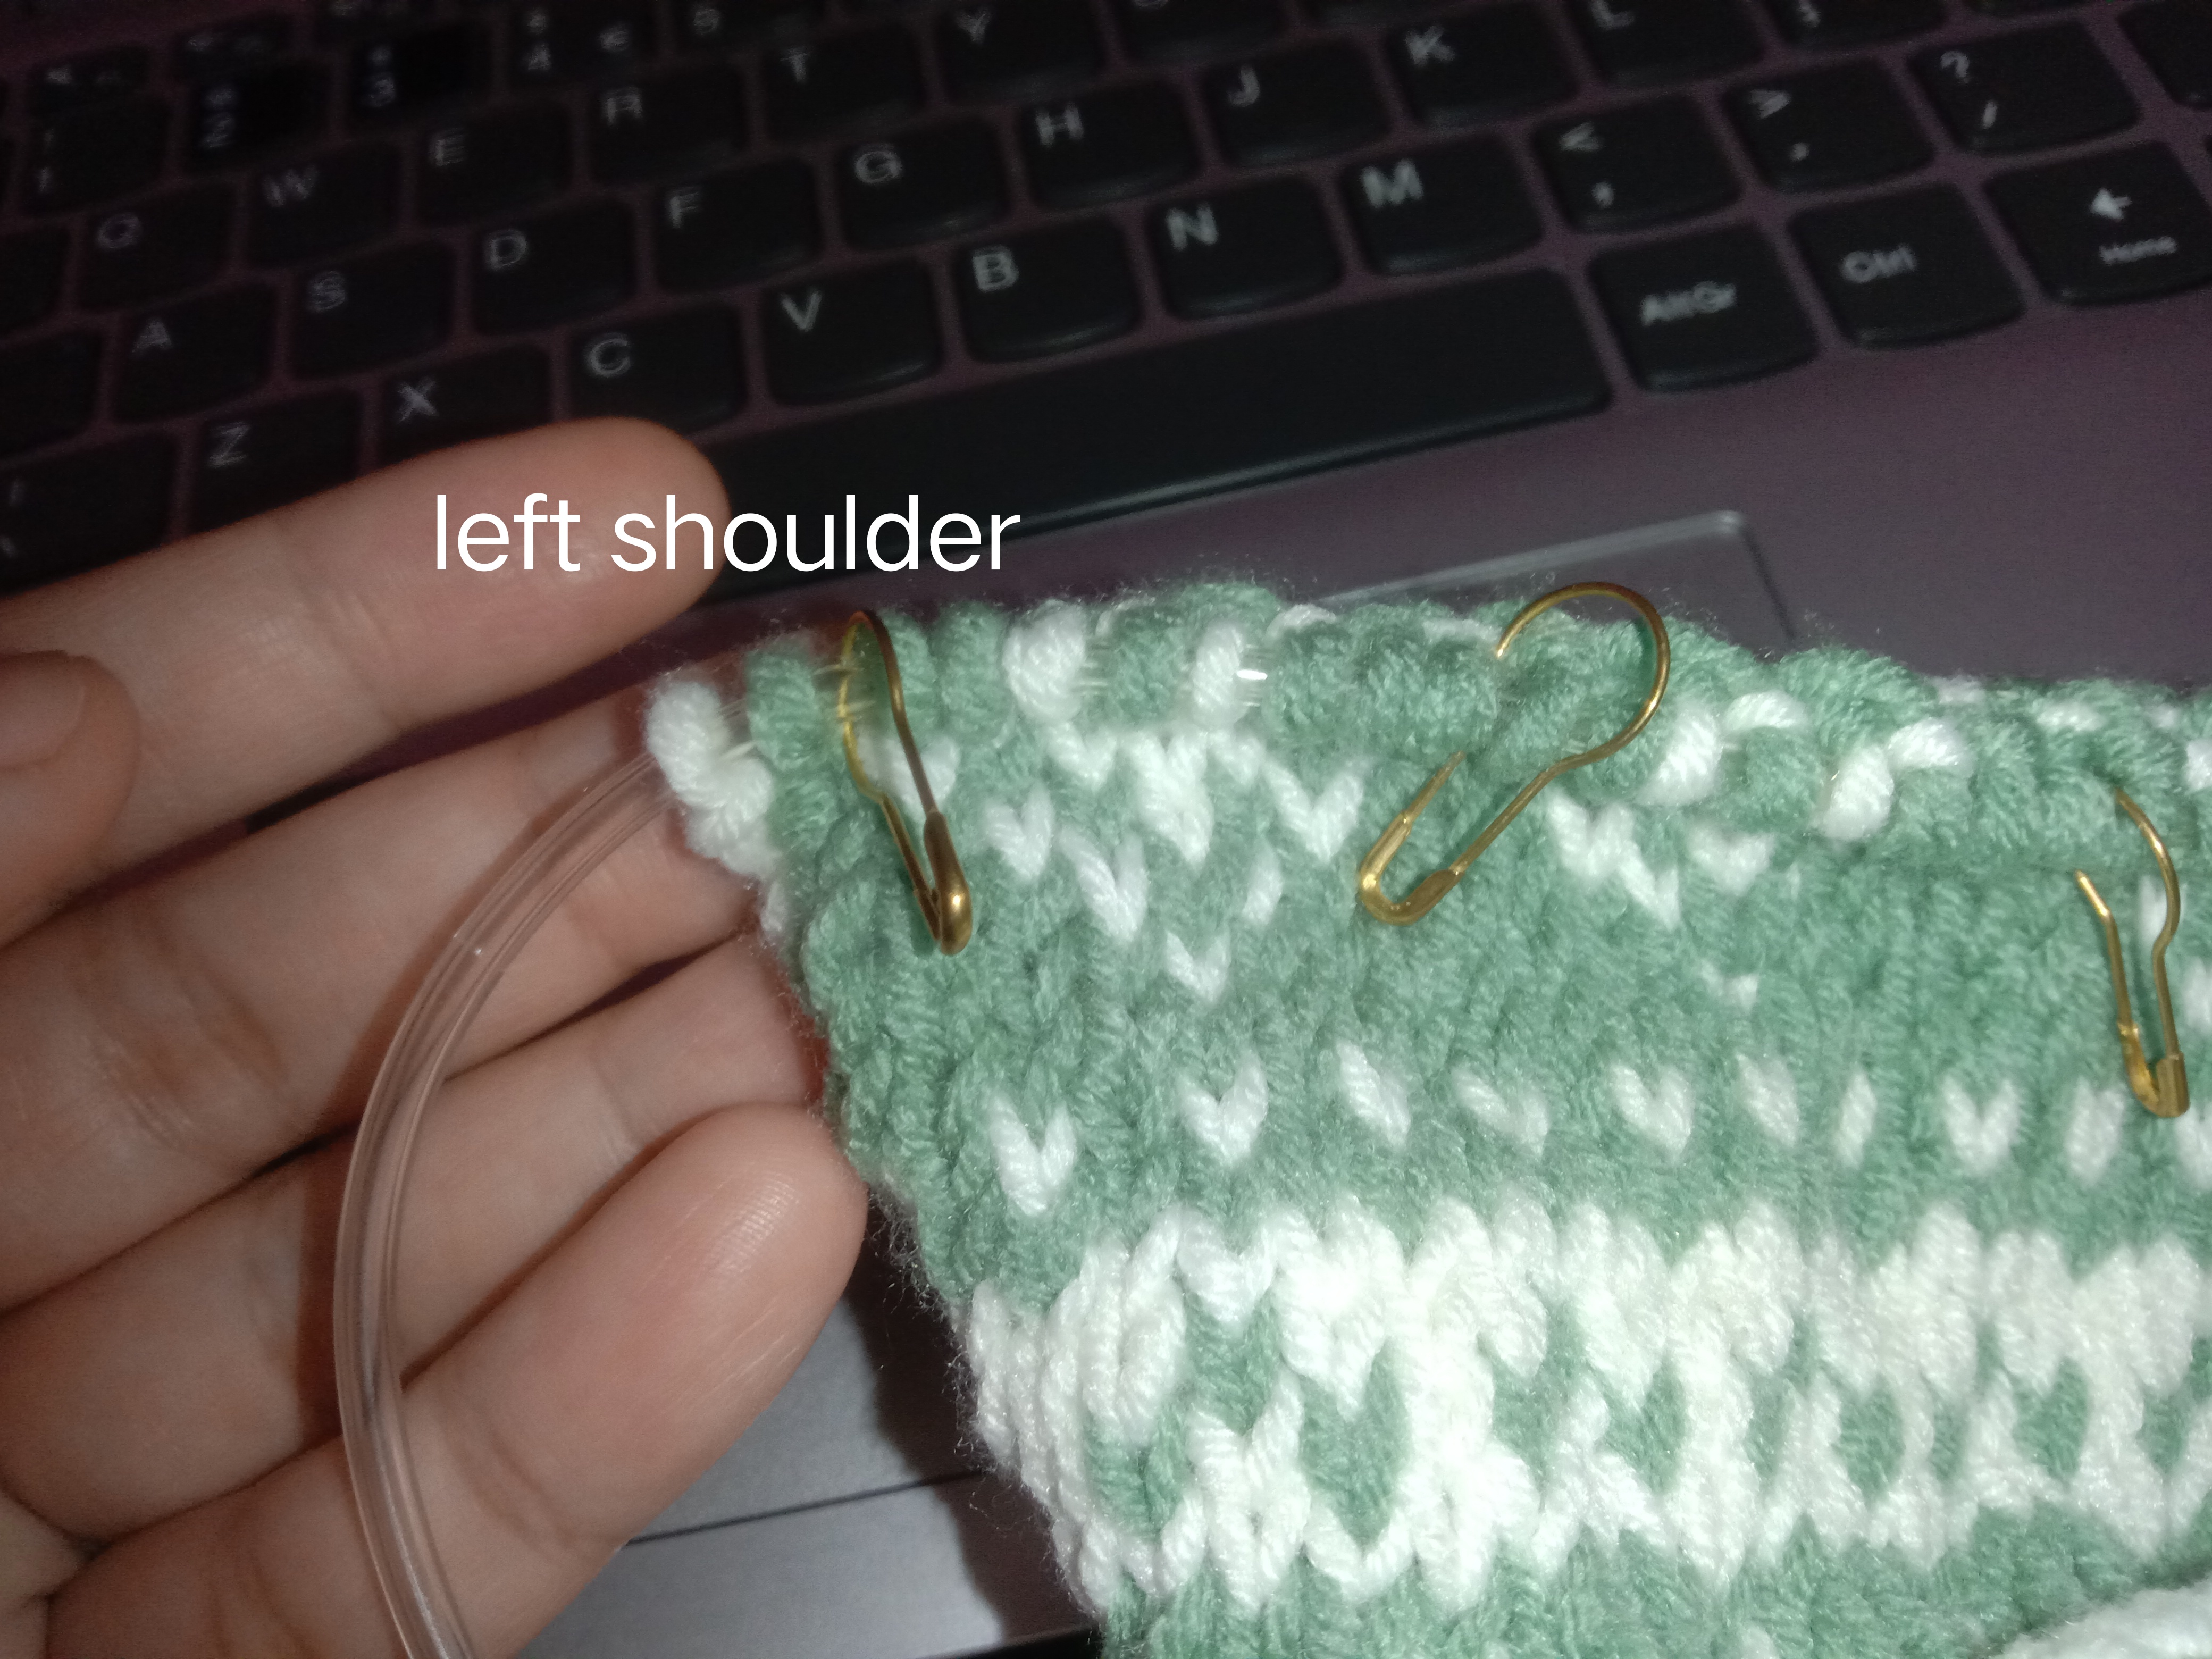
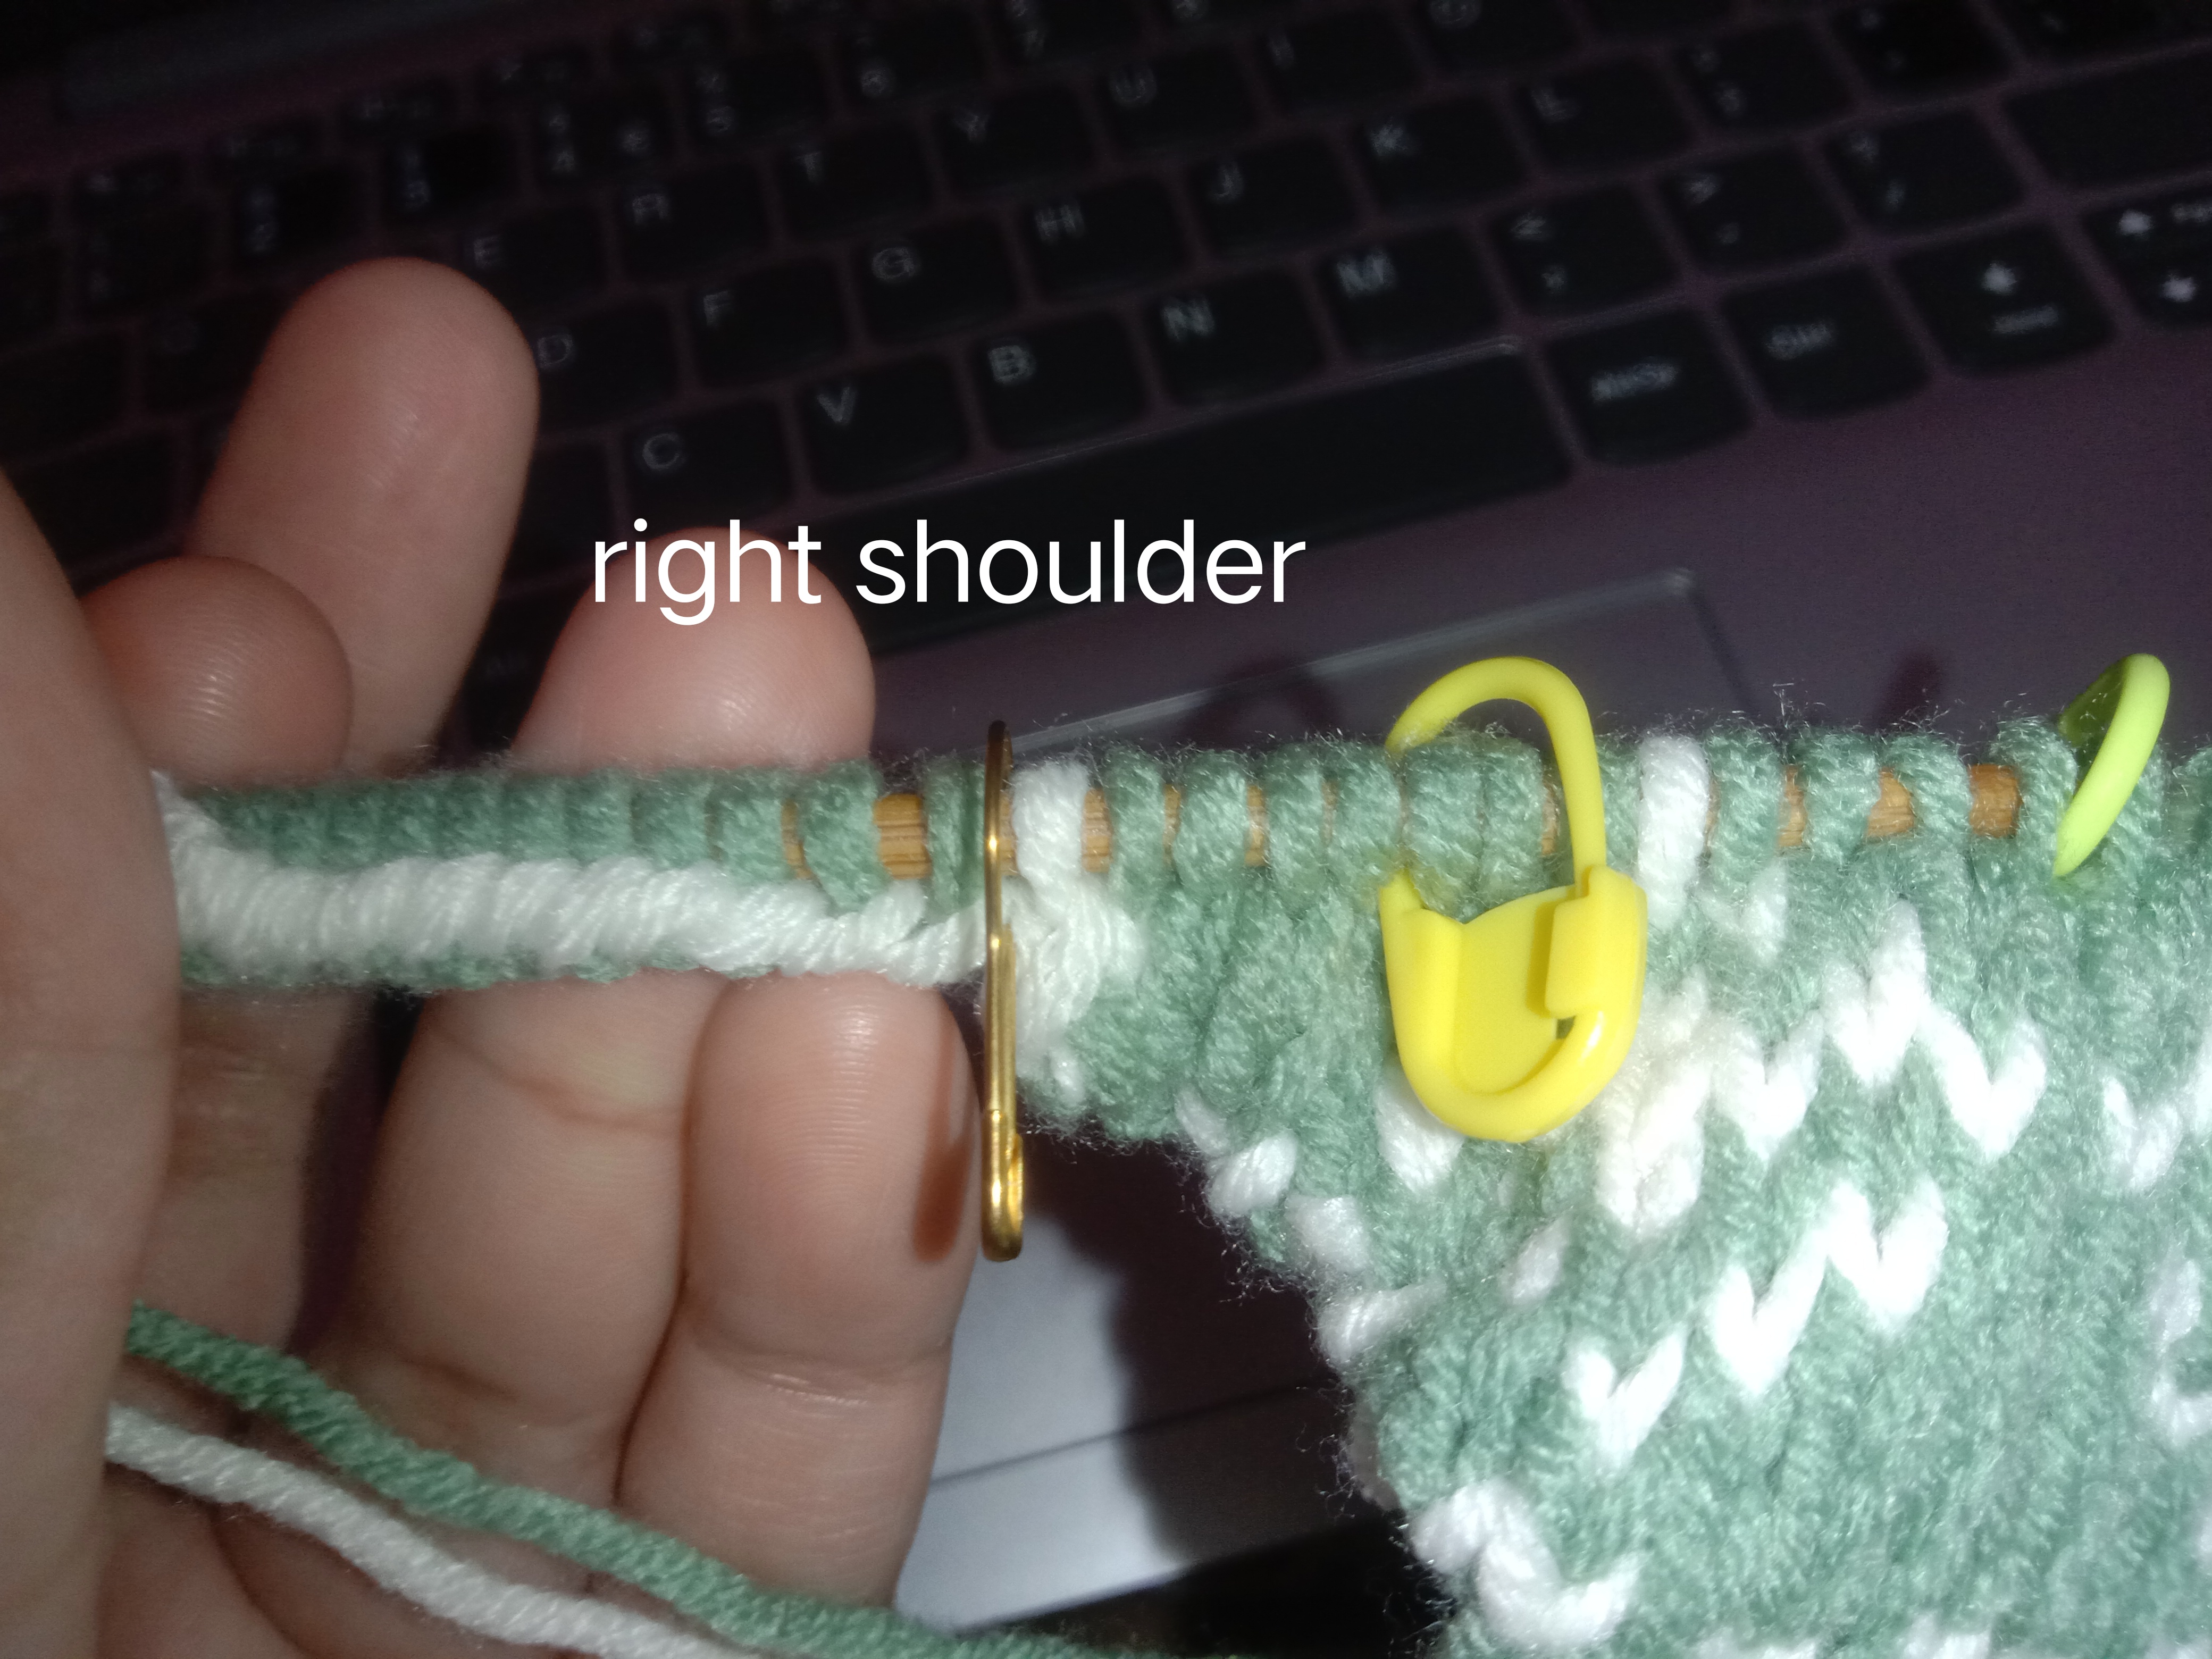
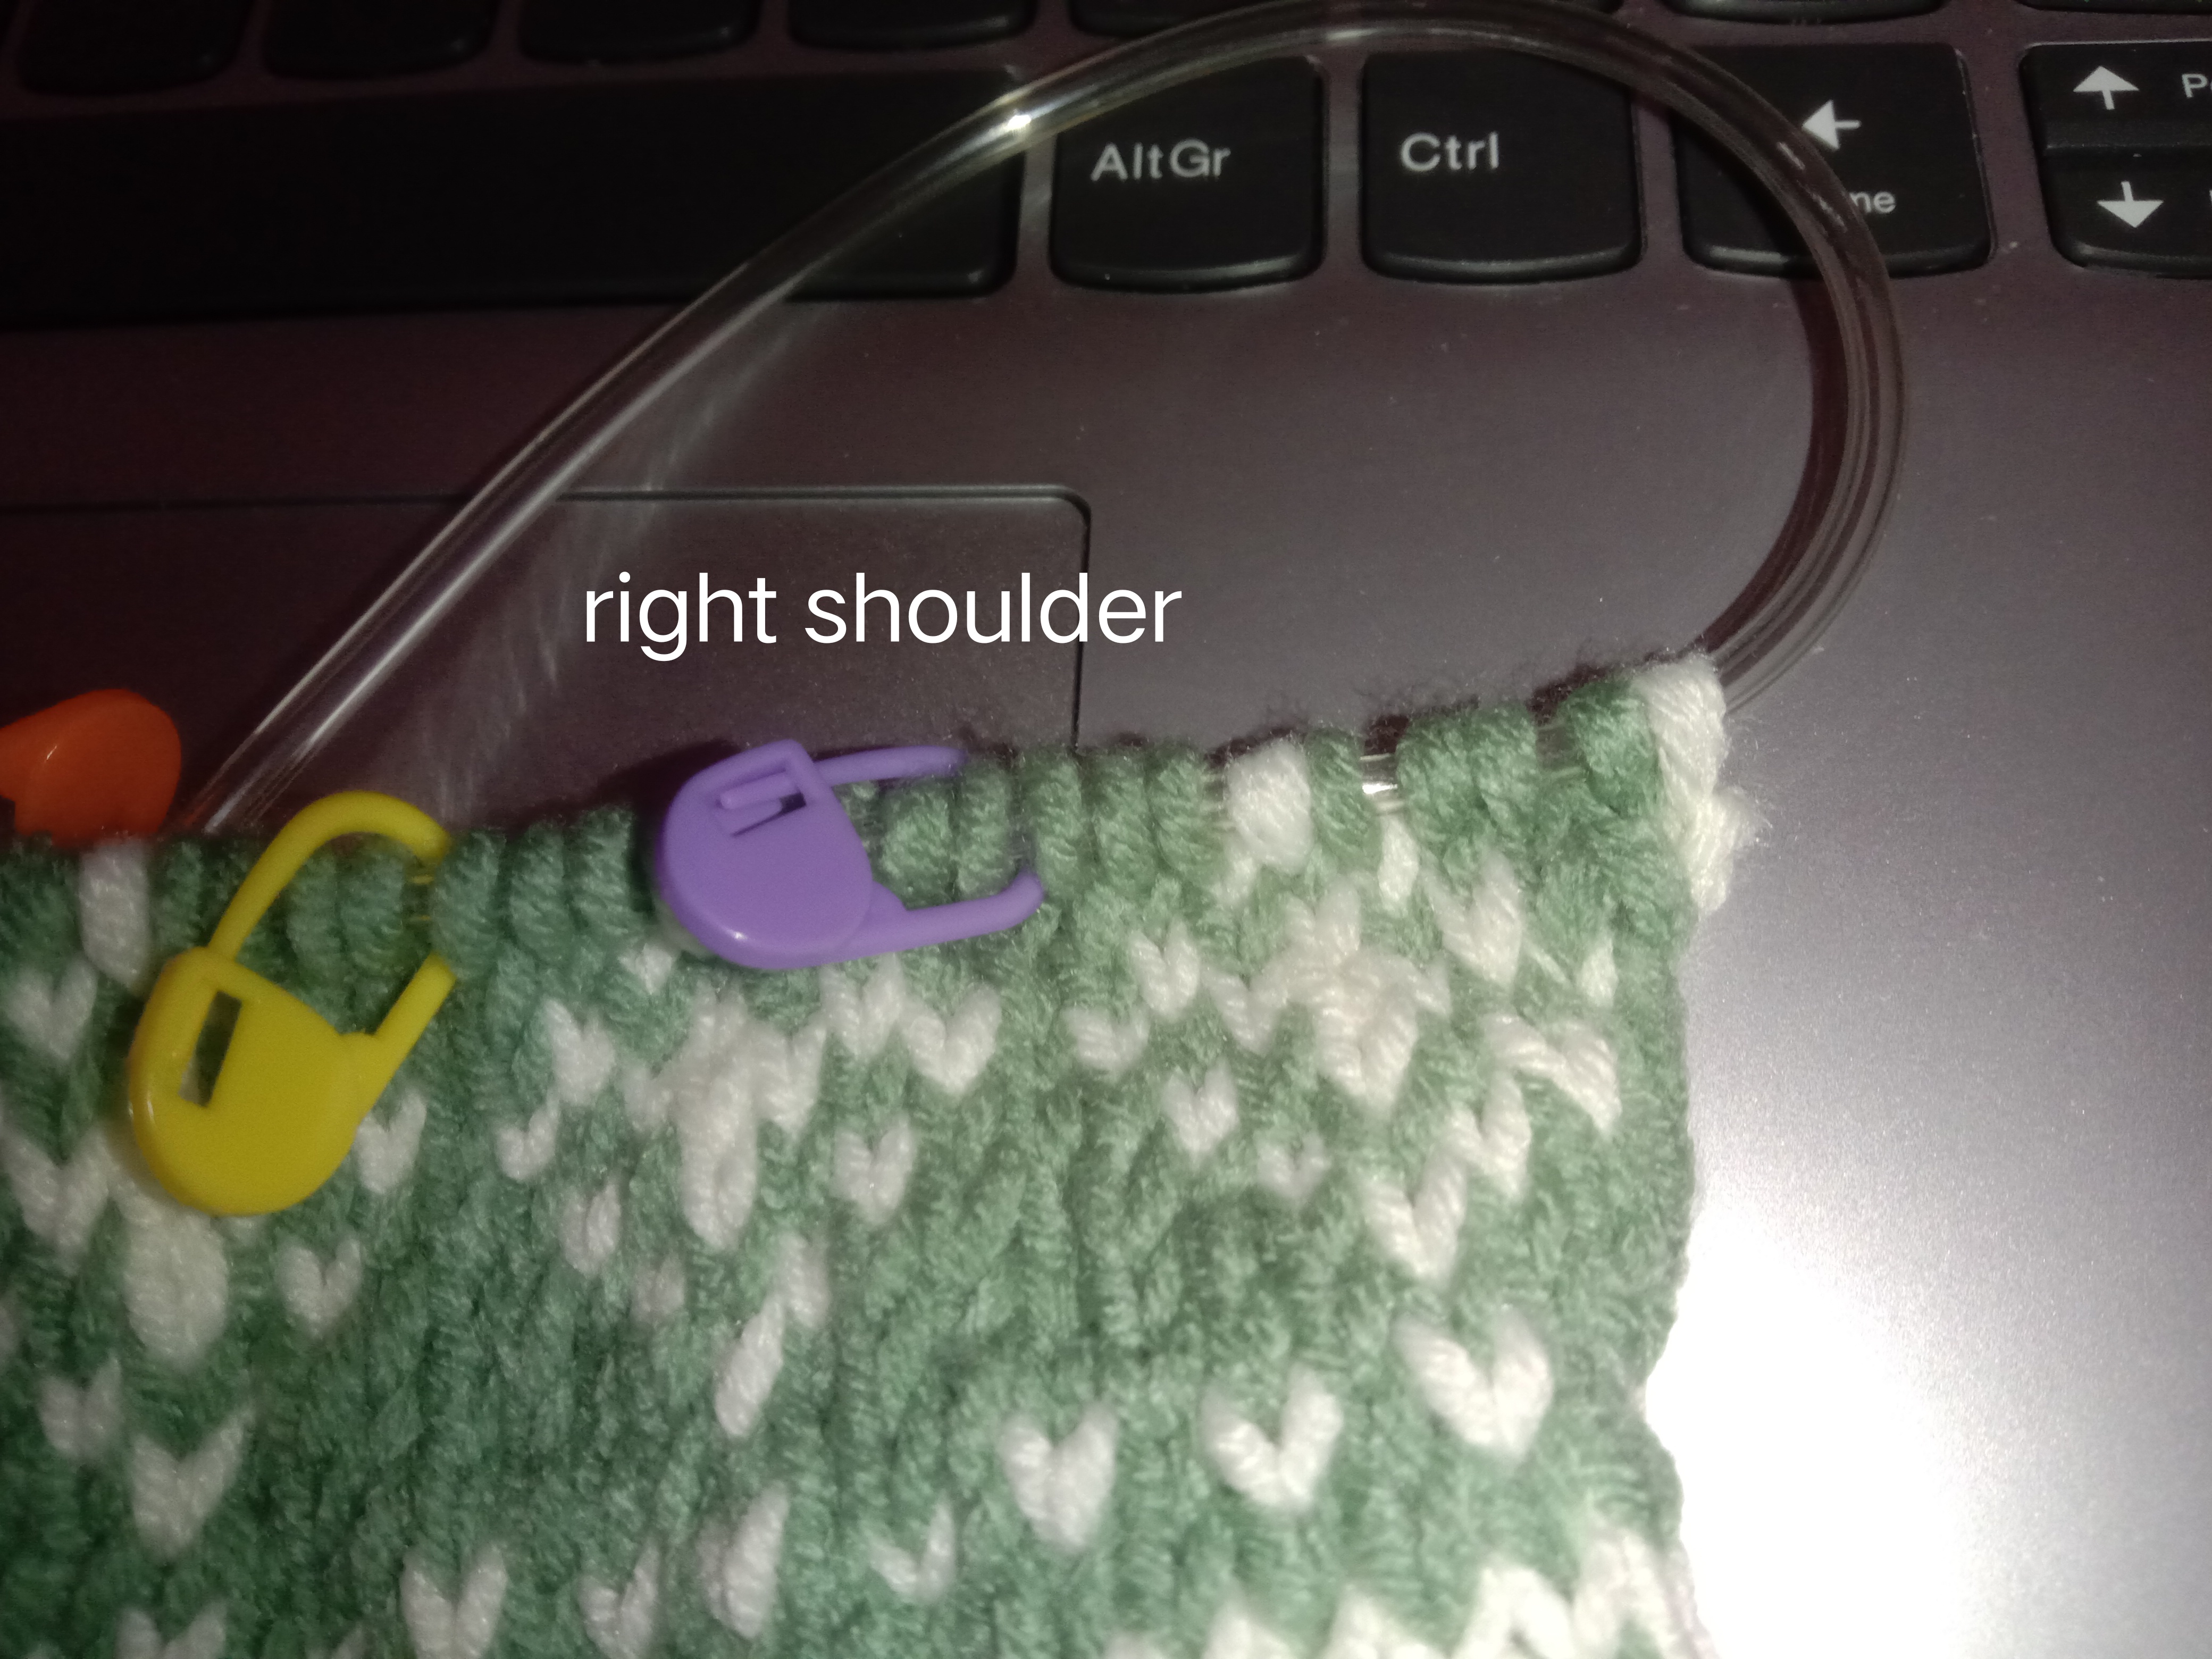
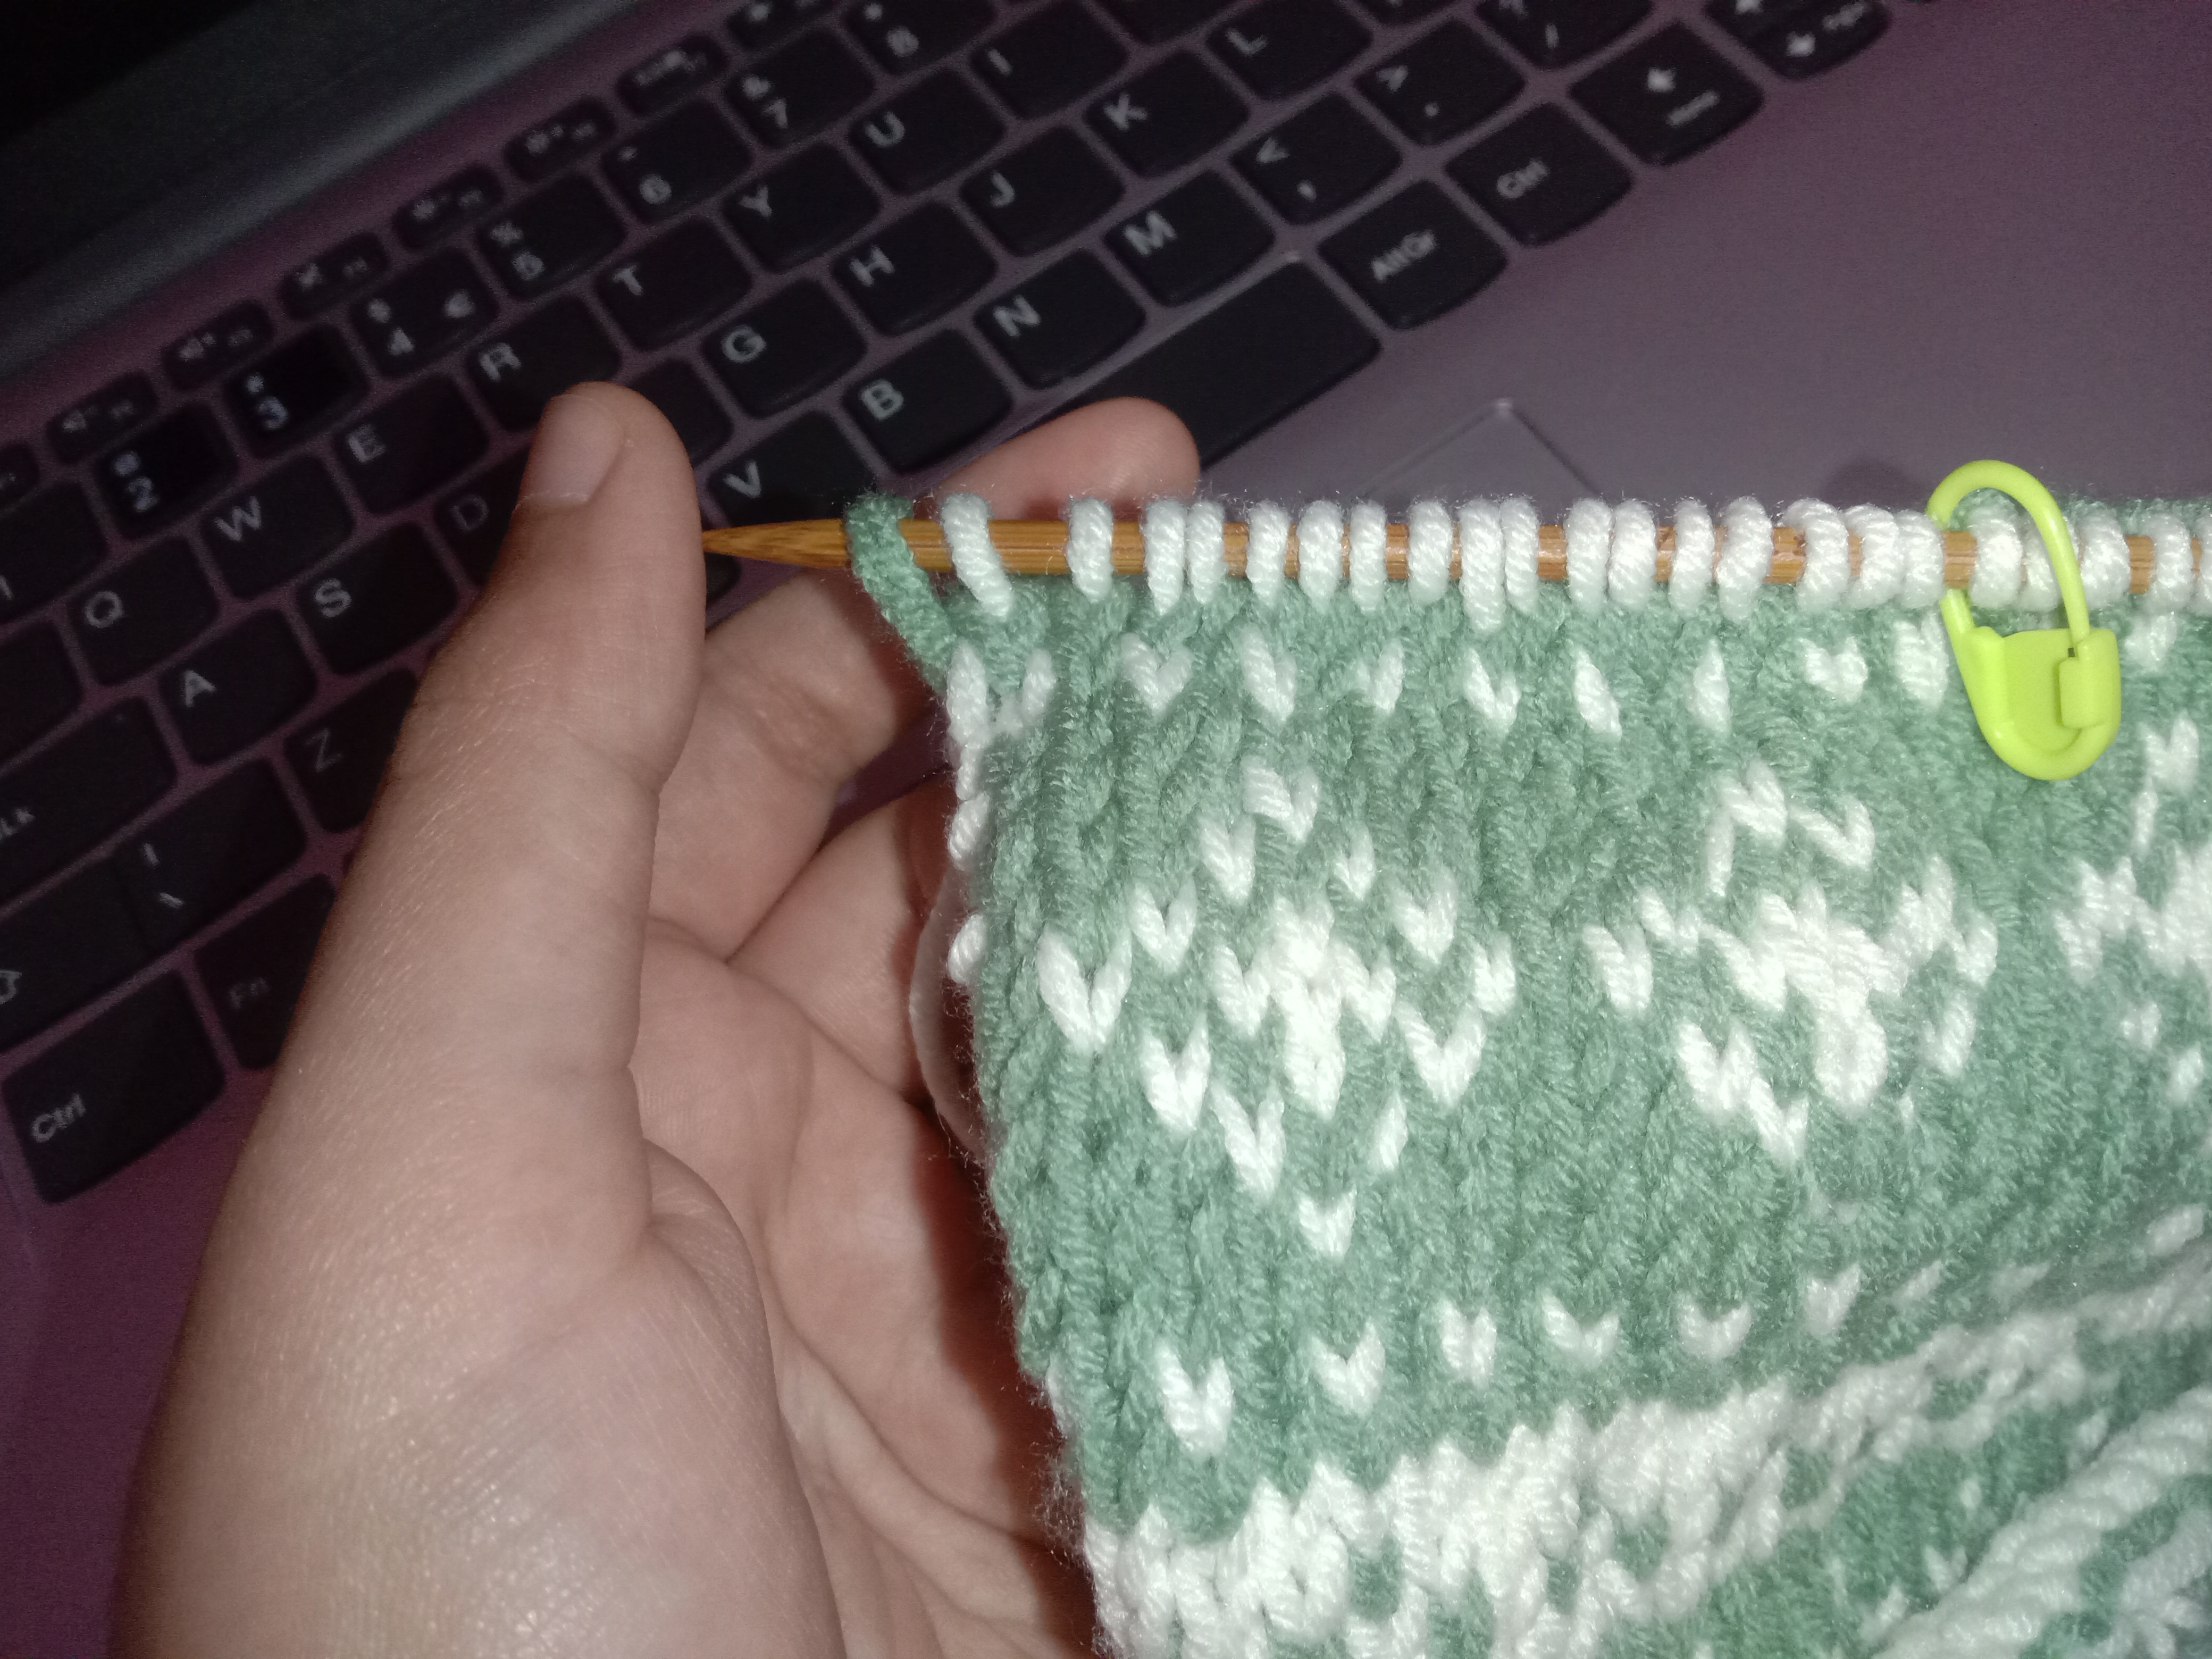
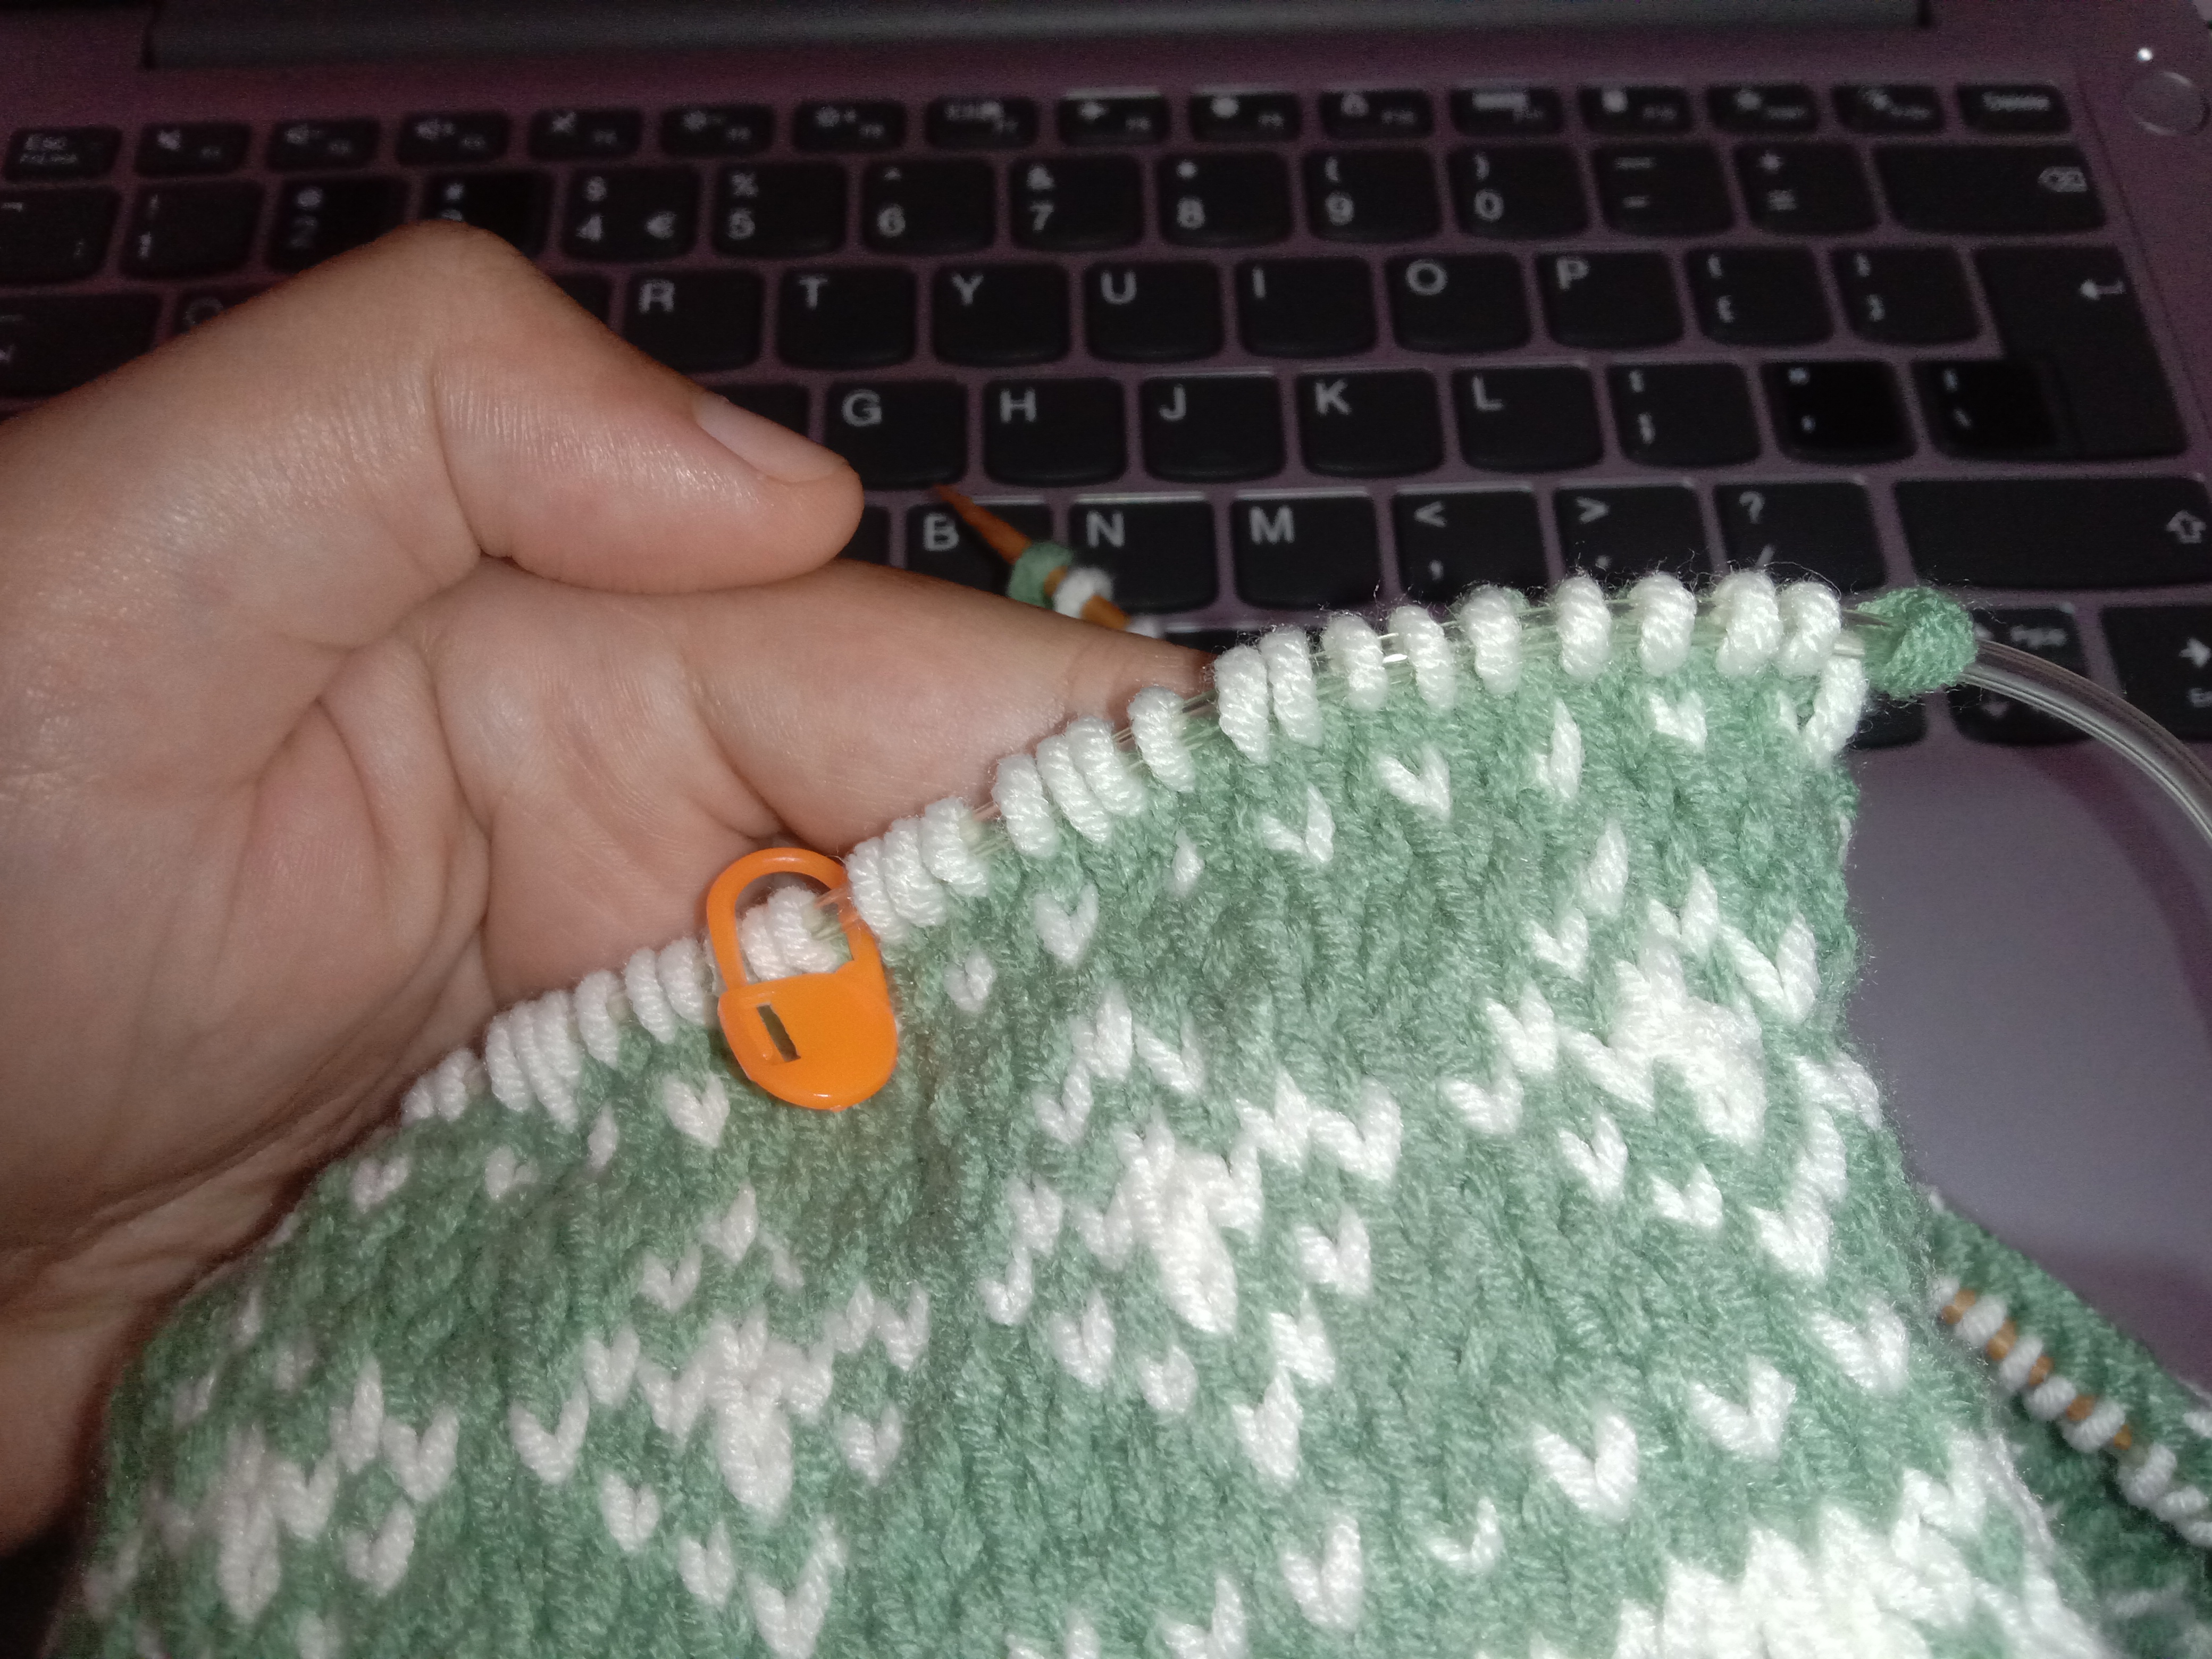
Just to check, these are pictures after you have rearranged the markers across left shoukder to align with A1 chart rather than A3?
If yes, then, yes this looks correct.
There are two things I would say though.
-
The first stitch on the left needle should really be in green. It has been the edge stitch so it was expected to disappear into the neck band and won’t be seen much if at all (so the colour was less important), but you might improve it by matching the edge stitch with the correct chart colour. On the next row it will look misaligned to the colour pattern so would make sense to be green.
-
I believe the cast on stitches are intended to be in the main colour, green, rather than the contrasting colour. It isn’t much to take these out and redo the cast on stitches in green.
You shoukd be working row 25 on the left next so that right and left are worked an equal number and they should both be on the same row of the chart, then turn and work all the way across for the next row in the chart.
1 Like
Yes, you are right. Thank you so much ![]()
1 Like
You’re welcome. I’m glad it’s making more sense.
Enjoy the next part of the process.
1 Like
Now I’m working at A.2, pattern says “Pattern will not fit one whole repetition in the sides but there is one whole repetition of A.2 in the middle of row so that the pattern is symmetrical.”
Does “in the sides” means the left & right needles isn’t have full stitches on the chart and it’s alright?
Because I have 17 stitches in my left needle and 16 stitches in my right needle with 1 edge stitch in both
This looks perfect.
Yes, the pattern is only warning you that the chart is not 100% symmetrical, but that the sweater is symmetrical.
Both your ends (right and left edges) have the same pattern, there’s nothing out of place. Perfect.
Also, lovely even tension with your colour work too. It’s looking fabulous.
2 Likes
Ohh, you are sweet. Thank you so much ![]()
![]()
1 Like
Guys,btw, I need help…
“When piece measures 24 cm from cast-on edge, insert 1 marker in each side of piece - make sure that this is the row as on back piece. Continue A.2 and cast off at the beginning of every row in each side: 2 stitches 1 time, and 1 stitch 3 times = 145 stitches”
What should I do at this part?
The markers are the placement of the sleeves. The markers on the front should be the same length down from the cast on as the back and end on the same pattern row as noted for the back. You’ll need these markers later when you pick up sts for the sleeves from the back and front (see under Assembly and Sleeves).
The cast off sts are the underarm shaping. Work them as you did for the back. Cast off 2sts at the beginning of the row on each side then cast off one stitch at the beginning of the row on each side. Repeat the cast off of one stitch each side 2 more times. This is also the same as the directions for the underarm at the back.
1 Like
Okay, thank you ![]()
1 Like
Guys, I think I’d like to resize this jumper (because XXL is too oversized for me) & it’s my fault for not checking the size that suits in me 🫠 I’ll change the size into XL
Then, I want to change this jumper into a cardigan…
CARDIGAN VERSION
Also, I’ll make any thread about this cardigan
Thank you so much for Creations, Salmonmac, and others that always helping me to solving my difficulties while I’m making this jumper…
I really appreciate you guys 🫶🏻
2 Likes
You’re doing so well with this pullover, lovely stranded work on your part. The cardigan will be simpler to work because of your experience with the pullover. It’s beautiful either way.
If you run into questions or problems, let us know and we’ll be happy to help.
1 Like