My understanding is that second yarn over is to create the hole for the lace pattern. However, my yarn needs to be in front anyways for the purl, which would also be a yarn over. How would I do this yarn over to create the hole for the lace pattern? Also the first yarn over, the yarn is already in the front anyways from the previous repeat that ends on a purl so would I need to do the yarn over?
I’m not sure where your repeat begins but if it’s at the beginning of the row you quoted, there’ll be a yo after the last purl and before the k3 and that is shown at about 2:50min into the video.
Cute summer top!
would the yarn over not just be the yarn being in front after the purl for that repeat? because it would have to move to the back for the knit 3 to not cause the hole that a yarn over causes anyways?
Thanks for the video, I’ll check it out when I get back to that point in the pattern 'cause I got to to almost the end of the round before I was like am I going to have enough stitches next round so I had to go back a bit.
Edit: Am I thinking of yarn overs in the wrong way? I’ve been thinking of them as moving the yarn to the front of the knitting on knit rounds.
(YO, k3, ssk, k3, p1, k3, k2tog, k3, YO, p1) repeat until end.
If your repeat starts like the above, it begins with a yarn over. Since the end of the repeat is p1 you’ll then work a yo to begin the next repeat. Purl 1, yarn is in front and you bring the yarn over the needle to the back to knit 3. This is going to make a hole or eyelet.
Yarn overs mean bringing the yarn over the needle to create an eyelet or hole and an extra stitch. In your row the yarn overs have an accompanying decrease either ssk or k2tog so the stitch count will remain the same.
The video I linked to is nice because it covers the cases of yarn over before and after purls. The thing to make sure of is that your yarn over creates a stitch no matter how it is worked.
It’s not the same as bringing the yarn to the front between the needles to purl or to the back between the needles to knit. It’s taking the yarn over the needle to make that eyelet and extra stitch.
Markers between repeats are going to be helpful to make sure the stitch count stays the same in each repeat (18sts).
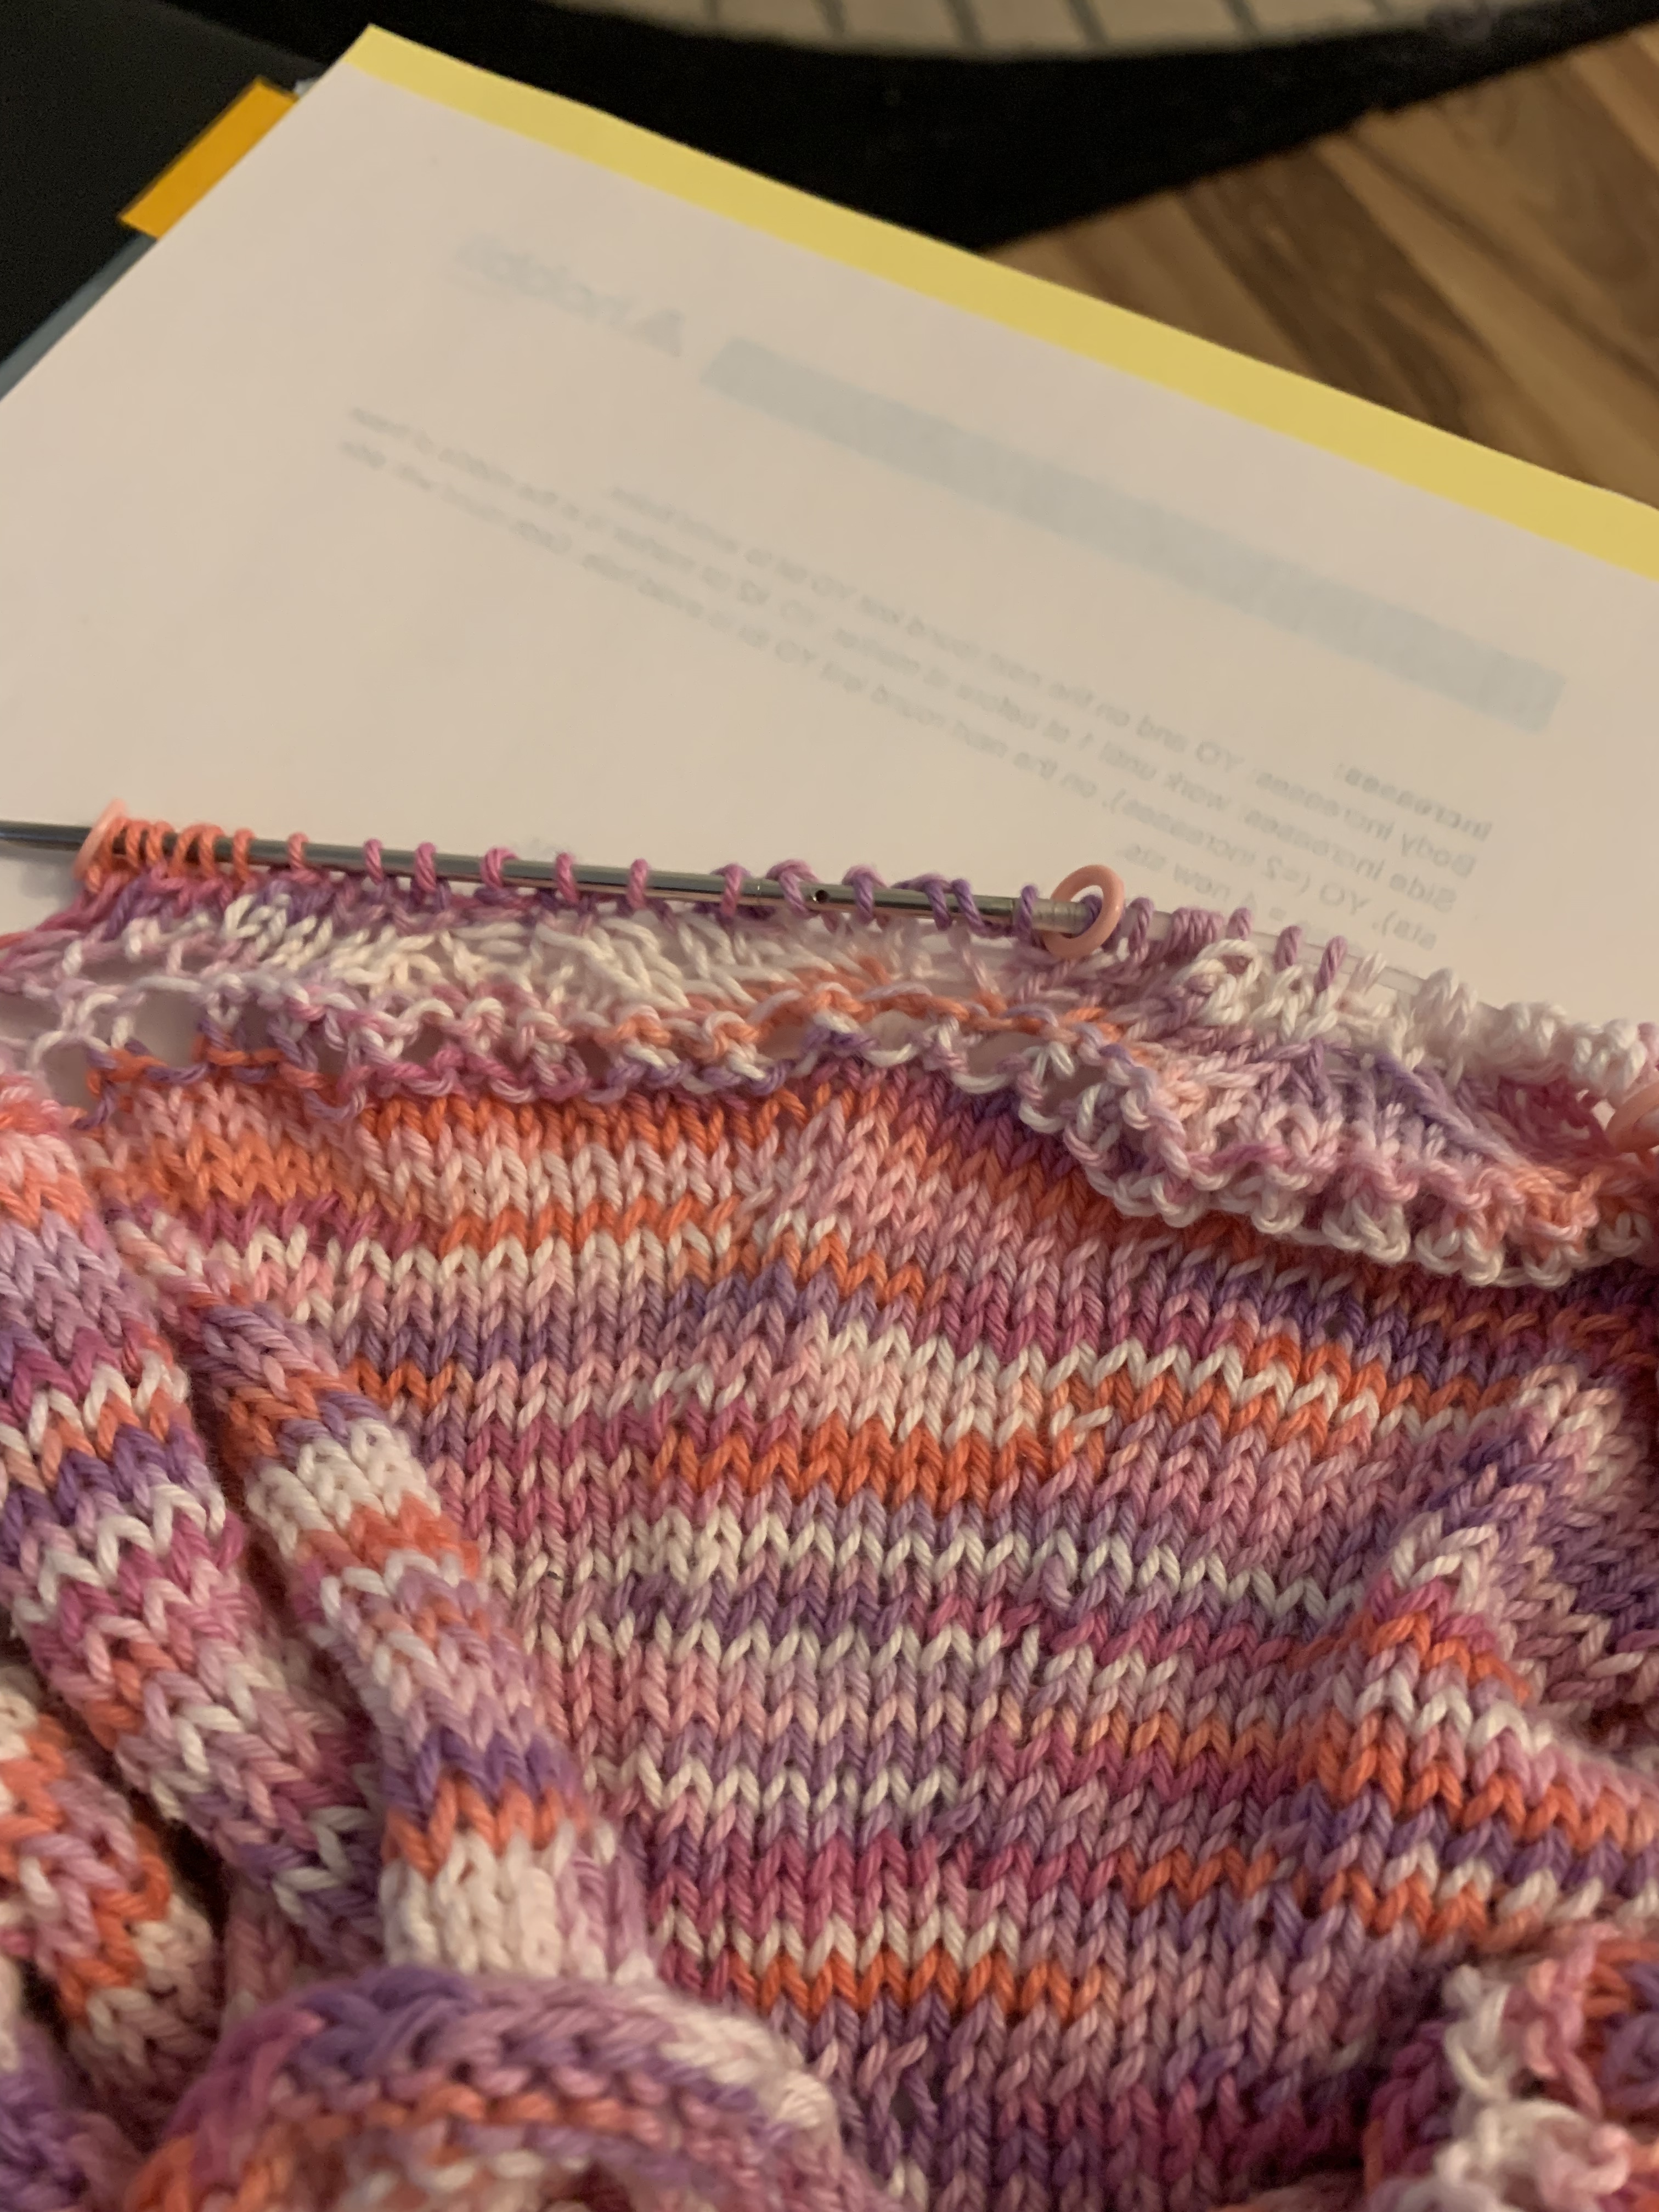
I finally got back there and I was able to do the yarn over into the purl correctly, so thanks. Apparently counting stitches late at night is a terrible idea and i had to rip it out again, I will post pictures of it once I can get the lace pattern going enough that you can see it forming
Love to see it. It’ll be fun to see the lace pattern emerge.
Markers between lace motifs are going to be your friends. They help keep the motif aligned and are invaluable when counting or looking for an extra or a missing stitch.
You can tie a loop in a piece of yarn and use that. Here’s a running yarn marker video. Tying a loop and leaving a tail that gets caught in the work means you have the marker on the needle but it still gets trapped so you won’t drop the marker and wonder where it was.
I have started collecting little safety pins off clothes tags which are identical to some of the knitting stitch markers I have. Also the little plastic ring which comes with my electric toothbrush heads, whilst the diameter may seem too big for 3mm needles the thickness is very thin so I find they fit really well and don’t cause a change in the knitting gauge, they’re better than the markers I have which are smaller in diameter but thicker plastic. The toothbrush head markers and yarn loops are my favourites usually.
Good to see the lace pattern begin to emerge. It a nice visual to keep you on track with the pattern. The yarn overs and decreases should start to become predictable.
Lovely yarn colors and nice work!
I knit a lot of lace patterns. Get down the local hardware store and pick up some ‘O’ rings. Best stitch markers ever. You can get them in tiny sizes. Go for ID (internal diameter) .5 up from whatever needle you are using. For example my 2mm needle, I use 2.5 ID O rings.
They are cheap too as an added bonus.
Also when knitting lace, lifelines are your friend. Put one through the WS each time you finish a pattern repeat. Or on a big shawl more often. You don’t want to be having to frog/tink back with lace unless you have a lifeline in.
I actually went to my local yarn store and I had a five dollar coupon so I got a bunch more of the ring stitch markers for a dollar. I’ve now finished the main part of the lace pattern (albeit with two places where it went a little wonky that I’m just hoping won’t be noticeable) so now I have to worry about how to divide for the body and arms without messing it up. I’m off this weekend so I have plenty of time to get a decent chunk into the body of this top now.
One last question because I’m paranoid I’m going to mess it up again and I’ve gotten so far into it. After I finish the lace motif, it says this next:
Divide body and arms
Work next round as follows:
Knit 52-54-56-64-74-76 sts (half back piece), slip the next 75-80-85-88-95-100 sts on stitch
holder (sleeve), cast on 4-4-5-6-6-8 new sts on needles (side under sleeves), knit
105-109-113-128-148-152 sts (front piece), slip next 75-80-85-88-95-100 sts on stitch holder
(sleeve), cast on 4-4-5-6-6-8 new sts on needles (side under sleeves), knit remaining
53-55-57-64-74-76 sts (half back piece).
Finish body and sleeves separately!
Am I going to be knitting the sleeve stitches onto the holder or just slipping? I had a pattern a while ago where it didn’t say to knit them but then when I slipped them, the pattern got messed up and I had to go back and fix, so I just wanted to make sure.
Knit the half back sts, slip the next sleeve sts to a holder without knitting them. Cast on the given number of sts for your size right next to the half back sts (the sleeve sts are on the holder and out of the way). Knit across the front, slip the next sleeve sts directly on a holder without knitting them, cast on the underarm sts for your size and then knit the rest of the back sts.
I’ve actually noticed a couple errors in the pattern for the small size. When I divide for body and arms, I have 218 stitches. It wants me to increase every 10 rounds 5 times to 238 but that doesn’t divide evenly into the 18 stitches needed for the lace pattern when it comes back at the bottom… but increasing 4 times to 234 does. All the other sizes have their increases divide evenly into the 18 stitch lace motif.
Also, it has me cast on four stitches under each arm when I divide for the sleeve, (to get to 218) but then the sleeve says to pick up 8 stitches underneath and I’m not sure where it gets the extra four stitches from, because it can’t be from the extra increase for the small, since all the other sizes don’t have that issue.