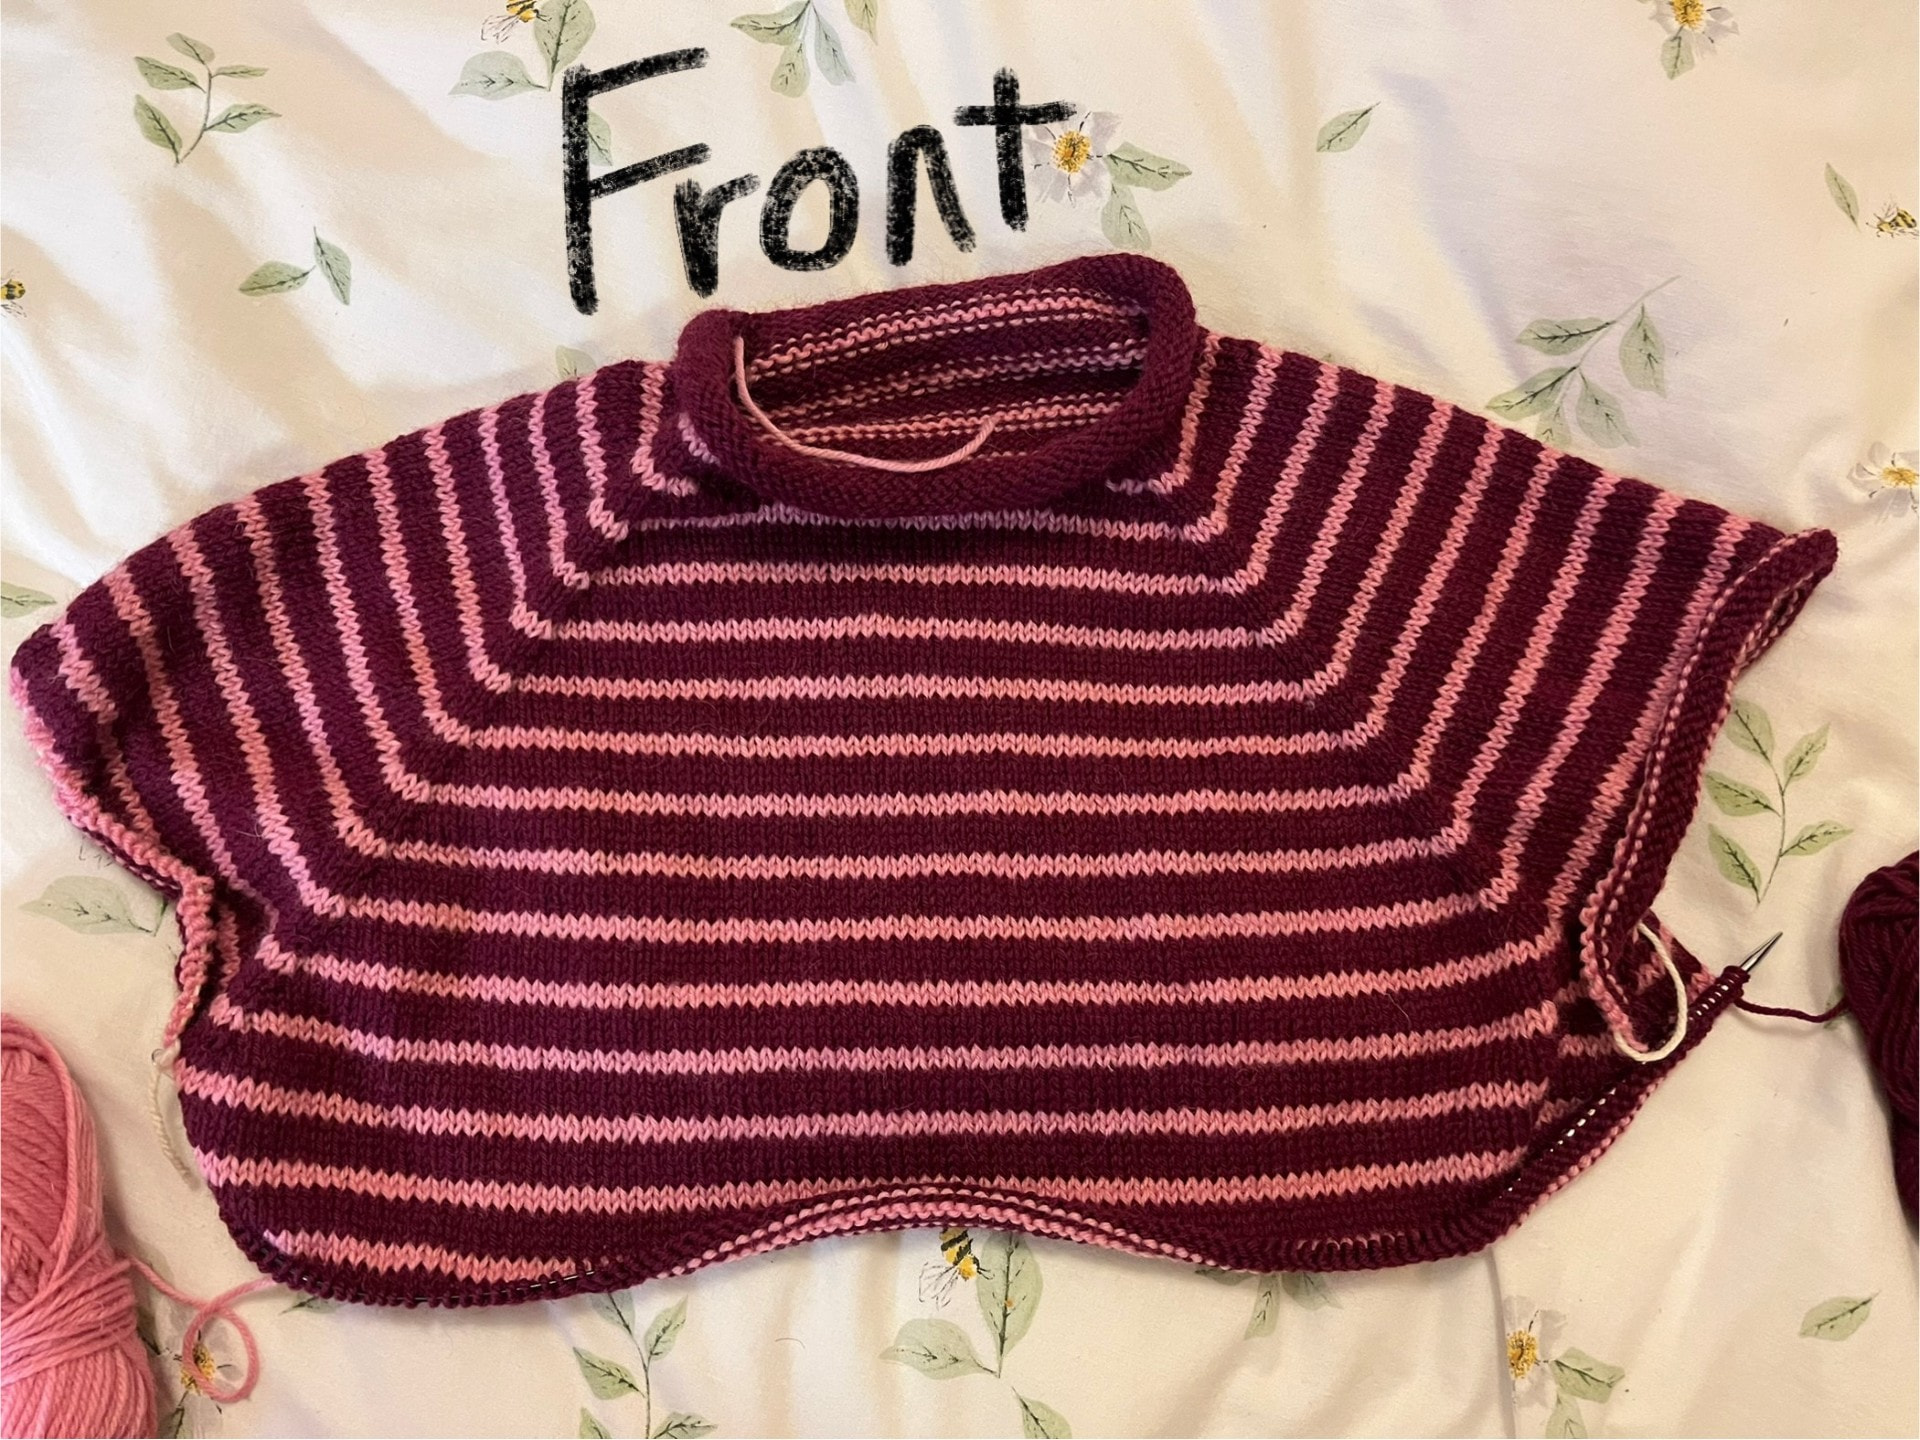
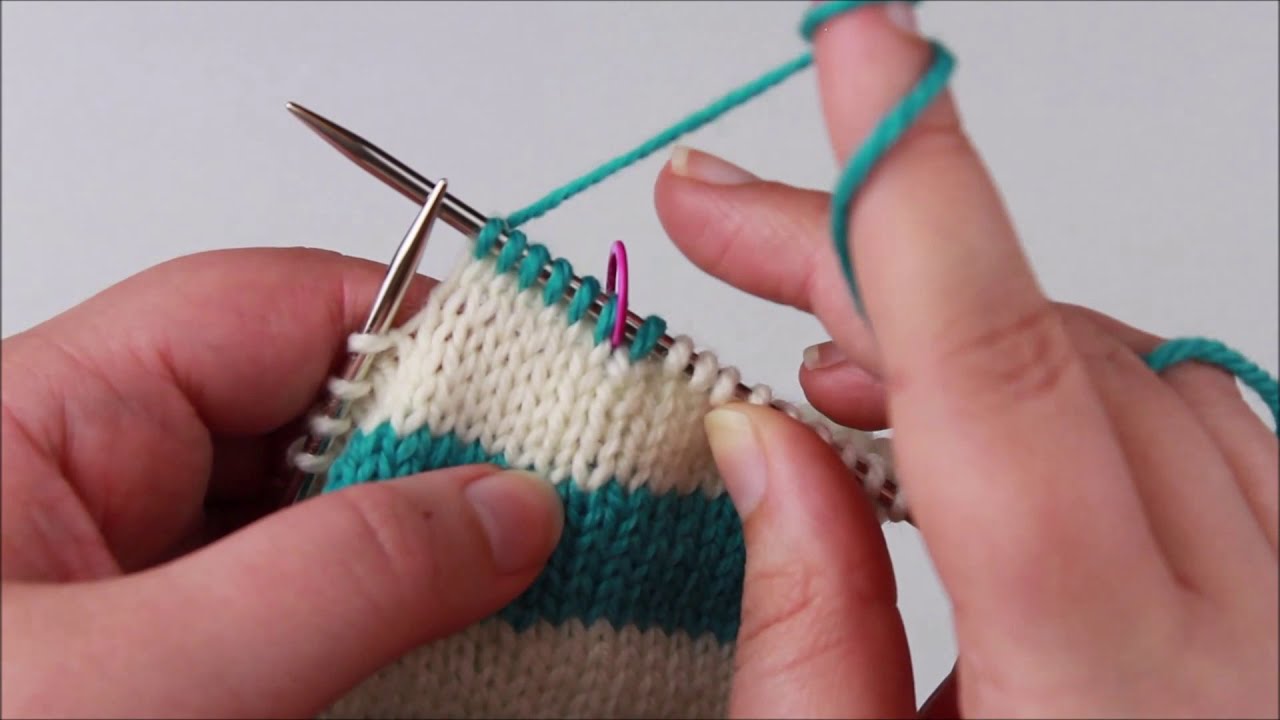
Hello everyone! This is my first time posting here. I’m a university student working on my second ever garment, the Frankie Sweater, and I don’t have any knitters in person to ask for advice. I’d love some help with a damage assessment.
The Issue:
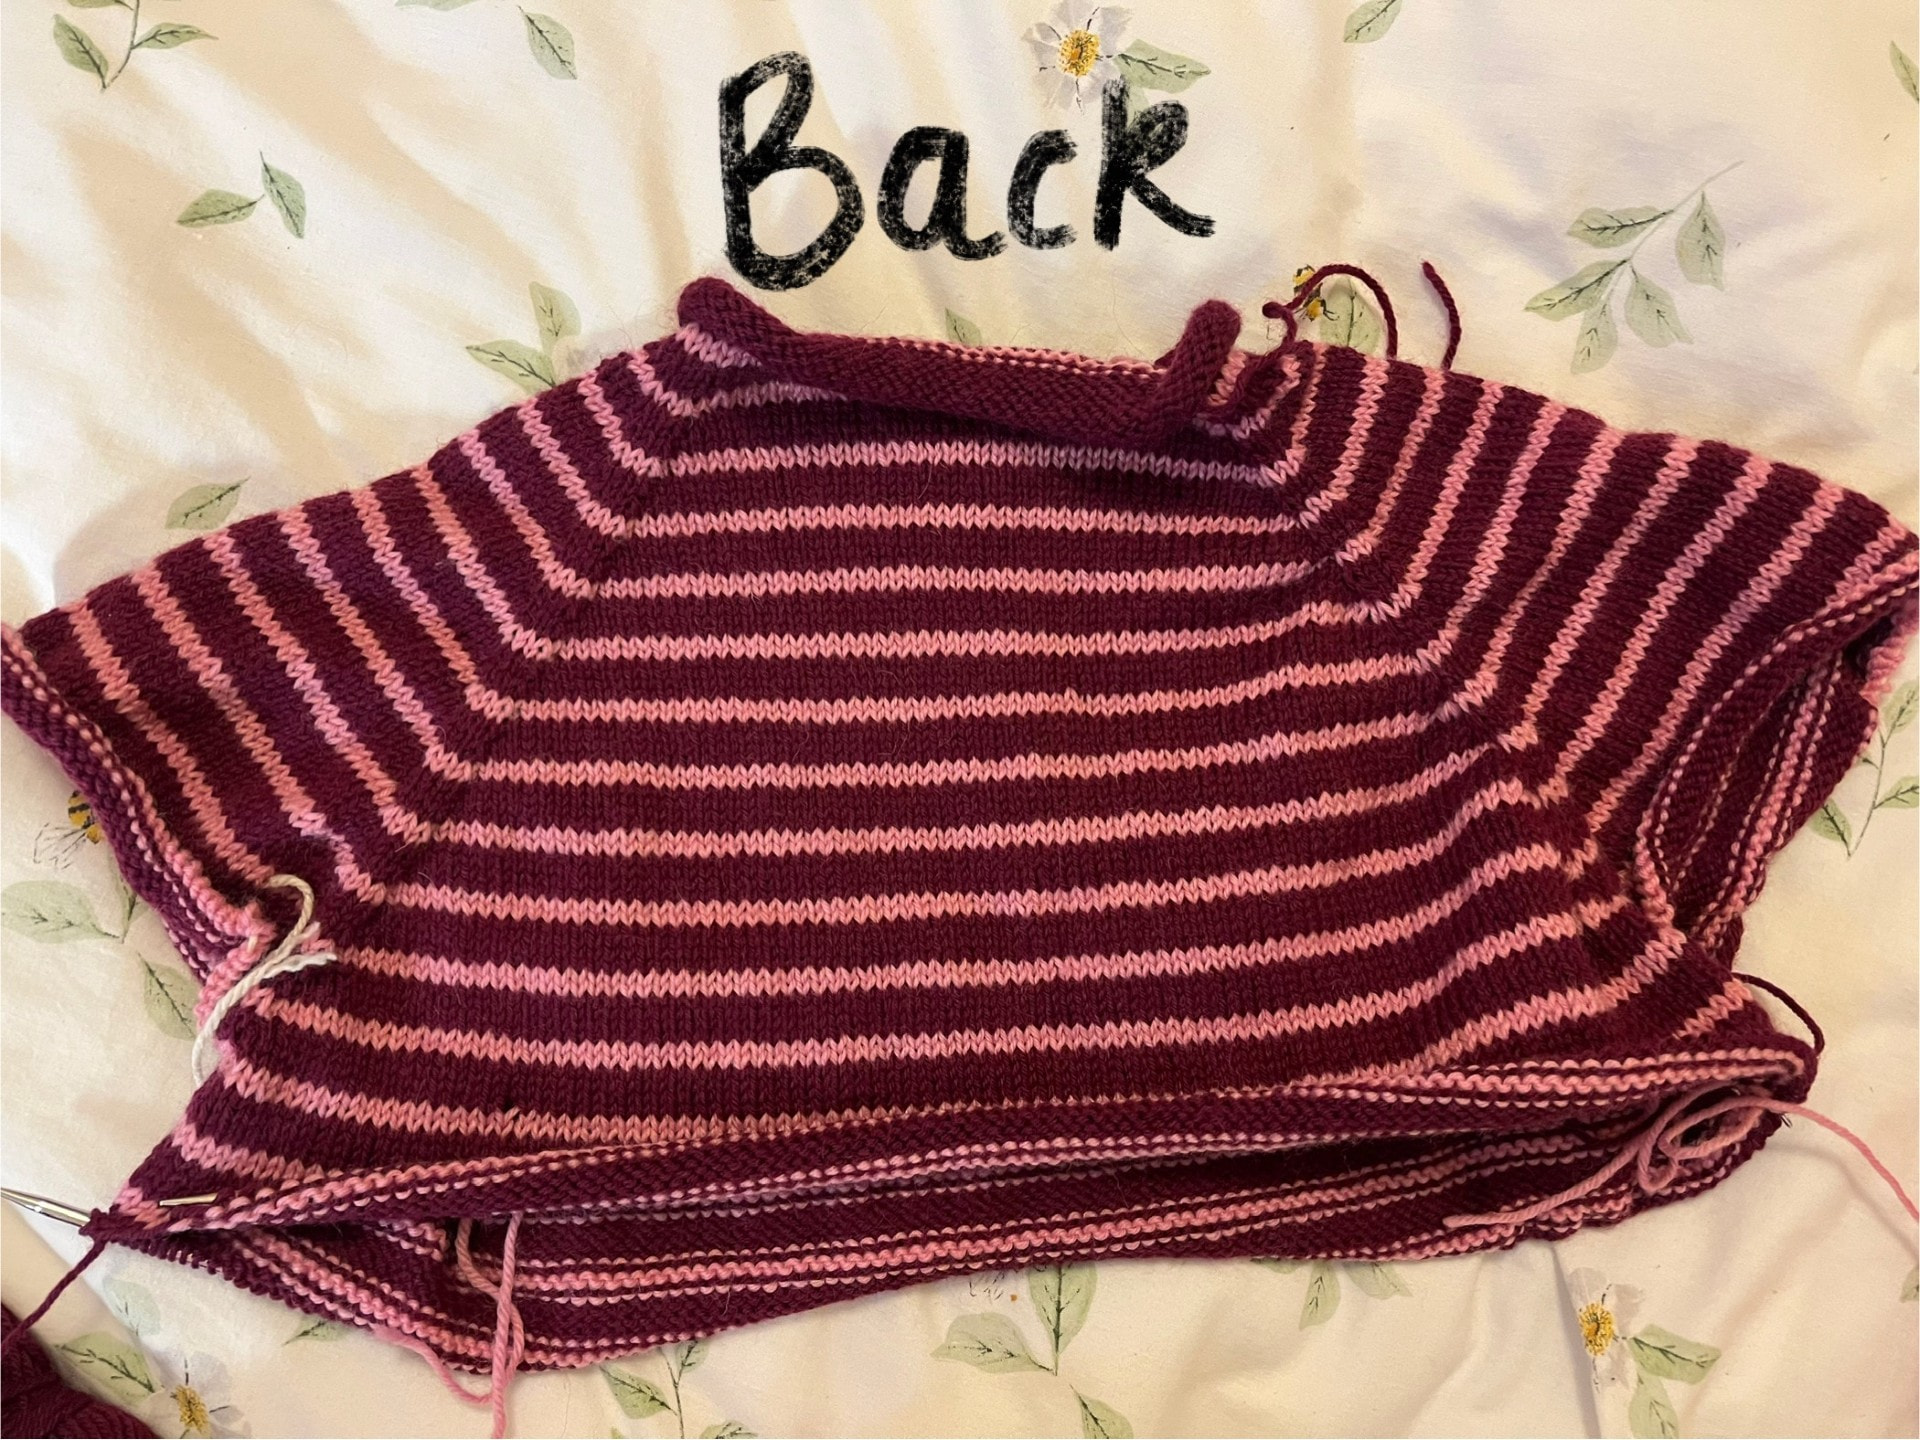
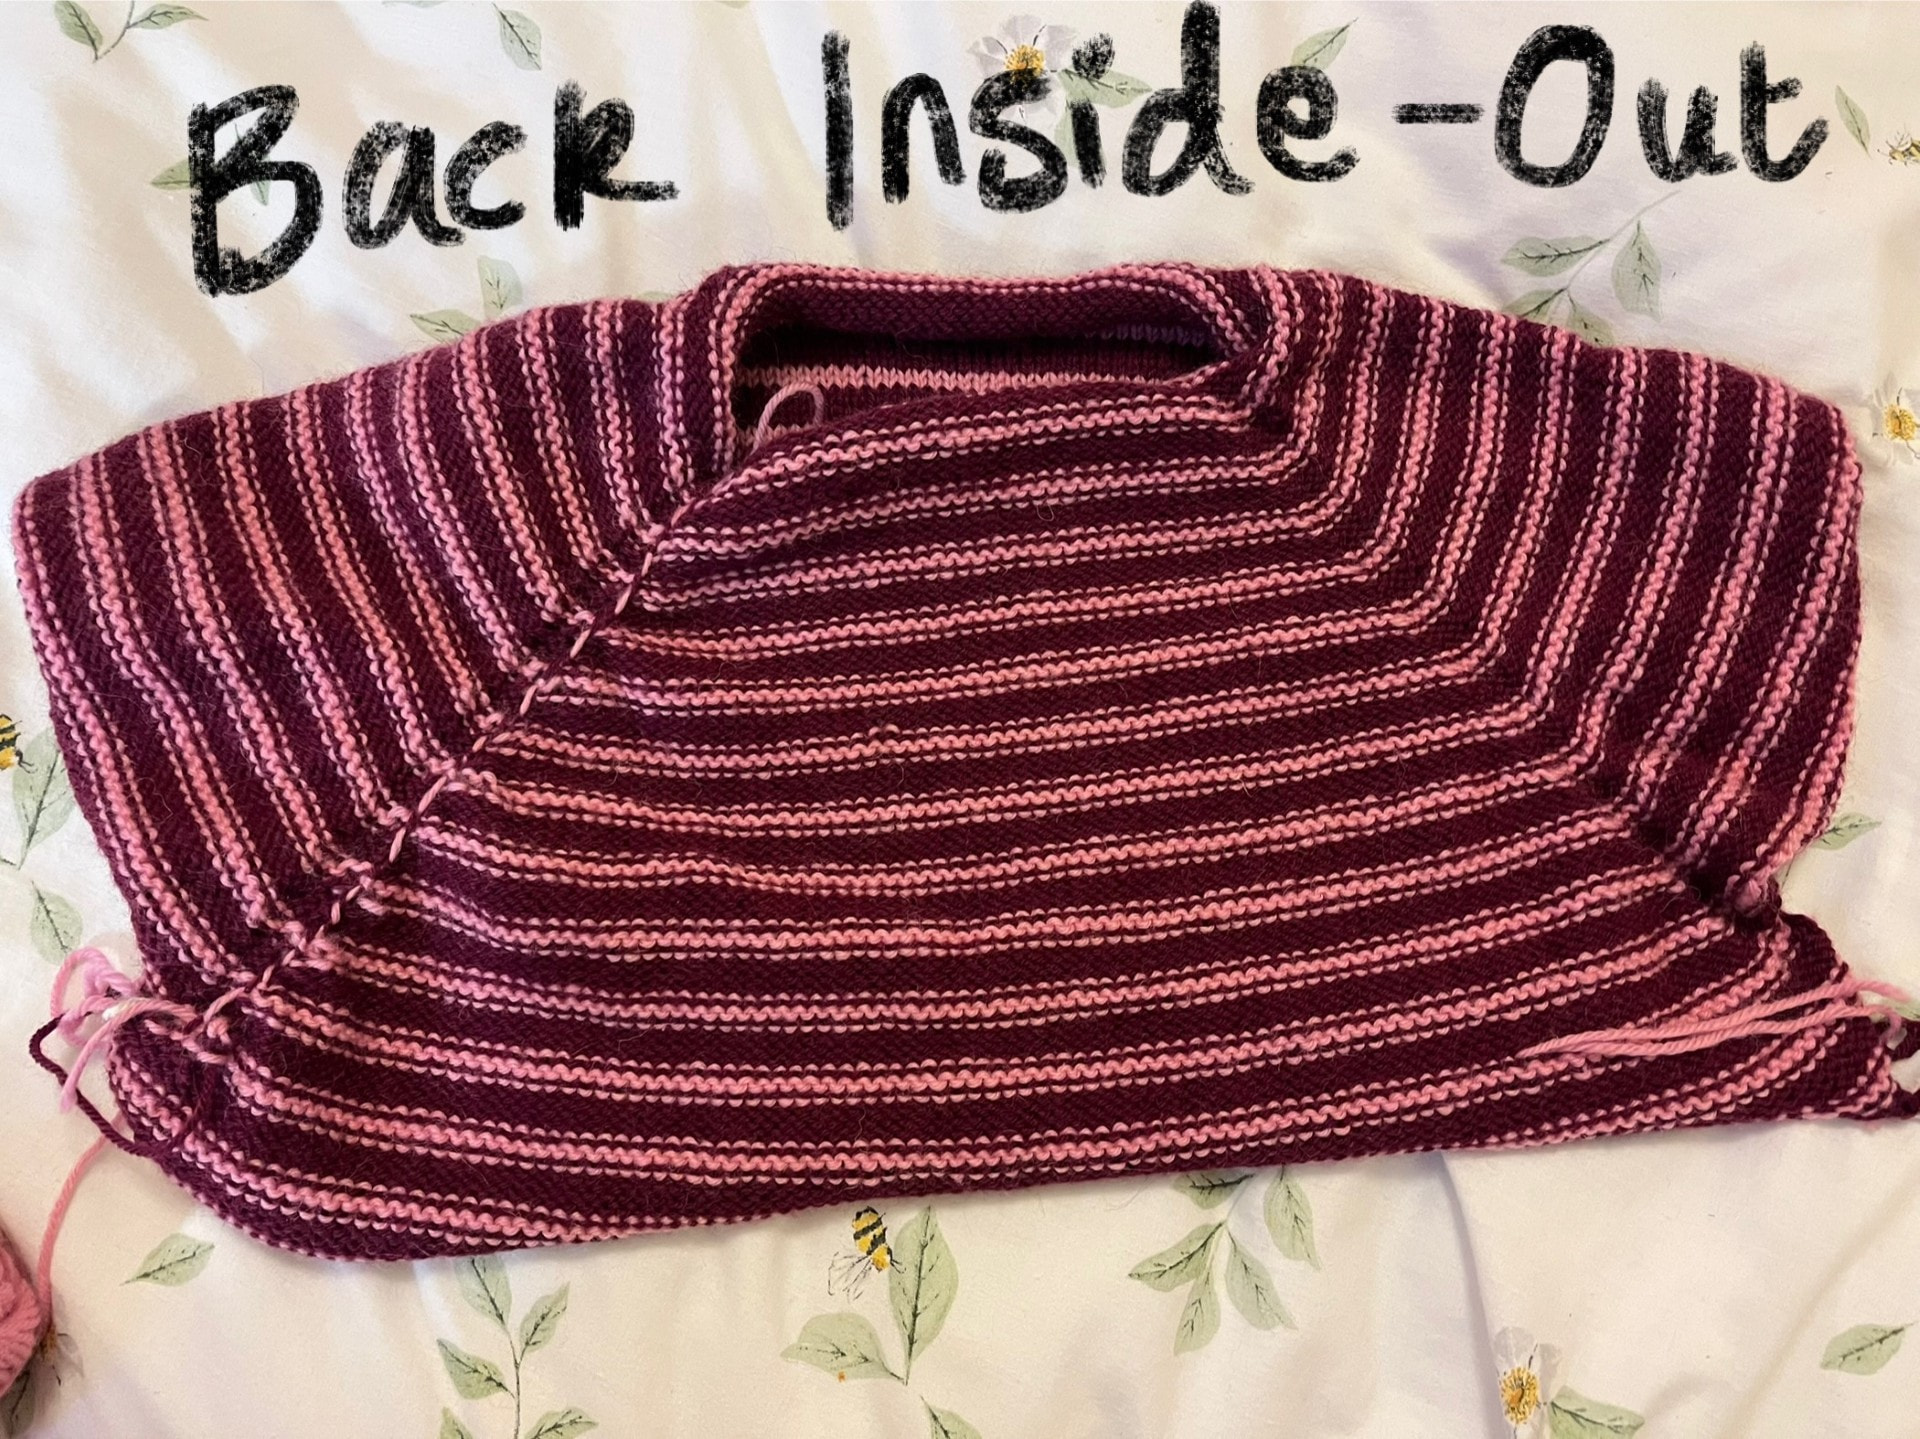
I am doing stripes and noticed a rippling along one of my raglan increase lines, right where I was carrying the yarn and swapping colours (back right shoulder). It doesn’t lie completely flat compared to my other increase lines.
I’m now working the body in the round on a longer cable (100cm), but looking back at the yoke, I don’t know if the rippling will ruin the final piece. I’ve been working on this for a month already.
My Questions:
- Is this going to block out? Or will it remain noticeably puckered?
- Should I frog it? It has already taken me a month to get here, so I’m quite hesitant…
- If I were to frog, where do I safely place a lifeline if I even could?
I wouldn’t know where to insert one to save my work after the German short rows but before the raglan increases.
I’ve attached a photo of the outside & inside of the work for reference. Any damage control advice or reassurance would be massively appreciated!
Thank you so much!!
3 Likes
Welcome to the forum!
The sweater looks lovely. Nice even knitting and pattern stripes. The slight pucker may be due to the color change and a slight tightening of the yarn at that point. Blocking may certainly help a bit but it’s not all that noticeable anyway.
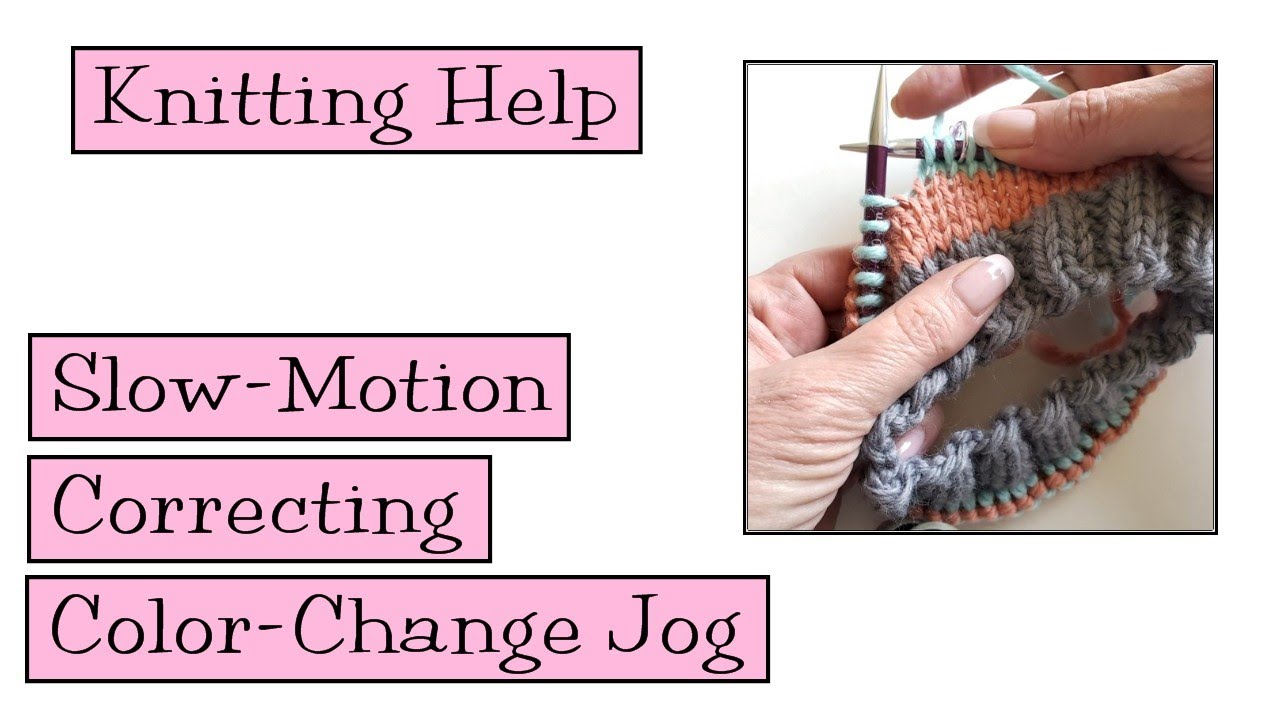
The ripple might also be a slight jog due to the change in color. There are a couple of ways of smoothing this out but the jog is somewhat hidden in your sweater by the raglan line. It’s not noticeable enough to need ripping out even though blocking may not help the jog.
These ways of avoiding a jog work best with wider stripes than you have but they are something to keep in mind for other striped items.
2 Likes
Hello
Your sweater looks really nice. I’d leave it as it is. When we hand make things we can end up looking very closely at every detail and feel every stitch must be perfect but I notice that shop bought items more often than not have glaring ‘errors’ which no one ever comments on. I’ve seen totally out of alignment stripes and cables mushed into seams on shop bought sweaters, things hand knitters usually avoid.
Whilst it’s okay to set ourselves higher standards for our hand knits we can also give ourselves a break and not get too bogged down in every little detail.
No need to frog it at all.
There is a stripe on the back about 4 down from the neck which looks more puckered than the others, it could just be how it is laid out for the photo. If not, if that section has something tight going on which really does not open up into a stripe when you hold or move the fabric, then I’d investigate that and see which colour is pulling it into the pucker. If you can work out which colour or stitches are very tight you can follow the row along and ‘borrow’ some yarn from other stitches (or perhaps from the carried yarn on the inside) to gradually bring some yarn to that point. It is suprising how much yarn can be redistributed without making the rest of the row look small but which can then allow a particulalry tight stitch to open up a bit. You don’t need to look for perfection.
Thanks for sharing pics, I always like seeing what other people are making. Hope you’ll stick around on tne forum.
Your knitting looks great! So nice and even. I think you probably pulled the yarn a bit too tight when carrying it up along the raglan. Blocking will help, and when worn it will not be noticeable at all.
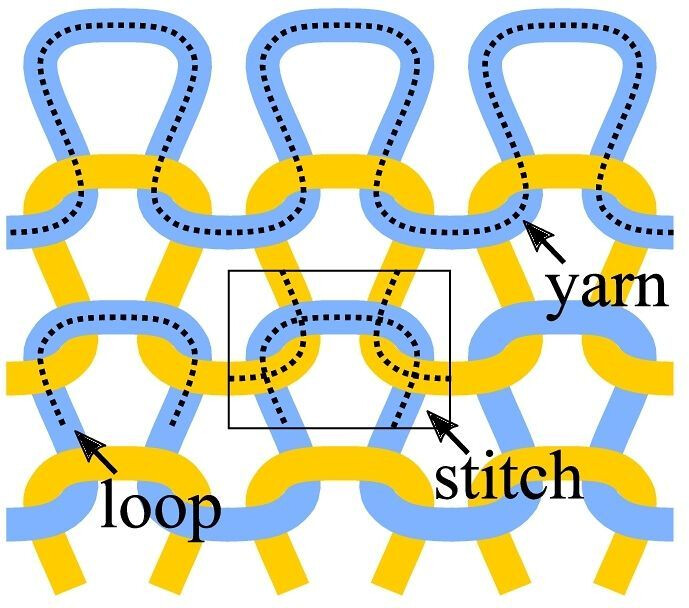
But if you want to try @Creations suggestion, you’d start maybe 6 stitches to one side and give a tiny tug to one leg of the stitch, which will loosen the 5th stitch. Tug again, then the 4th stitch and so on to the raglan line. Then do the same on the other side of the line. As @Creations said, it’s surprising how much yarn you can “find” this way. I use the tip of another needle to do this.
This video shows sort of the same technique, used to tighten a snagged stitch. https://verypink.com/2015/01/21/fixing-loose-stitches-and-snags/
And here’s a diagram showing how knit stitches are formed. To redistribute the yarn, you’d follow the blue line.
3 Likes