I’m working on quite a complex pattern for a jumper and am wondering if I have to do the evenly numbered rows in reverse order just as the swatch suggests?
And also if I was to reverse order would I need to reverse order the brackets too? Because I have on my knitting markers between each pat so it wouldnt make sense to reverse order them?
Can you tell us the name of your pattern and designer? It helps to know what you’re making.
I assume that there are charts? This is simply the normal way to read a chart–odd-numbered rows are worked right to left, as you knit them, but the even-numbered rows have to be read left to right, because you’re now working on the back of the fabric.
Your markers will be fine where they are. I find it helpful to draw lines on my pattern where I’ve got markers, maybe even color-coding different pattern elements.
2 Likes
I’m going to hazard a guess that it’s just the order the different patterns are in that you reverse.
Ie pattern on right side is a, b, c
Pattern on wrong side is c, b, a
I don’t think it means reverse the individual stitches.
Are you working in the round or flat? Maybe the swatch was knit flat so it reminded you to reverse the order but the project is in the round so you keep the order as given and always work the right side rows?
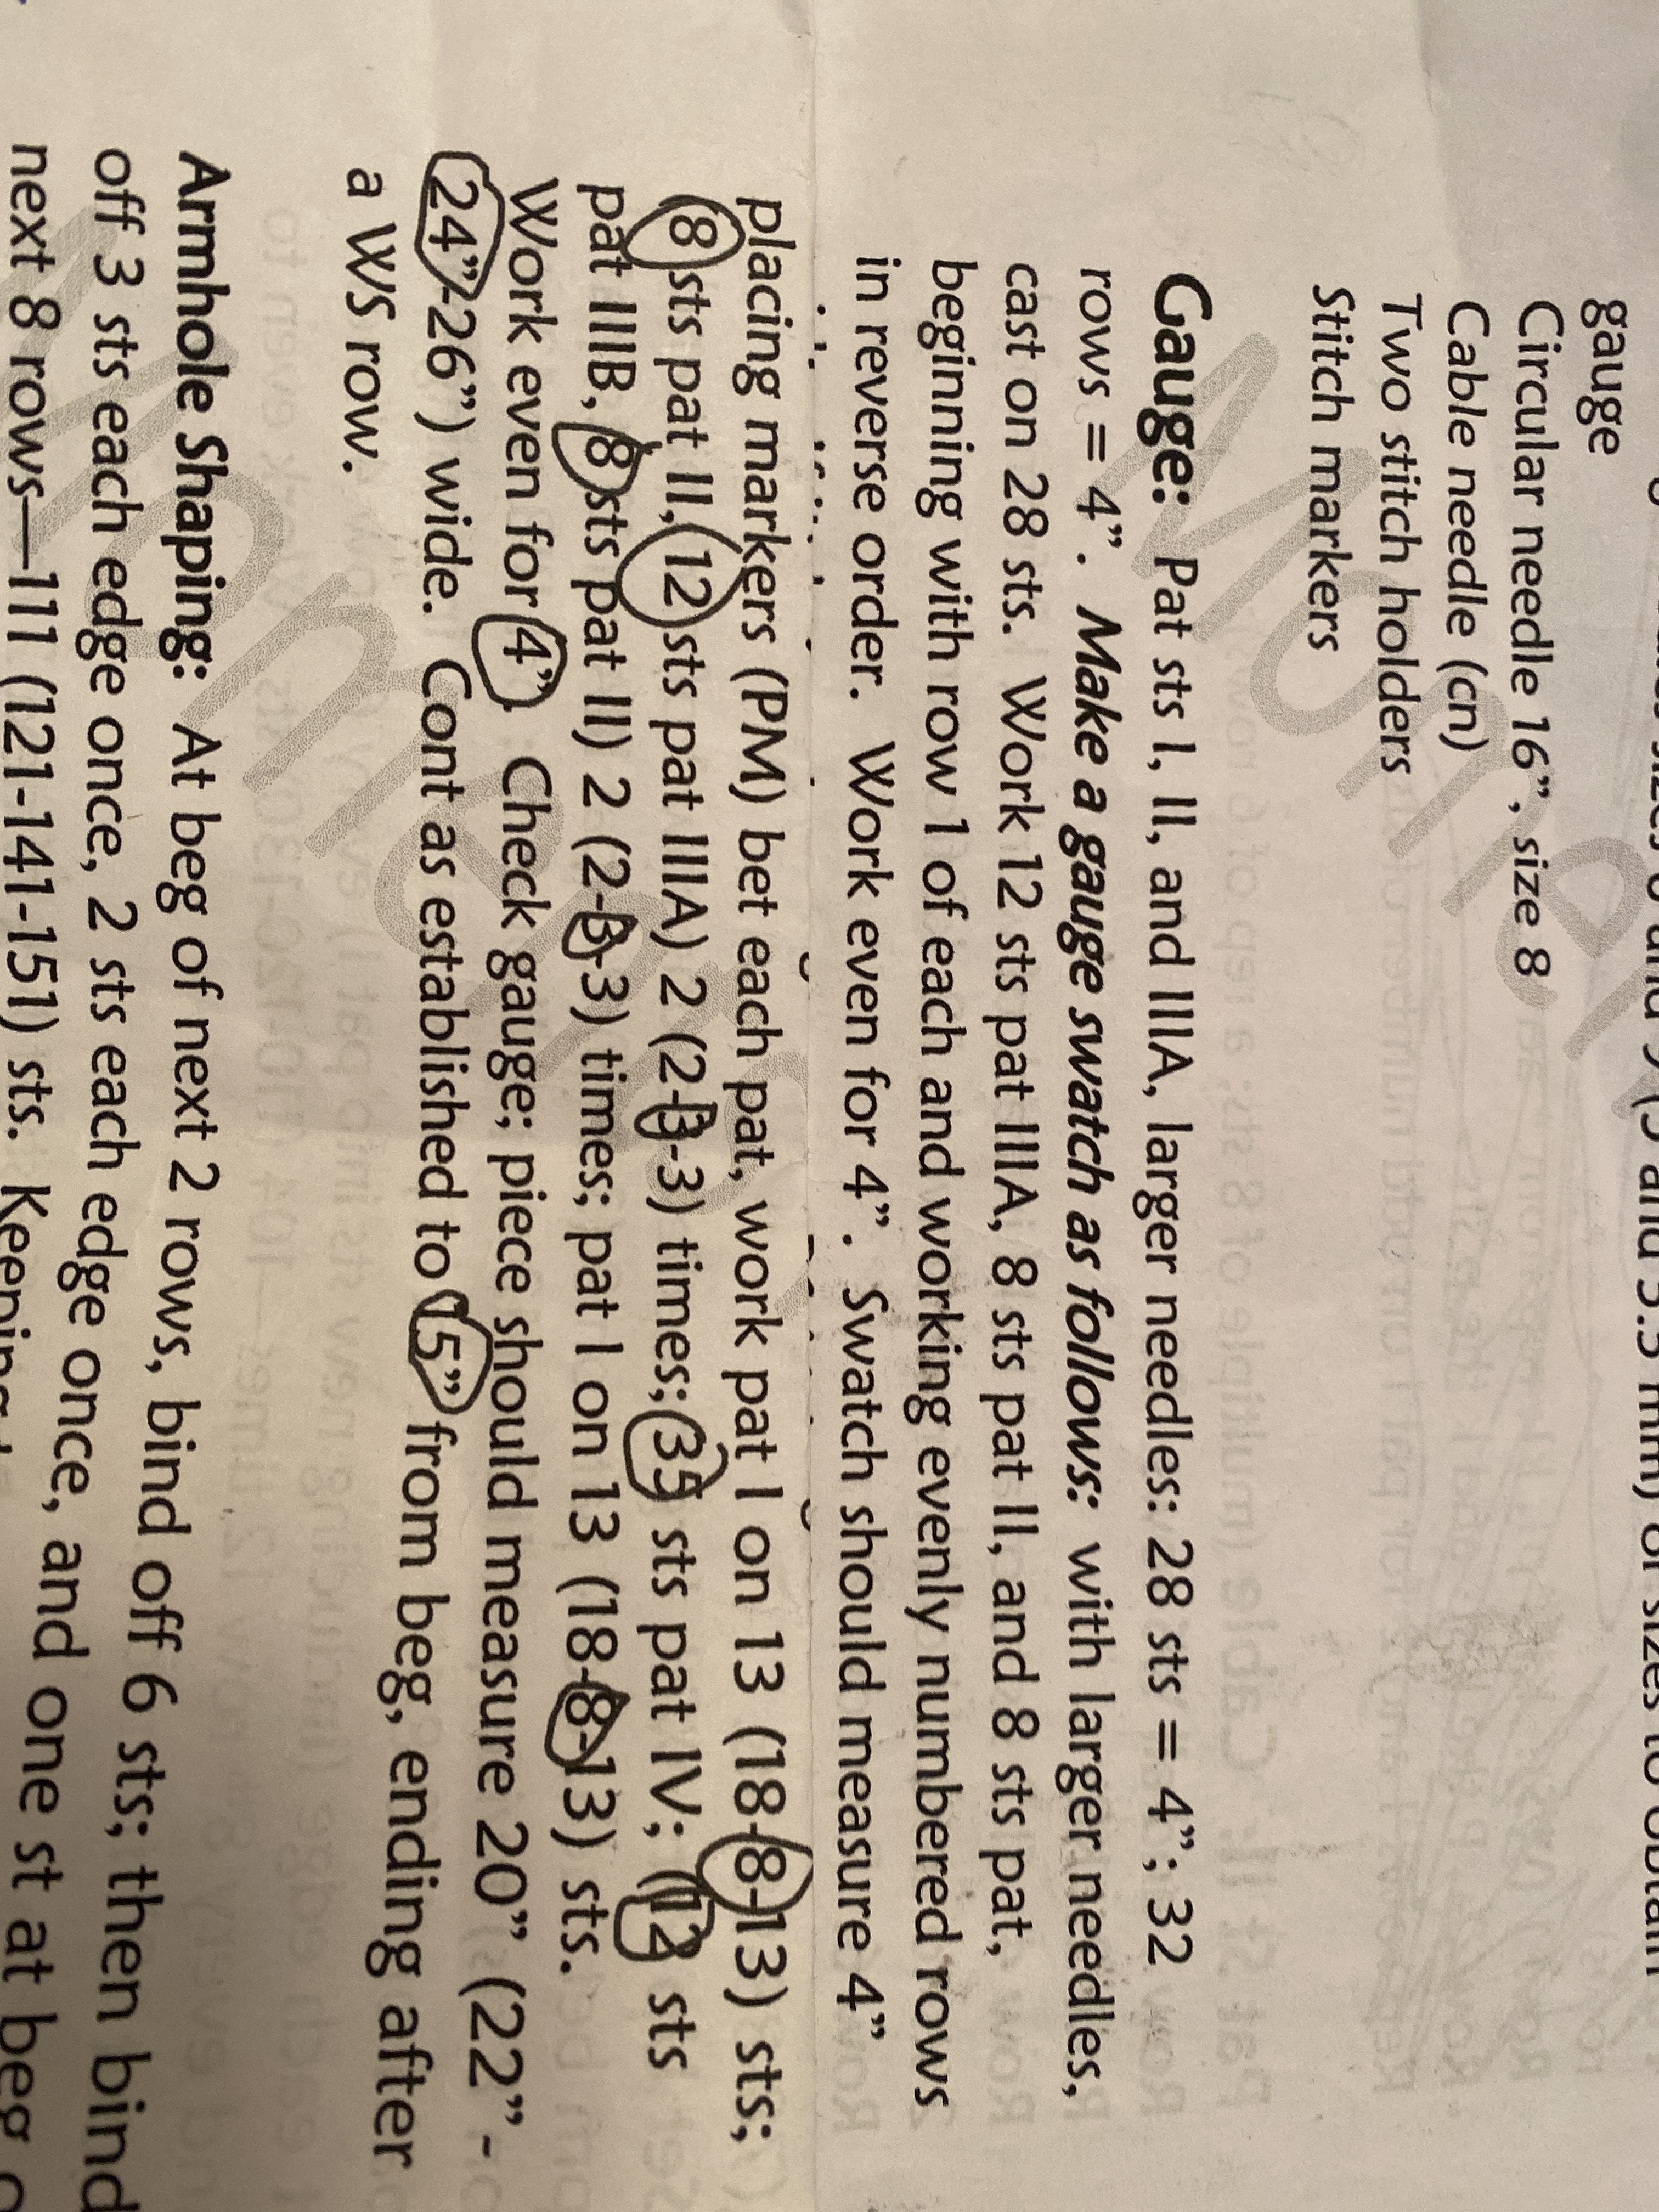
Ah apologies it’s men’s guernsey cable sweater off of Etsy on moments in twine. No charts.
So what I’ve been doing is odd numbered rows pat I (patt II pat IIIA x times) pat IV (pat IIIB pat II x times) pat I.
Then for the even numbered rows I’ve been doing the reverse: pat I (pat IIIB pat II x times) pat IV (pat IIIA pat II x times) pat I.
Yeh I also think that it’s not to reverse the individual stitches but the pattern order.
No, I’m knitting it flat.
You would need to reverse the patterns in the brackets too.
(Pat II, PAT IIIA) 3 times
Is
Pat II, PAT IIIA, Pat II, PAT IIIA, Pat II, PAT IIIA
And on the wrong side row
PAT IIIA, Pat II, PAT IIIA, Pat II, PAT IIIA, Pat II
So that every row from Pat II sits above the previous row from PAt II.
I think you’ve probably got this, but I am maybe misunderstanding your post.
It could help to colour code with a coloured sewing thread looped in the knitting so you can place them with right side facing and when you turn the work the loop shows through on the wrong side too, to ensure the pattern aligns. You could jot the colour next to your pattern instructions.
1 Like
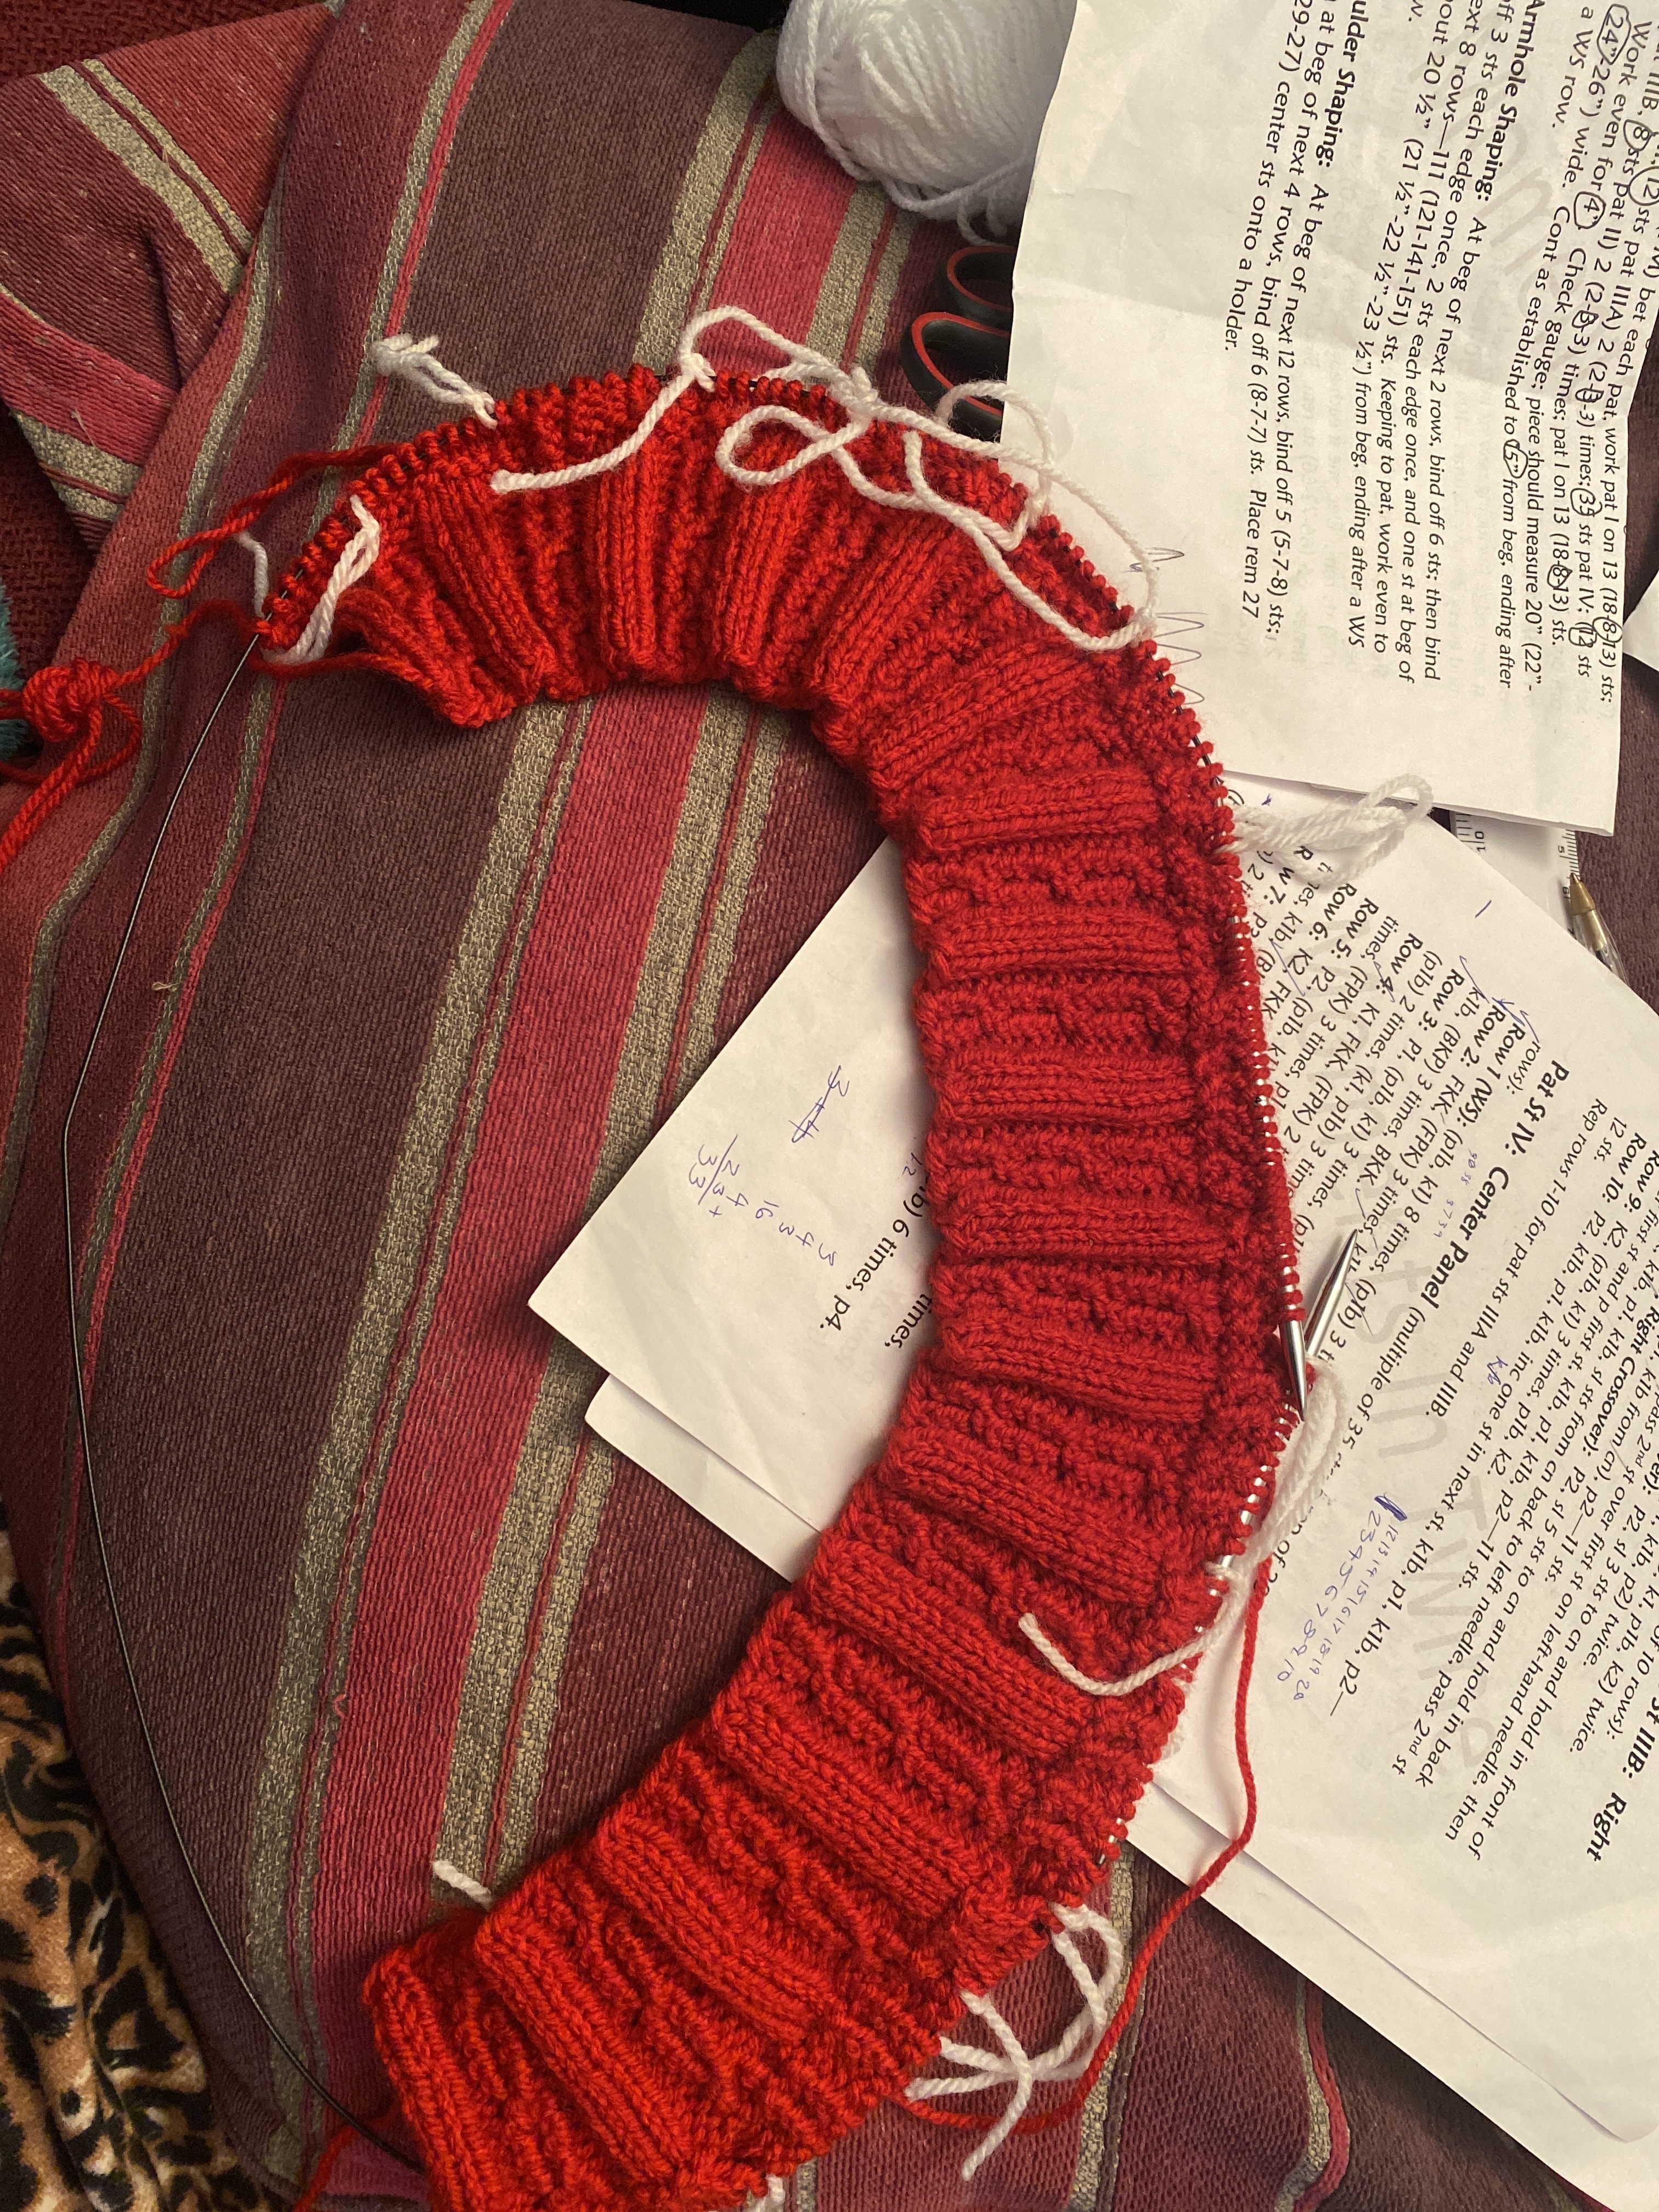
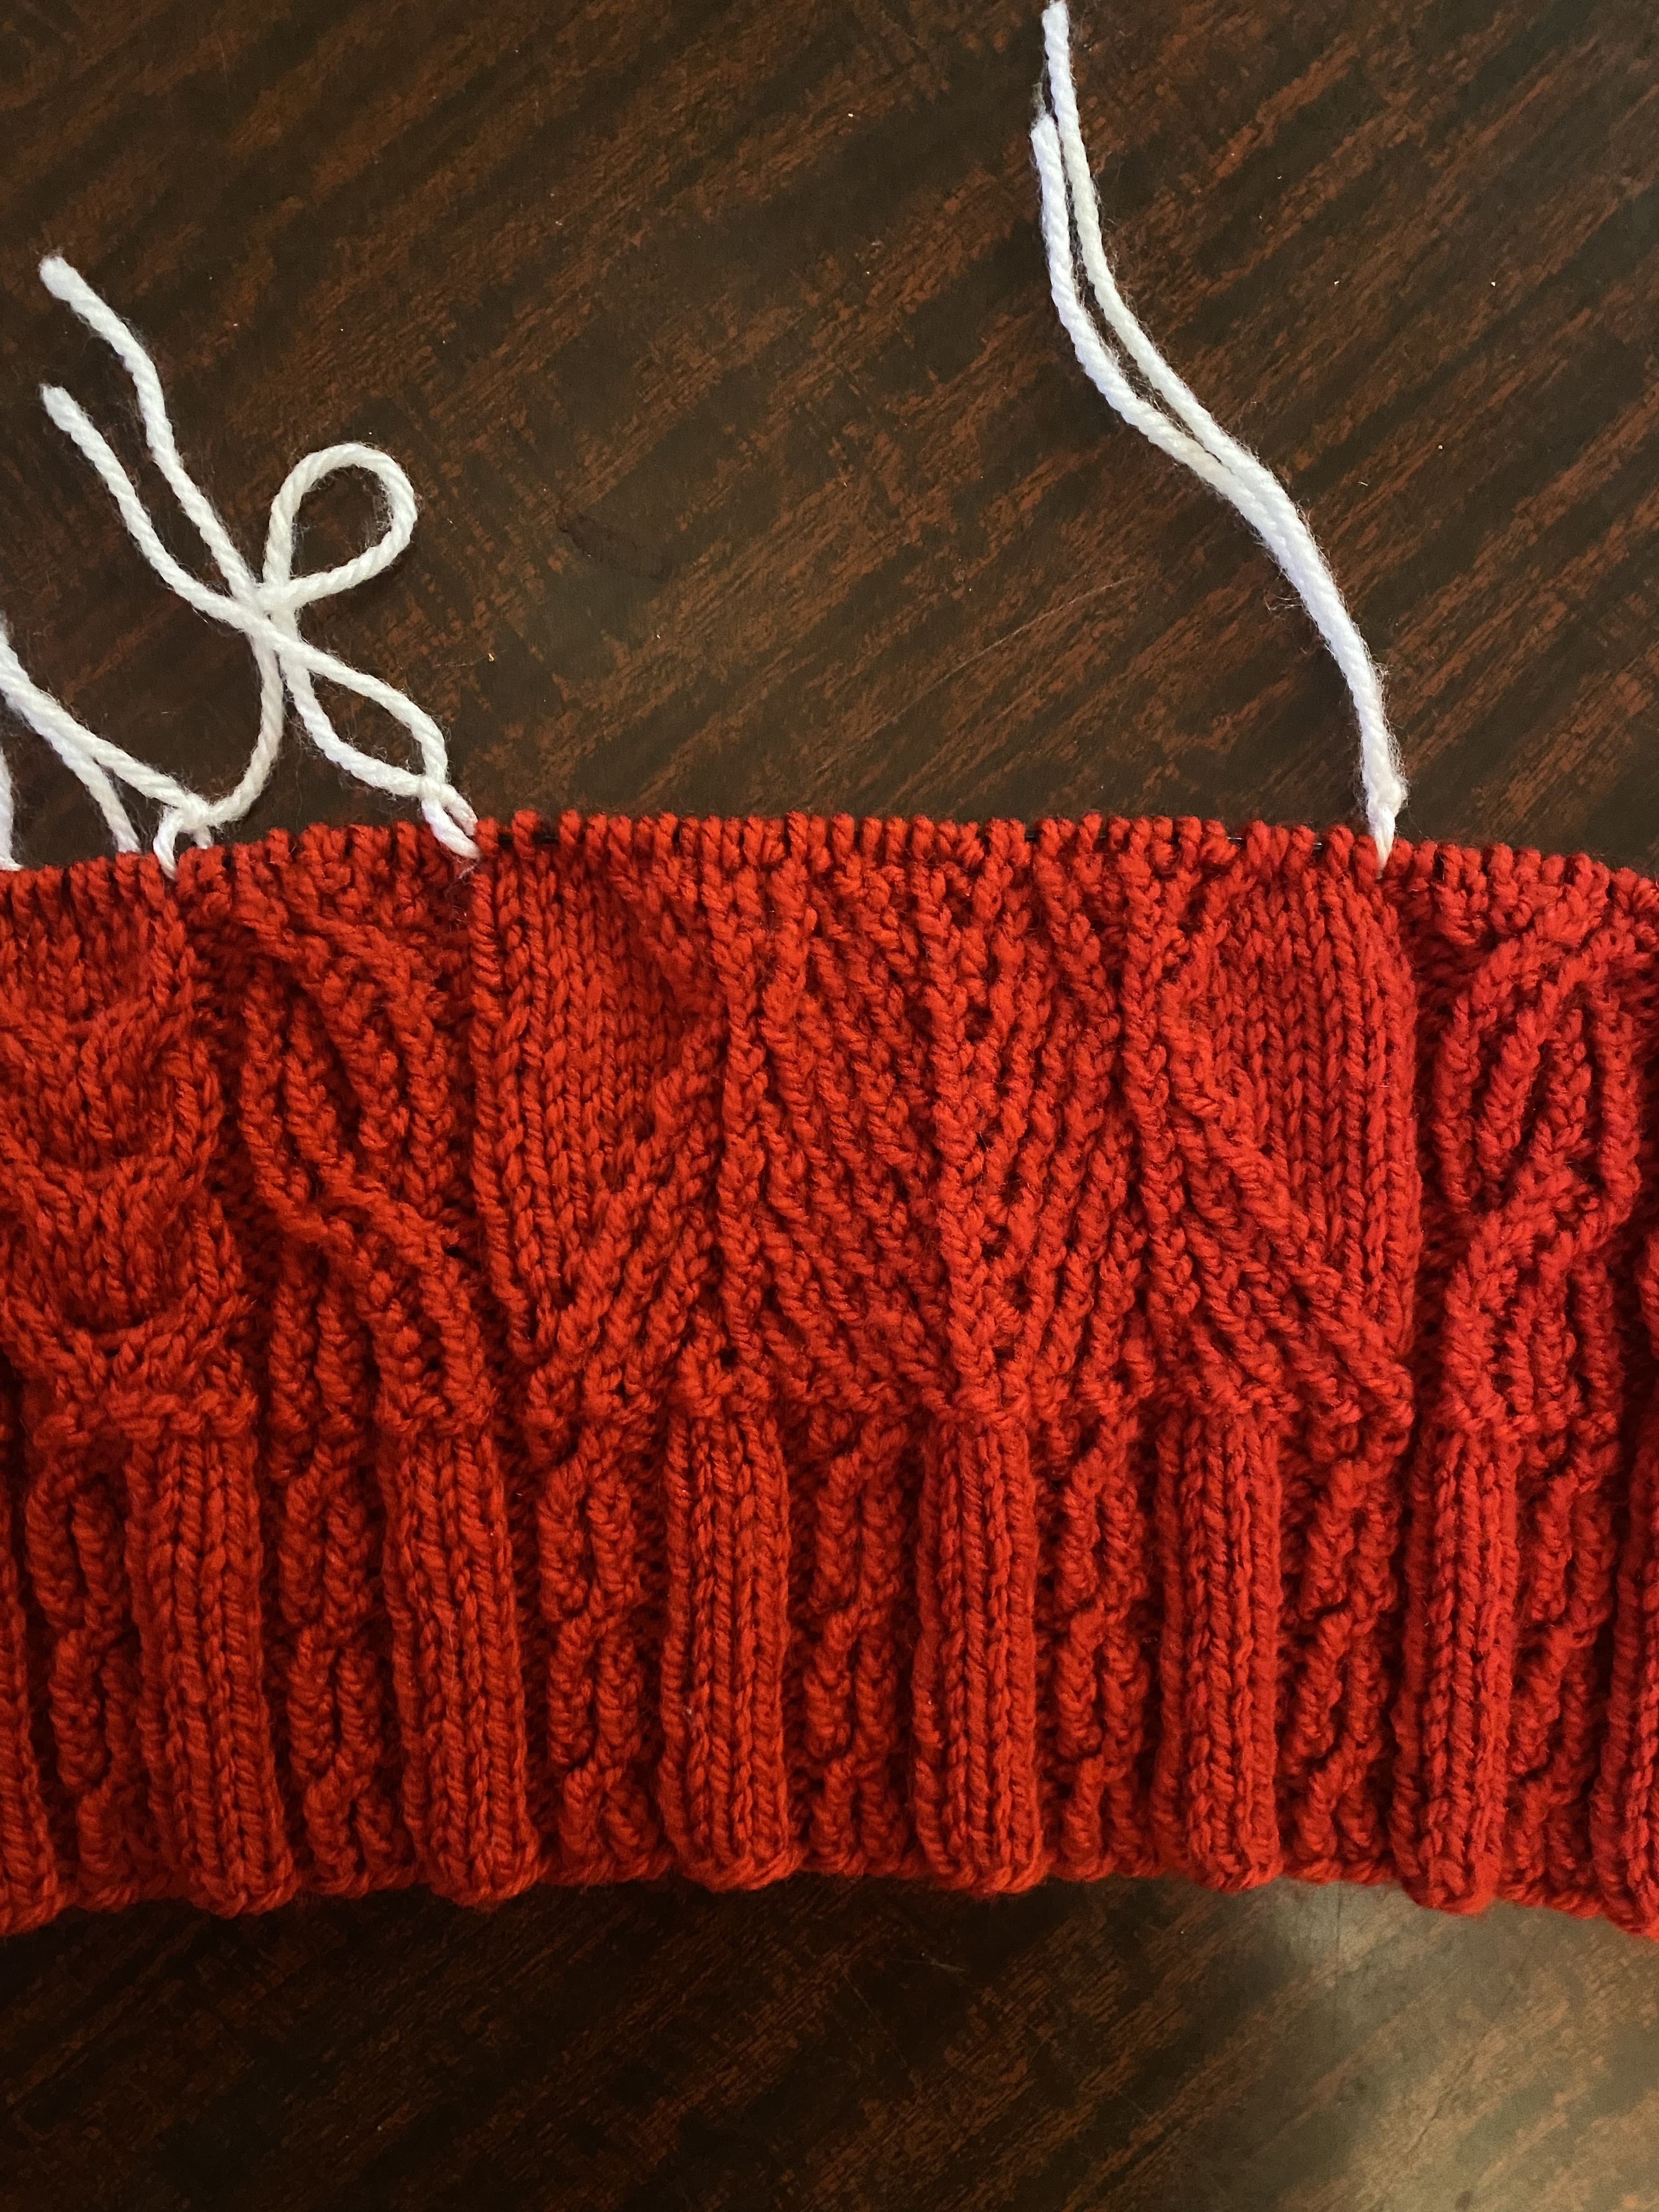
That’s a good idea, at the moment I have white yarn tied in knots that seems to be working.
And yes that is what I meant in terms of reversing it. Above is me trying to explain it.
.
IMG_4776|900x1200
For most patterns with stitch patterns like this (I’m working one now), the advice to knit the knits and purl the purls is easiest to follow. That just means that on the wrong side rows you can look at the stitches as you see them on the left hand needle and knit the Vs and purl the bumps. Makes the wrong side row much easier to knit.
What is the name of the pattern and designer?
https://www.etsy.com/listing/520748675/knitted-mens-guernsey-and-cable-knit
I believe this one, linked on an earlier thread.
1 Like
So I’m hating that this pattern has so many wrong instructions ![]() found another on row 14 for pat IV in that it starts k6 and ends p6 and it should end k6.
found another on row 14 for pat IV in that it starts k6 and ends p6 and it should end k6.
Is there any way that I can make those purl stitches knit ones without having to tink about 4 rows?
It’s fairly straightforward to knit over to the errant purls, drop those sts off the needle either one at a time or all four at once then ladder them each back up to the current row.
This is much more complicated than your sts but it gives you the idea of reworking these sts all at once. I’ve also done this one column at a time rather than all at once.
https://www.youtube.com/watch?v=-RmexrJRIDo
So frustrating to be editing this pattern as you knit.
It is and I almost have to knit it to visualise any errors.
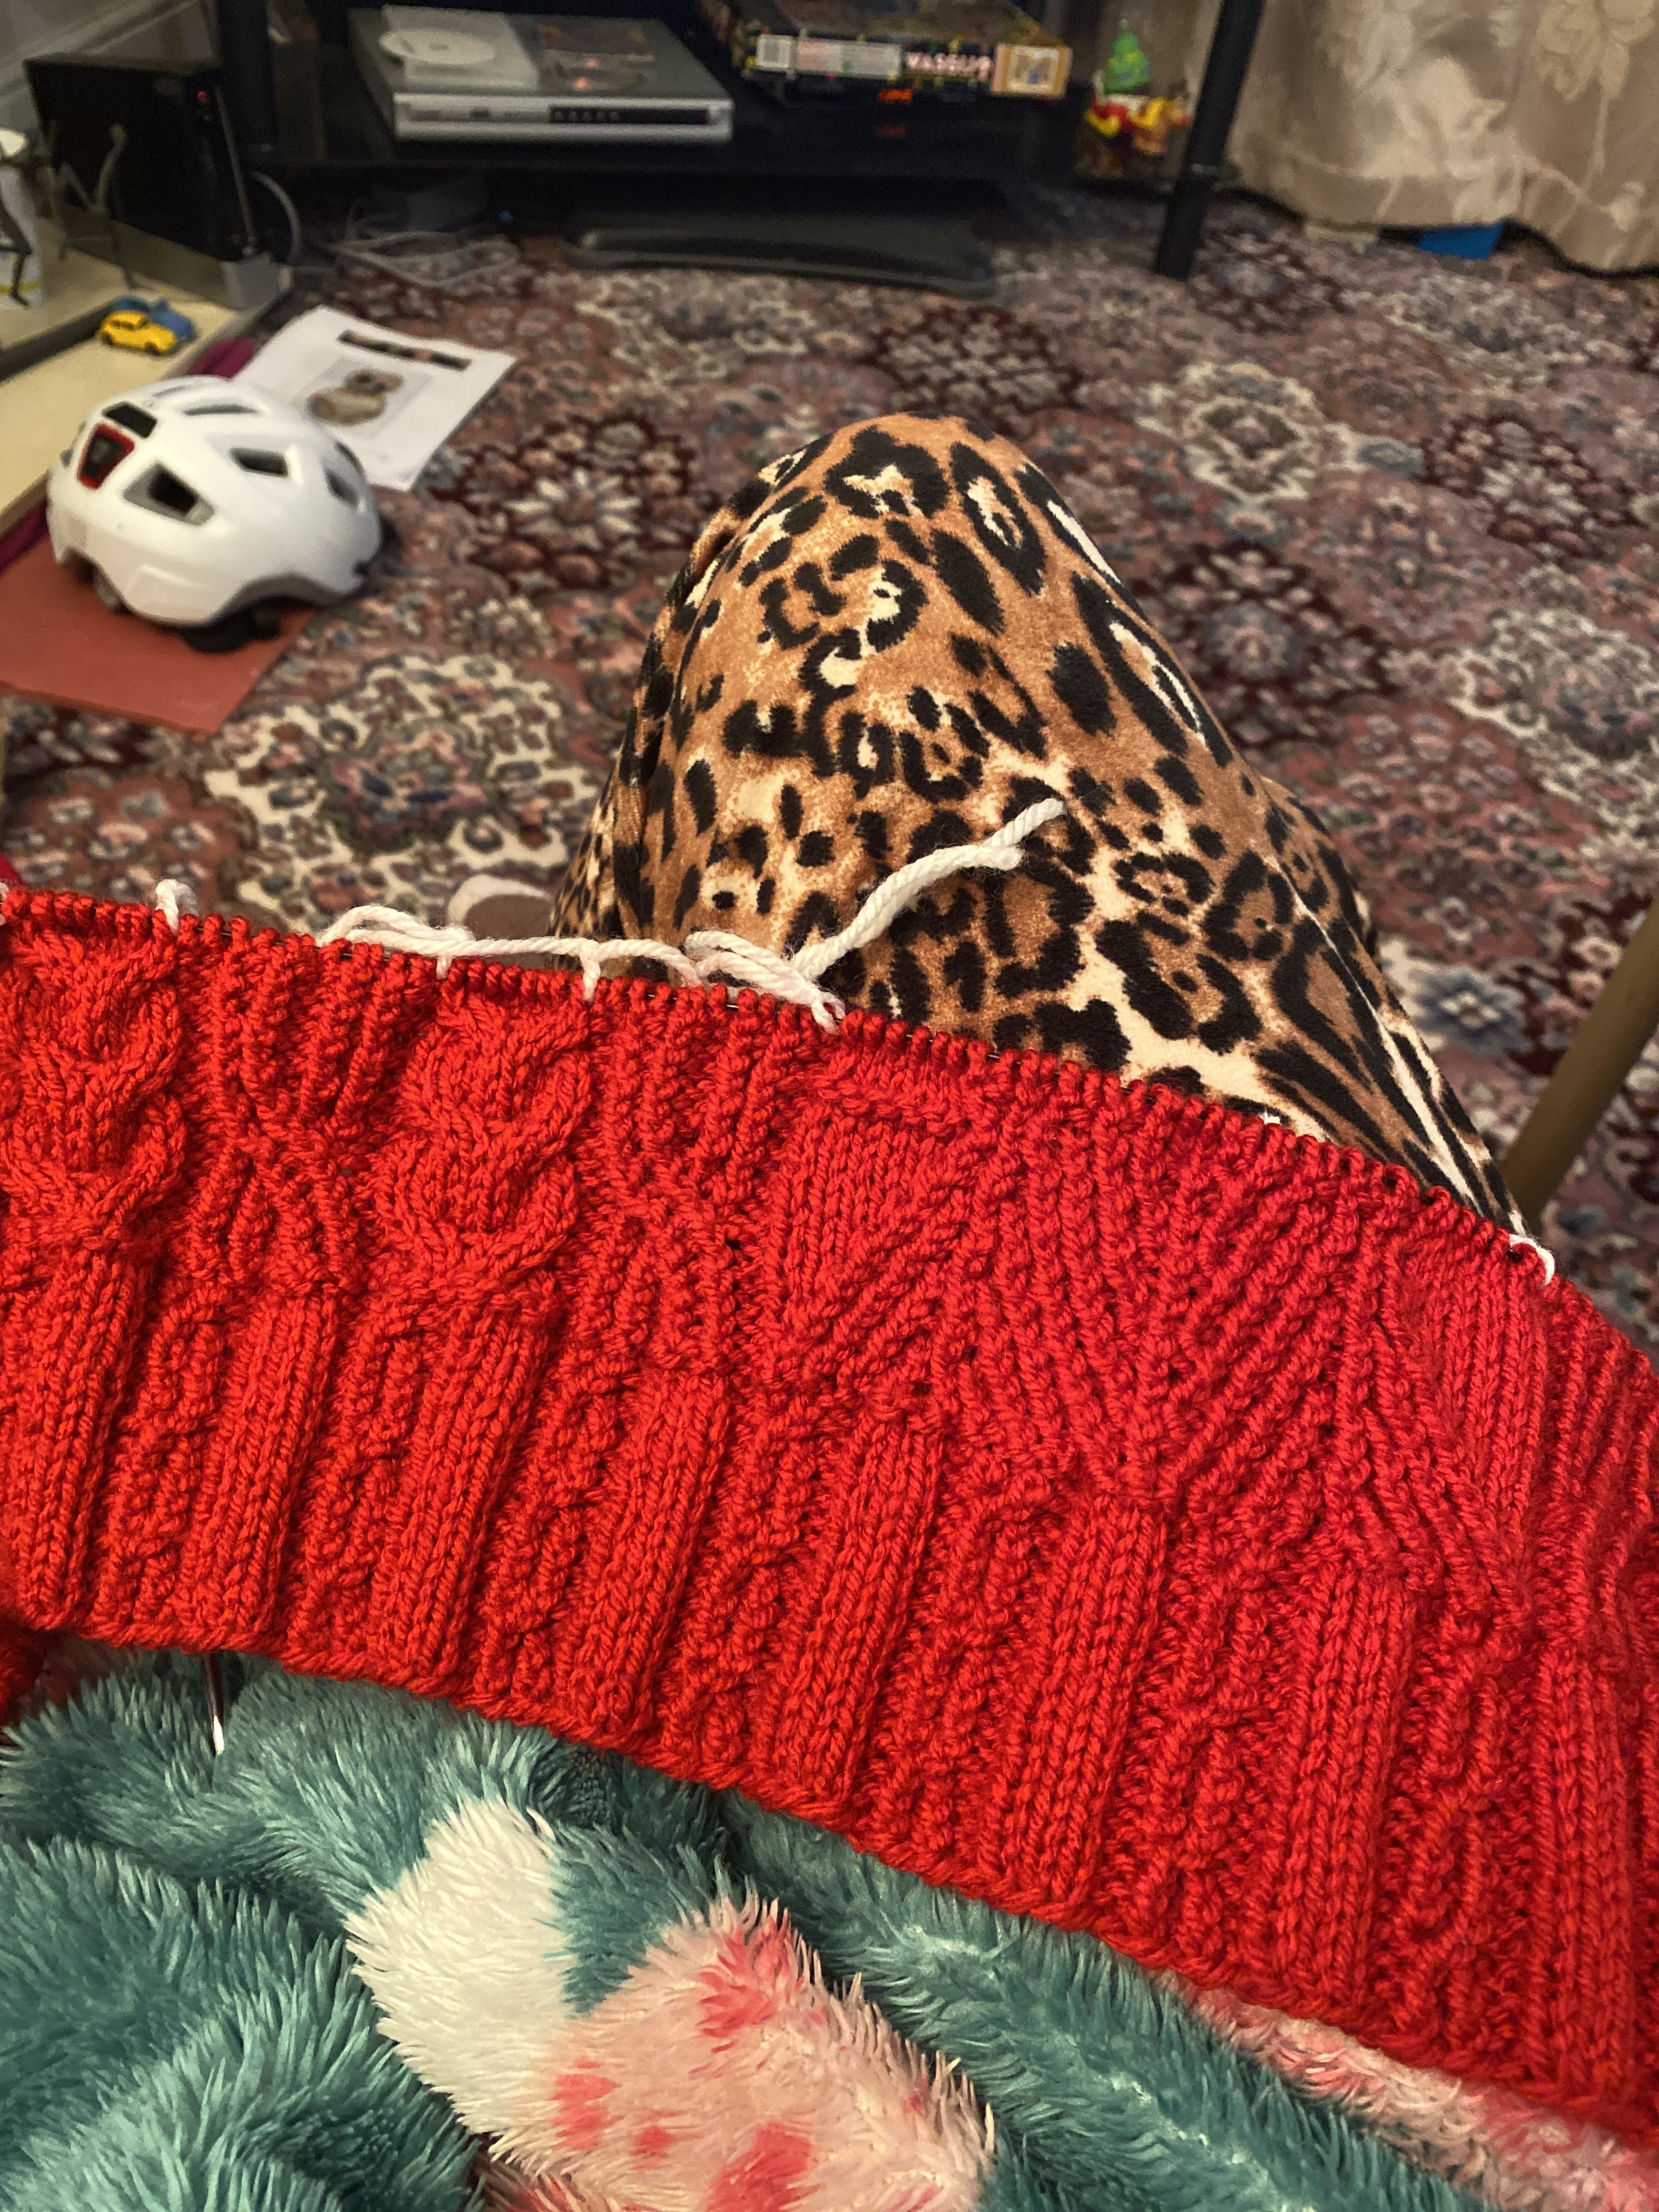
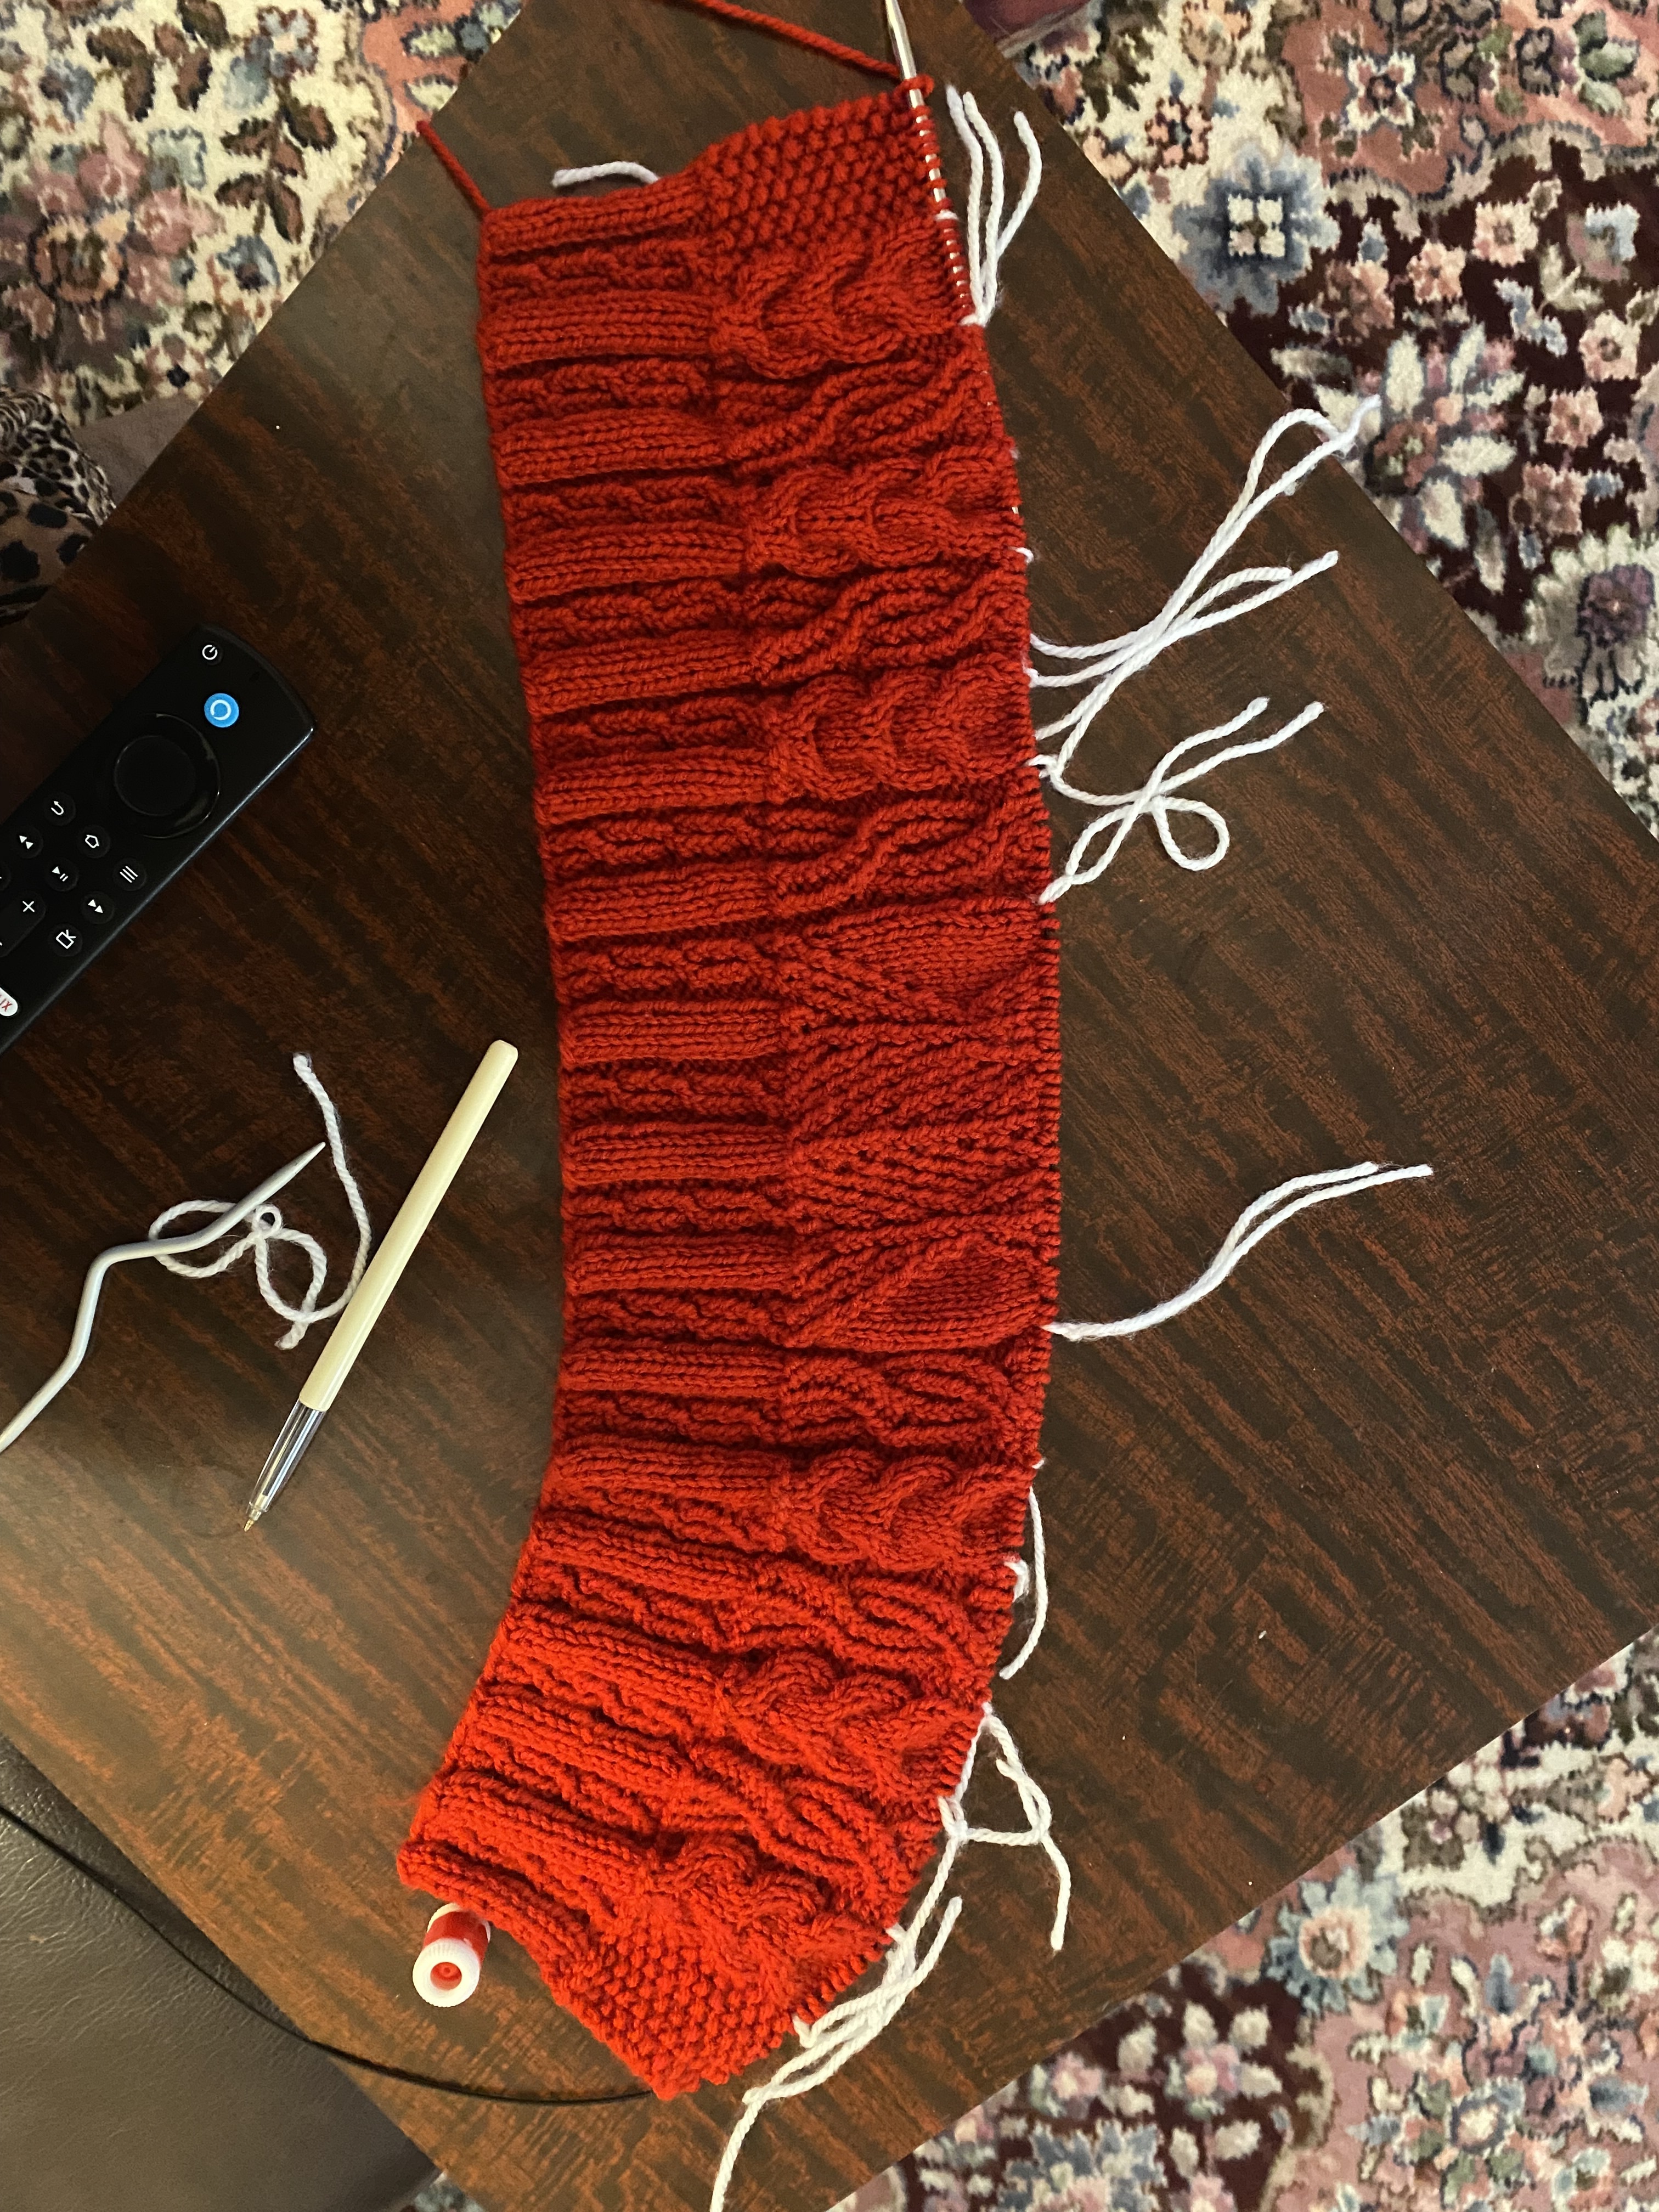
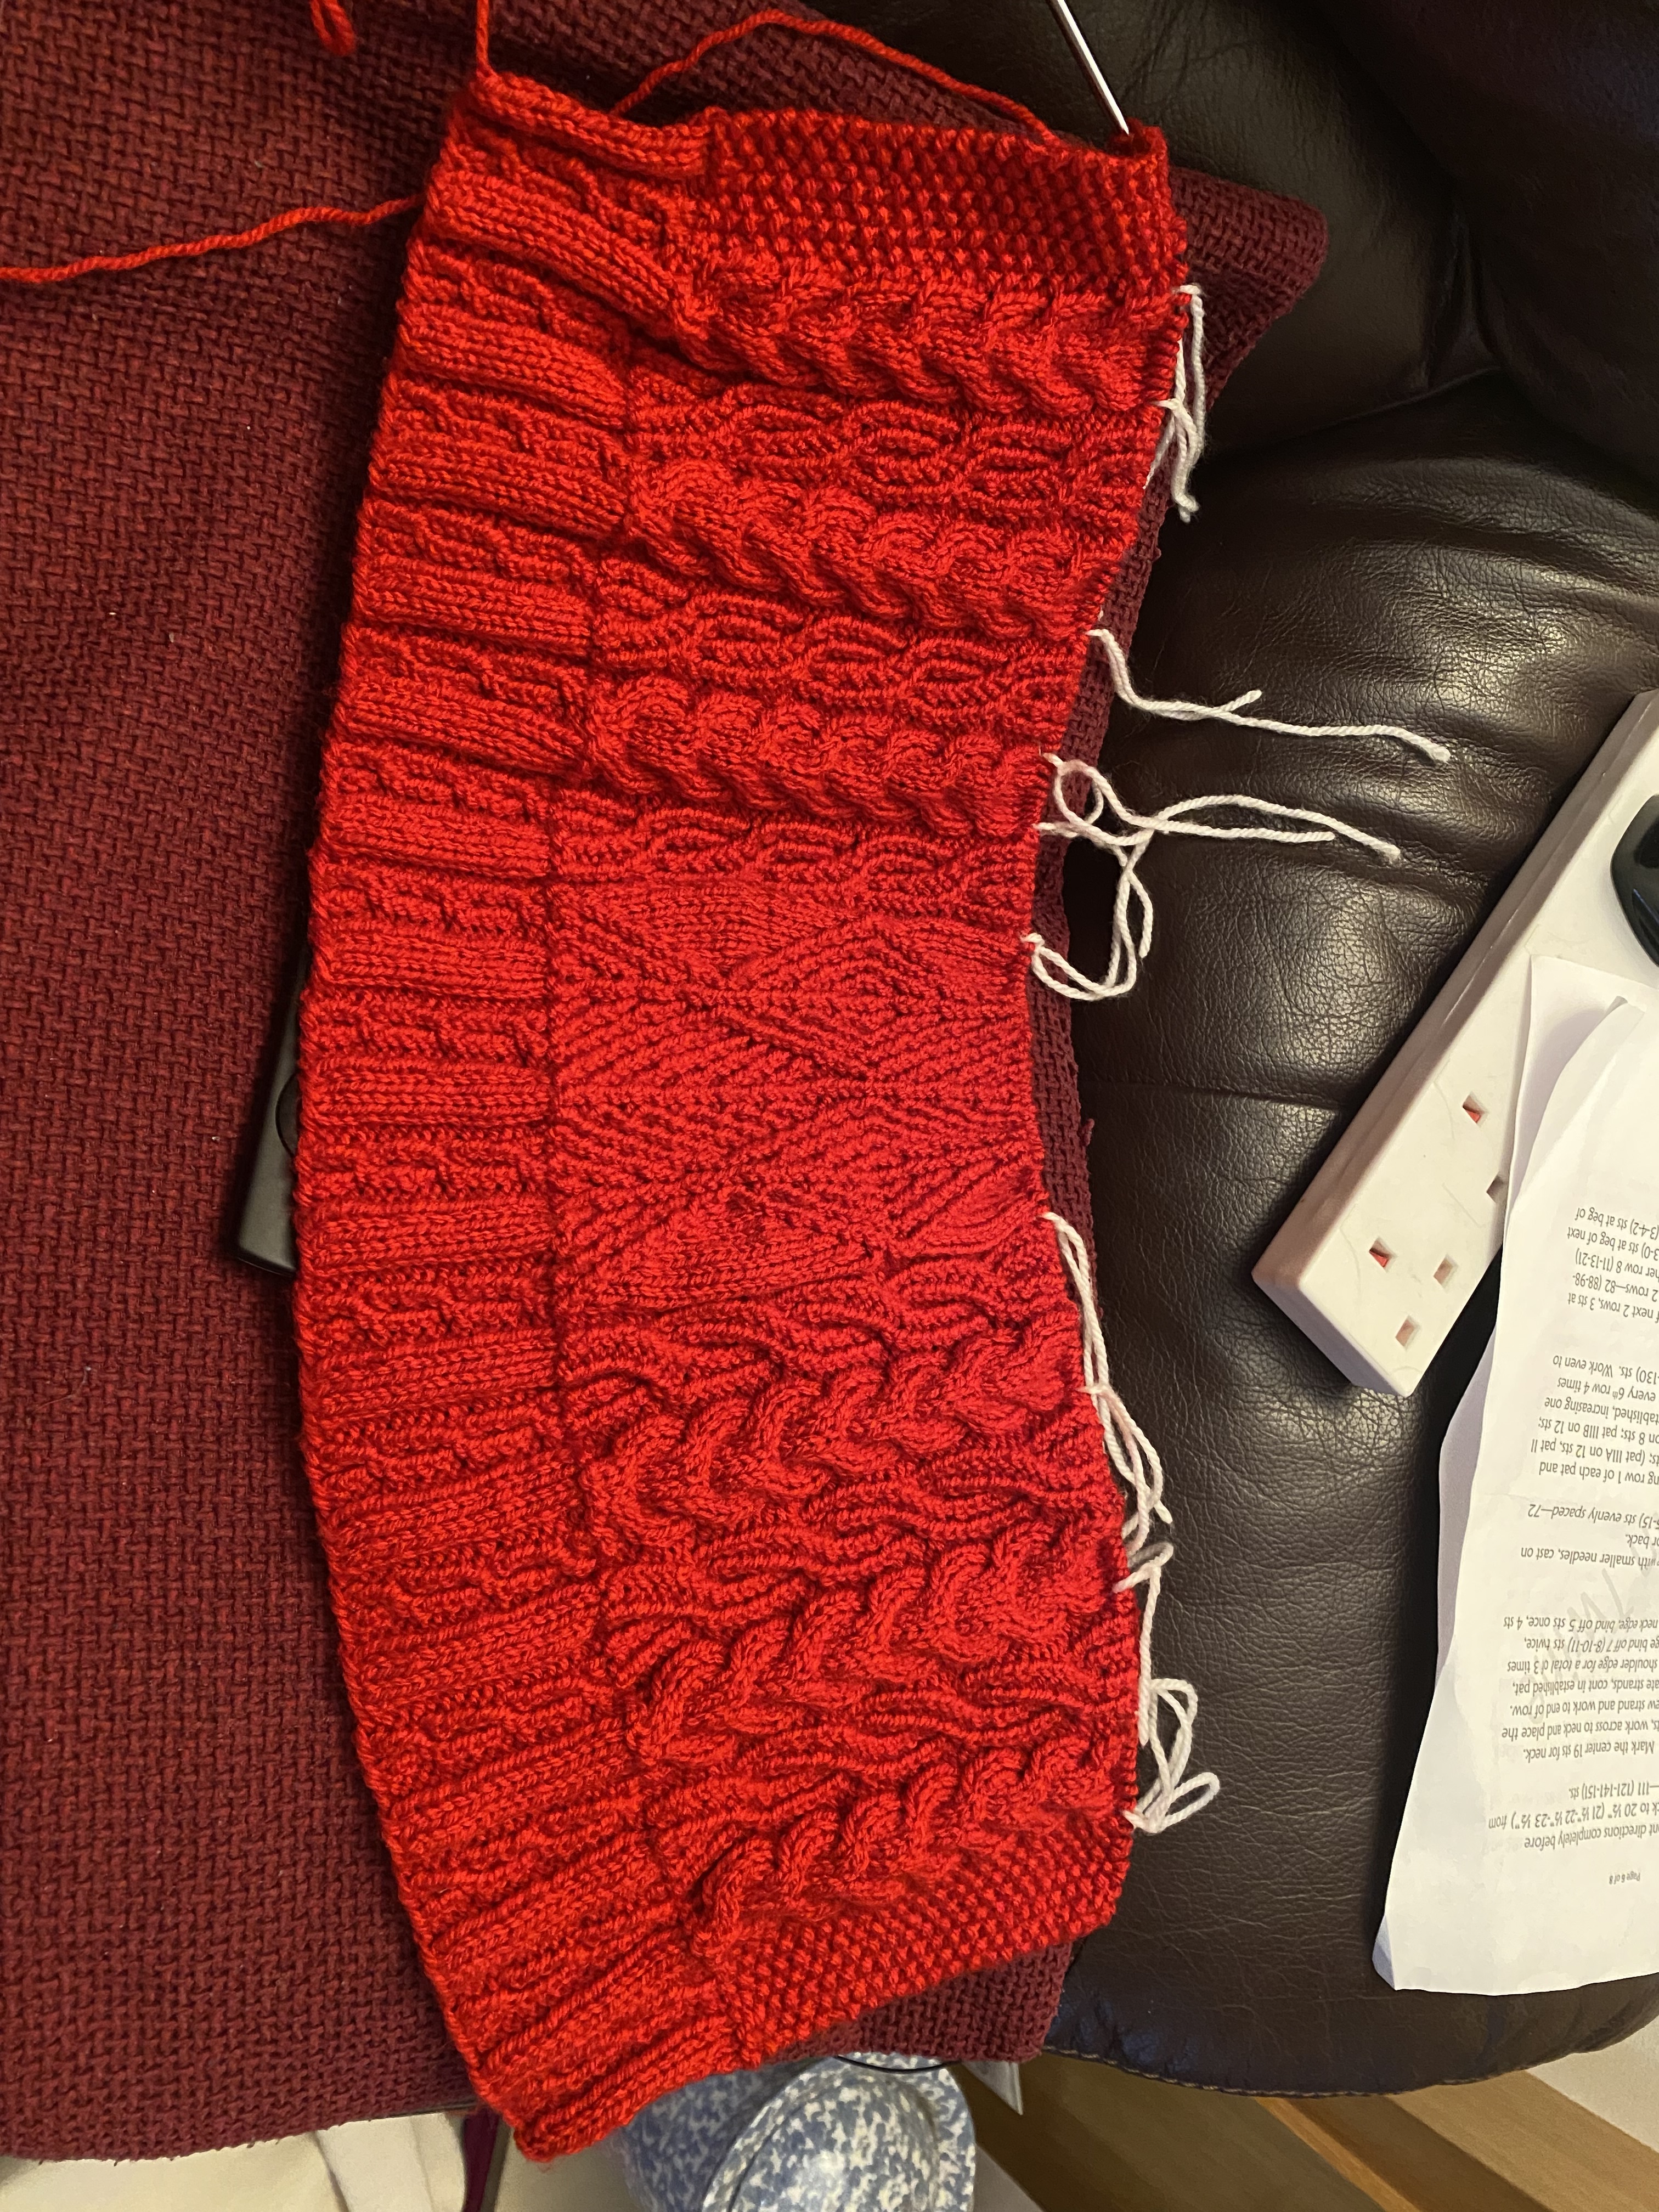
That is a splendid video, thank you for sharing! I managed to do all 6 at once and to say I’m not a continental knitter, have absolutely no control over my left hand…the list goes on…I think I’ve done an okay attempt.
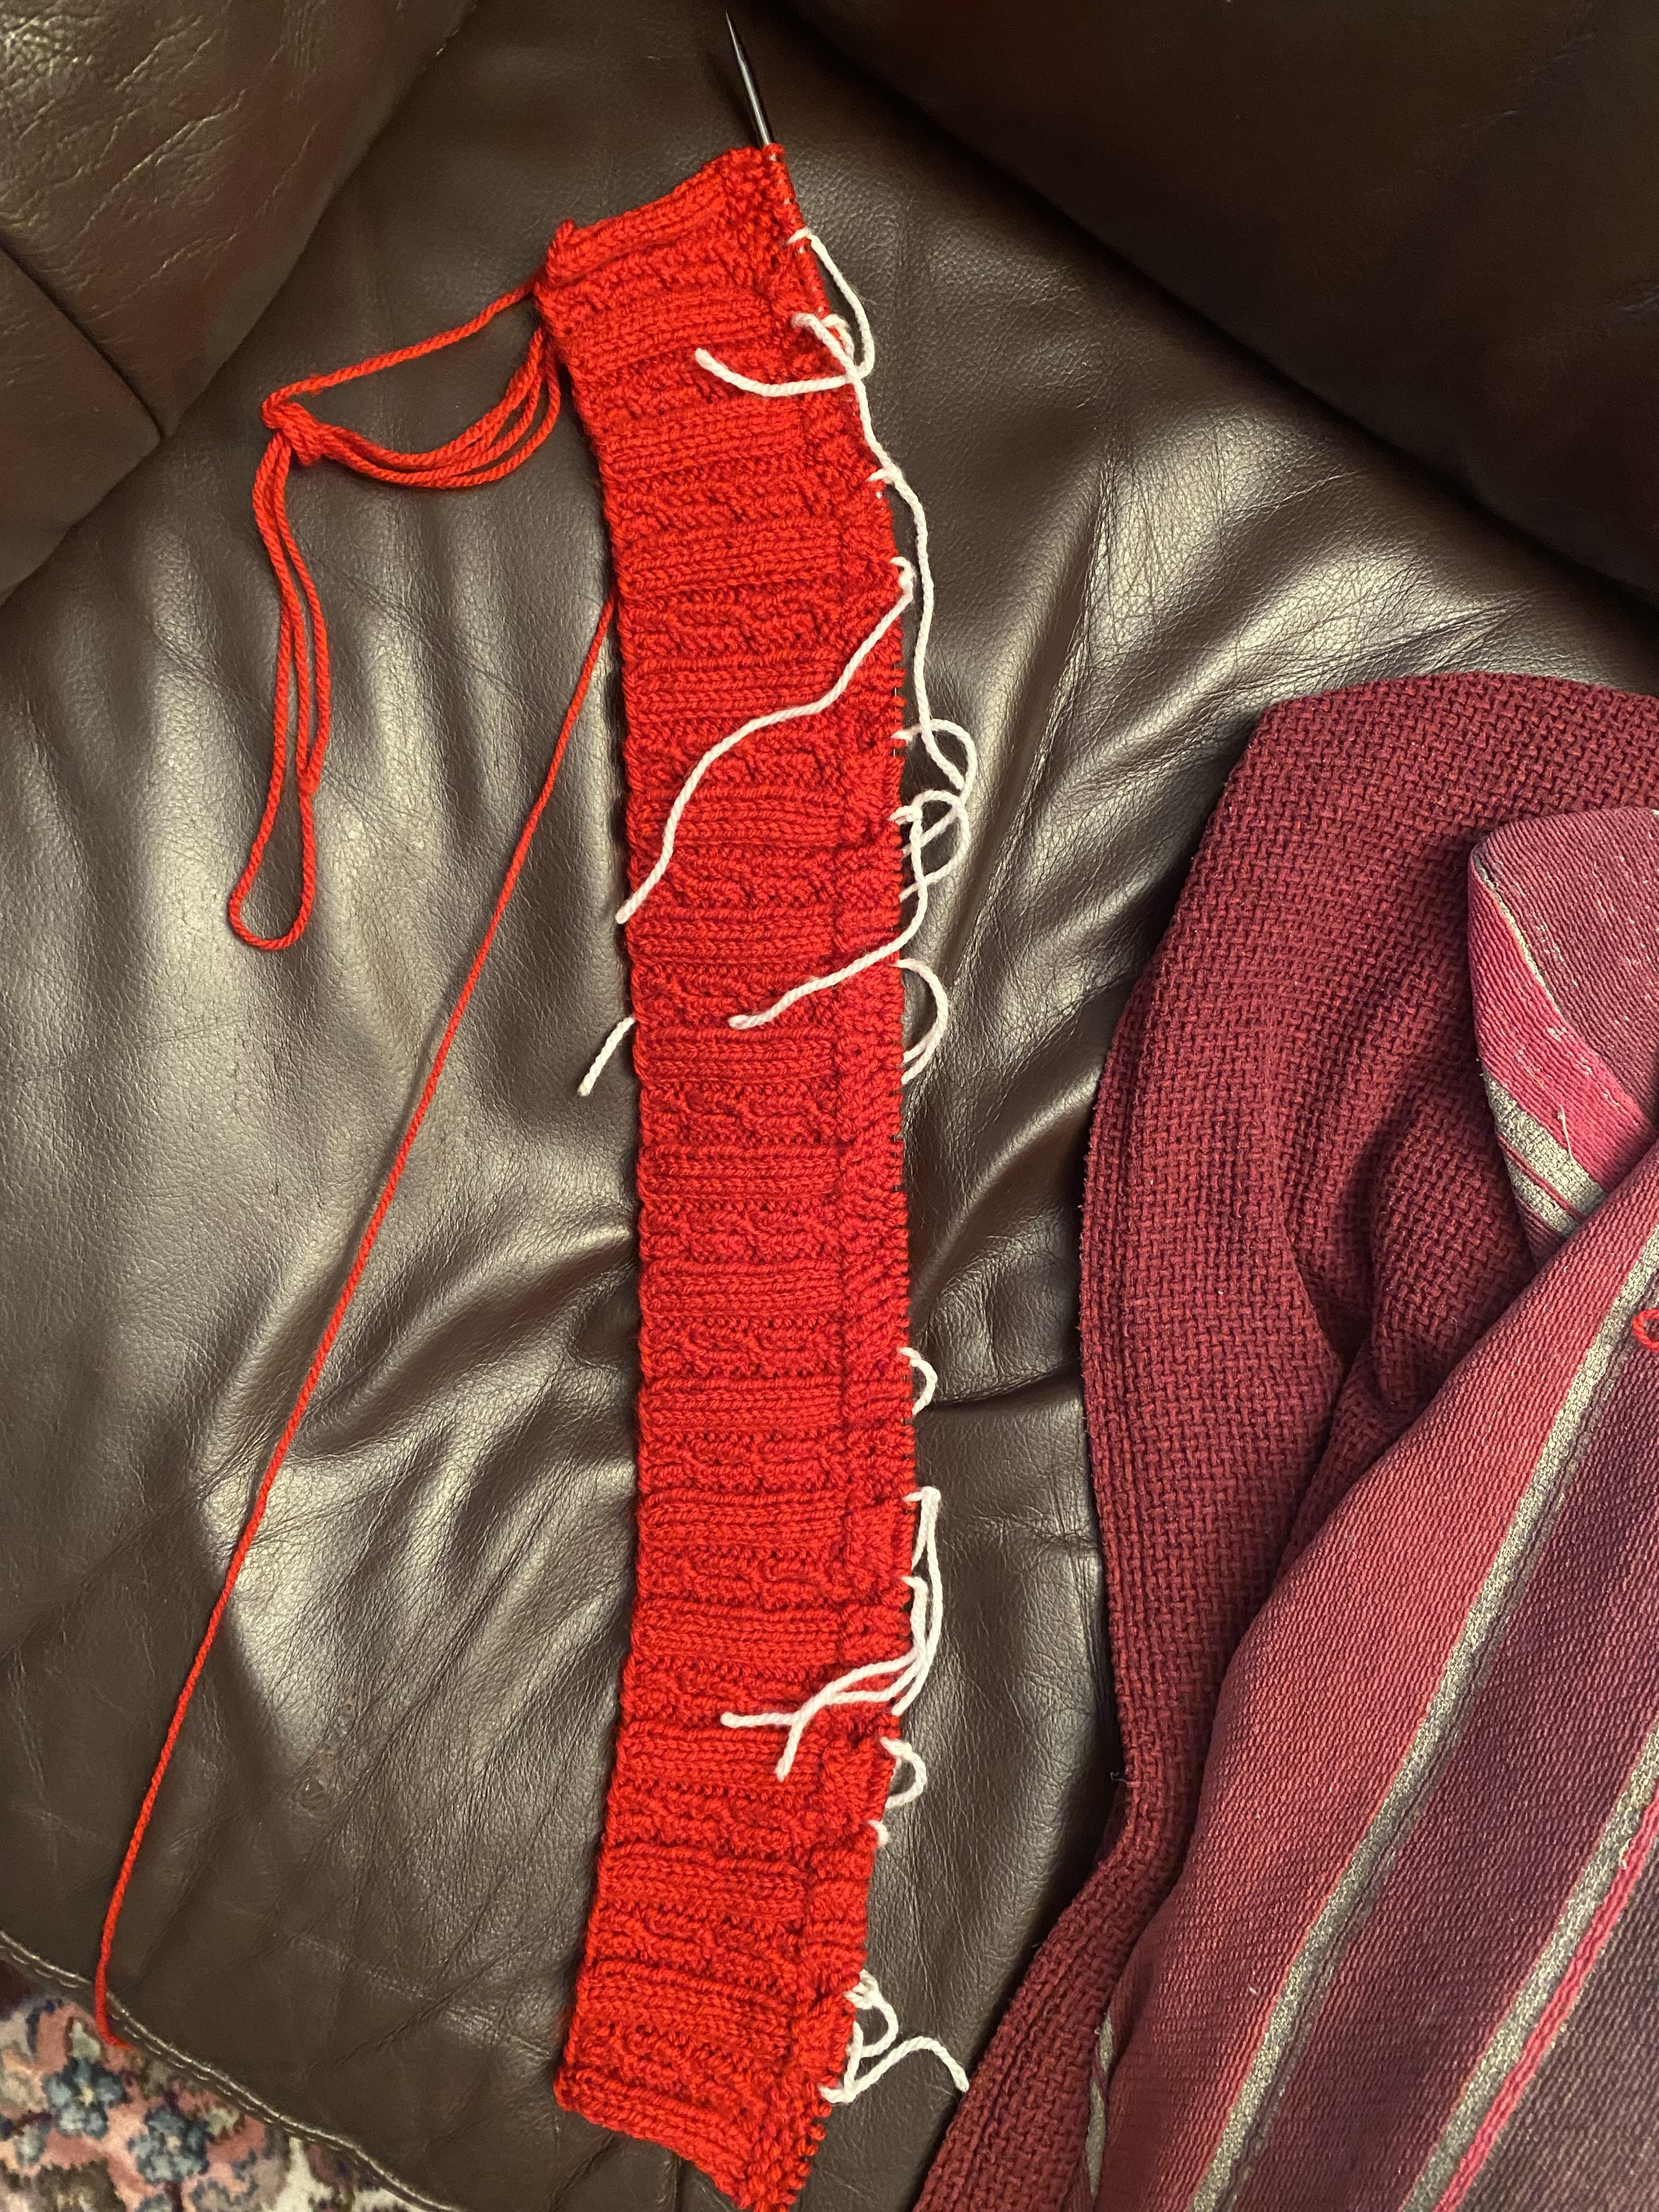
My question now is that the last column seems to have looser tension, is there anything that can be done about this?
You can redistribute the extra yarn that is now sitting in those stitches. It belongs to the adjacent stitches and can be, bit by bit, drawn back into them.
I usually use a blunt tapestry needle or a thinner knitting or cable needle, use it to draw the extra yarn up into one leg (right leg) then move to the next stitch and draw it into the left keft, then right, the next stitch and so on, following the path of the yarn… Usually after a few stitches the extra yarn is shared between them and looks more even.
Looking at the fabric to see where the small stitches are that need a bit more yarn is often helpful, in this example though you know it’s the rest of the stockinette to the right as it came from a fix.
1 Like
Looks good! You can also give a tug widthwise and lengthwise to help seat the sts. Blocking will even out some of that too.
Here’s a video for the technique Creations mentioned which is helpful.
https://www.youtube.com/watch?v=IUT8nSoEm5A
2 Likes
Brill I will watch that and have a go! Thank you guys ![]()
2 Likes
I think it worked and have carried on with the pattern.
My instruction after setting up pattern is basically to knit that until it reaches 15 inches from beg. Now does this mean from the beginning as in ribbing or from beginning of pattern?
If it doesn’t make this clear I would guess at measuring from the very bottom of the rib hem.
But there may be a way to wok it out. If there is a schematic with measurements you can look to see if the 15" is hem to underarm or if that measurement is longer (say 17") then the cable pattern is measured from the top of the rib.
Another way, if no schematic, is to look at how long overall the sweater is, this might be given in the size options, sometimes they give chest and length measurements. If there is a length given you can look at the rest of the pattern at any measurements to deduce where the measurement is from, for instance after binding off for underarm it says work to X" for size.
There’s also an option to make your own decision based on how long you want it up to the armhole. I often make longer than the pattern.
This usually means from the bottom of the hem or the cast on. I change this measurement as well to suit the length I would like for the sweater. Sometimes it’s good to measure the length of a sweater that fits well and is a pleasing length then use that as the length.
2 Likes
Thank you! There isn’t any schematics for this pattern nor sizes for certain parts.
I’m not at this part yet but thought I’d ask in preparation. Basically it says to knit the back and front panel the same until a certain point.
However when I connect these two pieces together how will I do it as it will be two sets of 3 knit stitches together? Like I know it’d be mattress stitch but I’ve heard people mention for ribbing they usually purl some stitches to keep the pattern going? Sorry I don’t think that makes sense.
1 Like