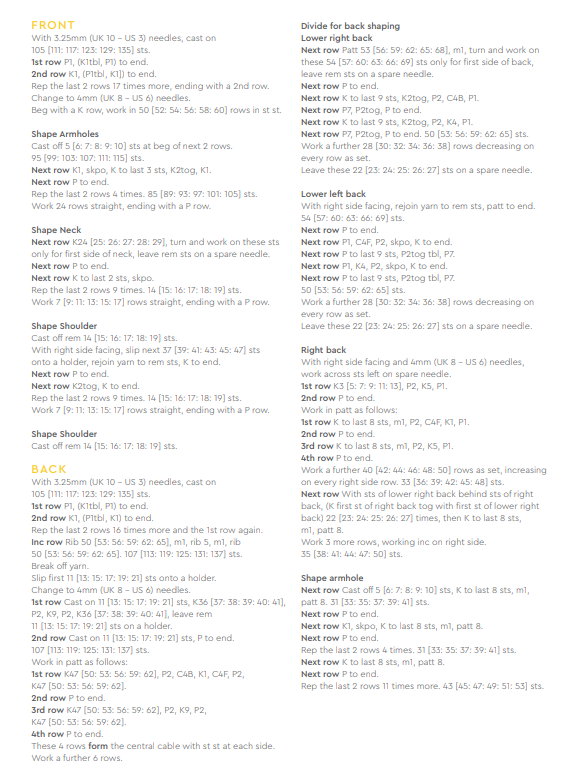
Hello,
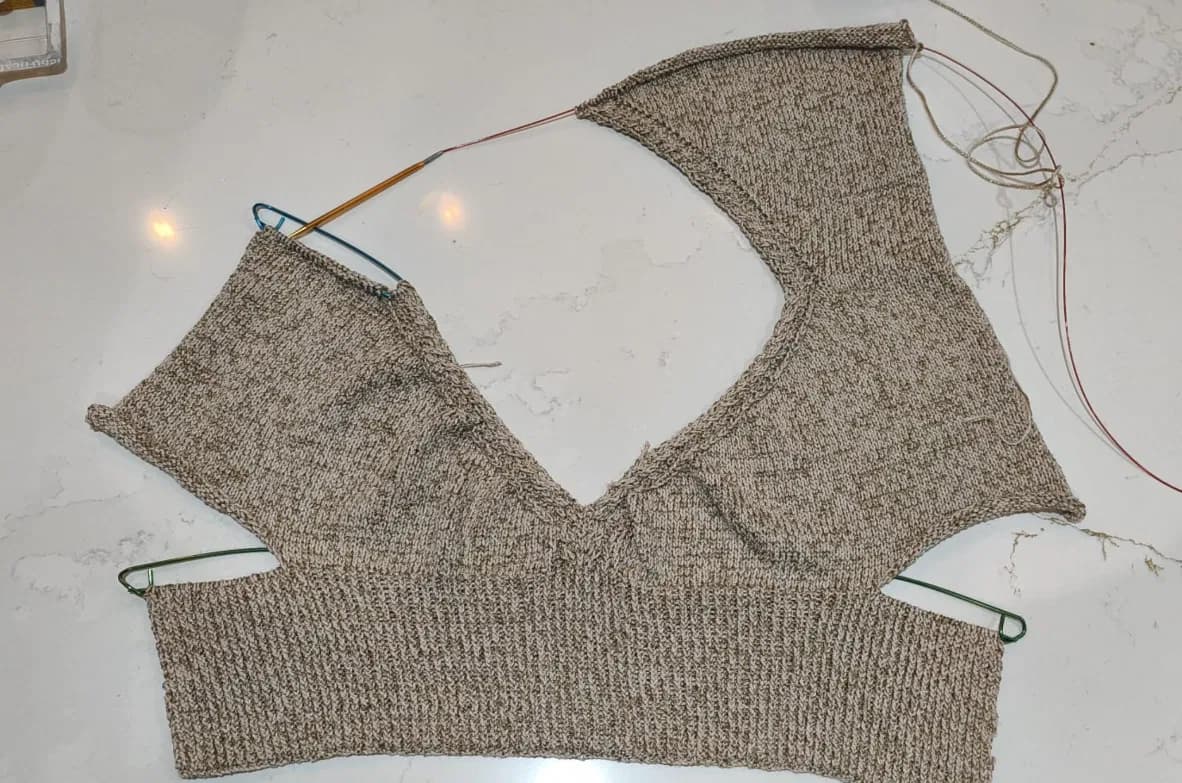
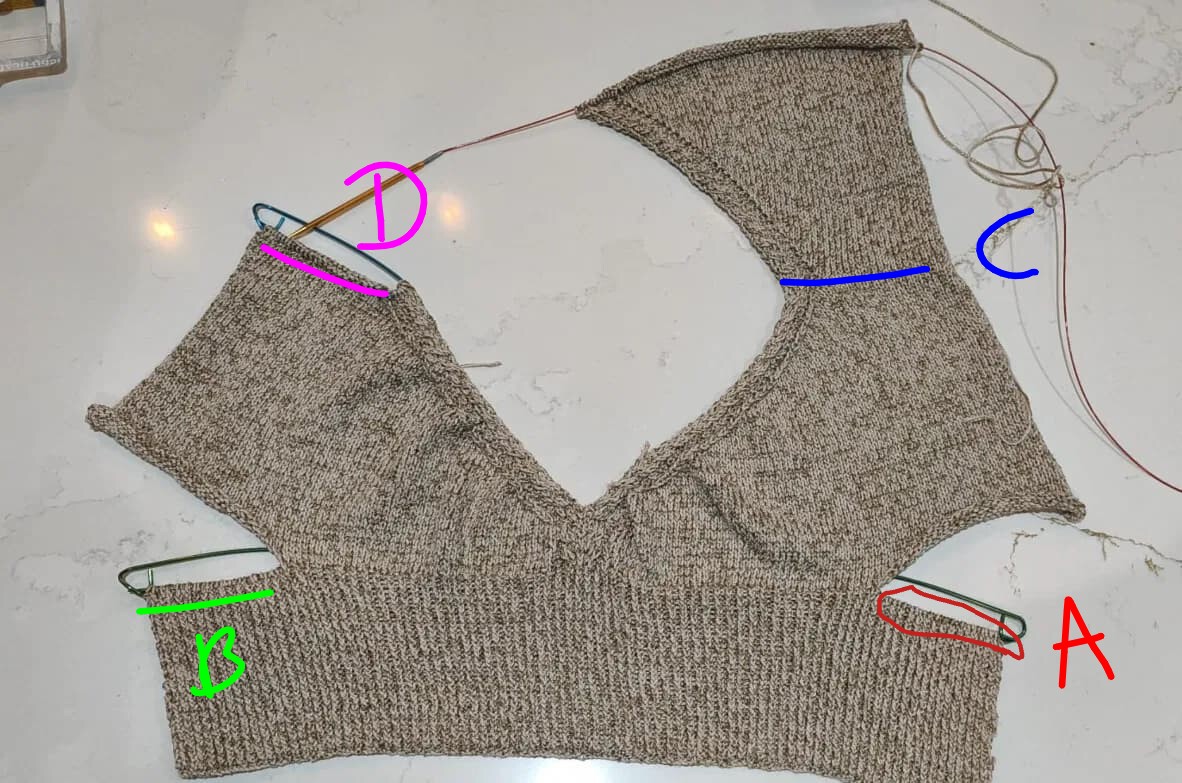
I’m making this piece at the moment and completely stuck on the next instruction and to be honest I’m not sure if I’ve already made a mistake. I’m working on the right back section and the next instruction is: Next row With sts of lower right back behind sts of right back, (K first st of right back tog with first st of lower right back) 22 [23: 24: 25: 26: 27] times, then K to last 8 sts, m1, patt 8. Work 3 more rows, working inc on right side. 35 [38: 41: 44: 47: 50] sts.
Very clever and tricky pattern. It looks like the last maybe two sections that you were knitting were on the 22 lower right back sts (22sts for the smallest size). The right back should be knit on the 11sts (for smallest size) on hold in the lower right of your photo. These sts will then be joined to the 22sts by knitting two together across the the two sections to join them all along the row.
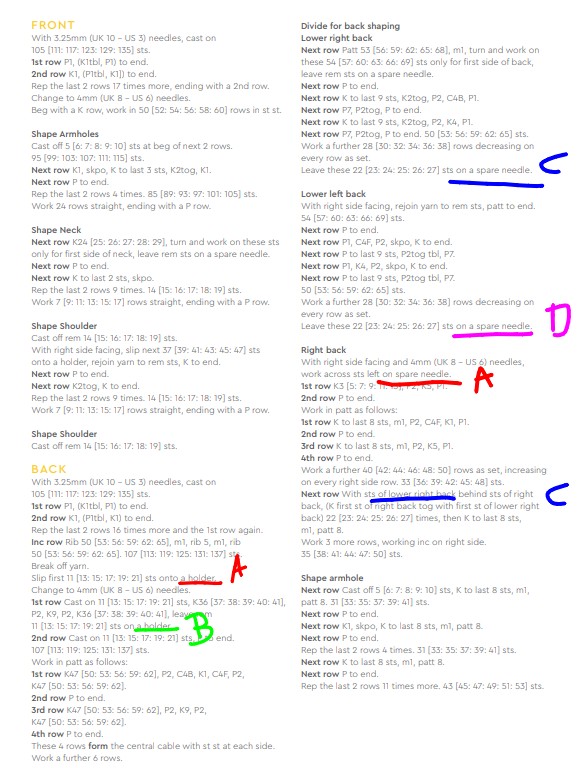
The pattern is rather confusing as there are multiple sections on hold. It’s easy to mistake which sts they are referring to.
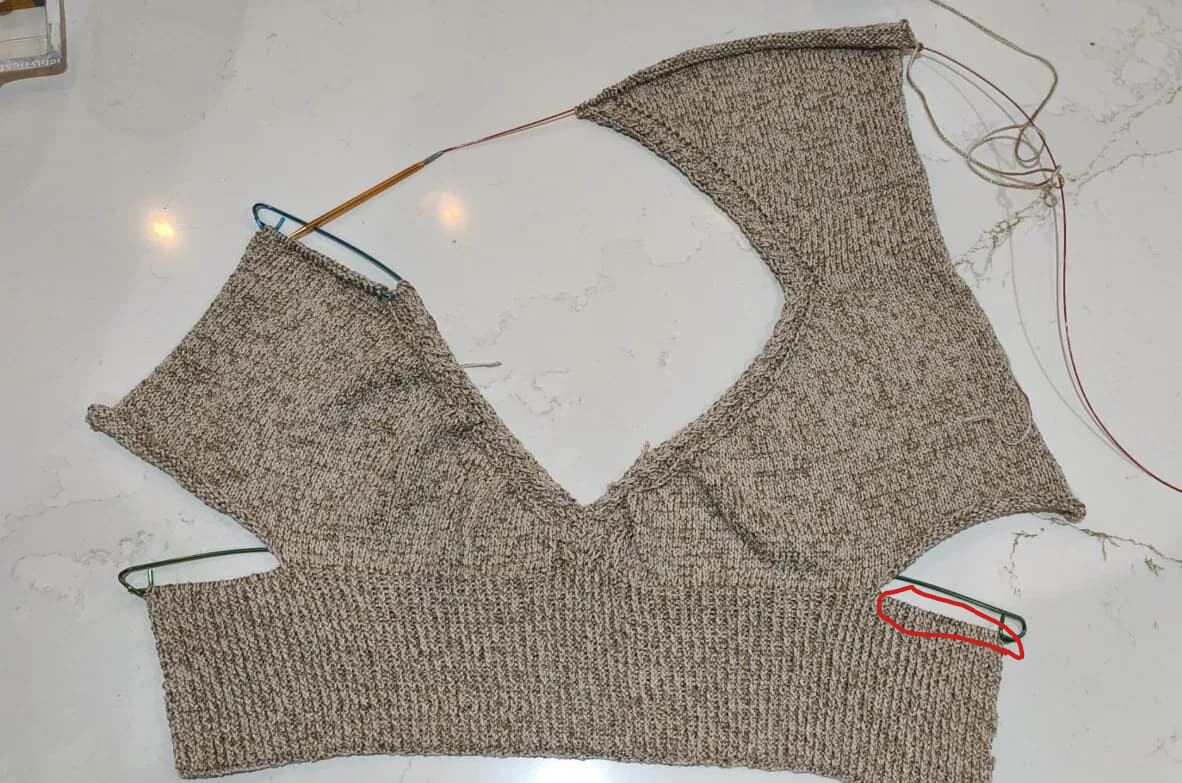
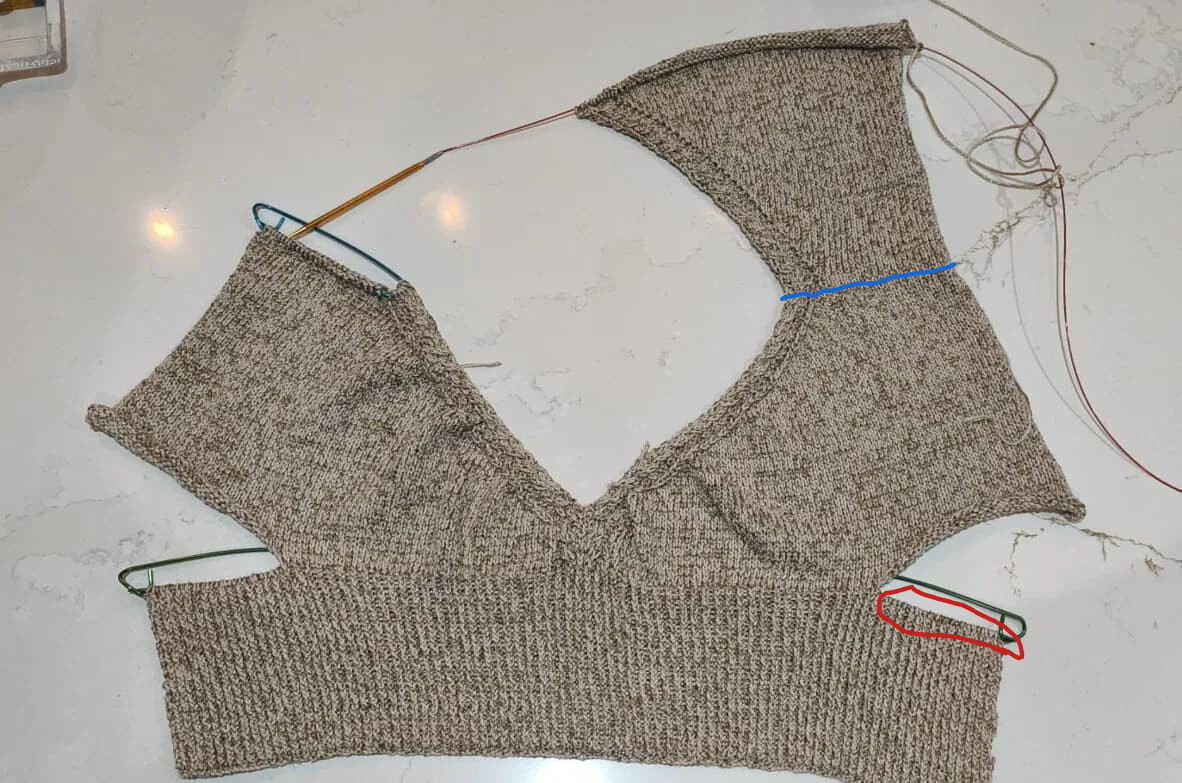
Almost. You’ll have to work the pattern for the right back on the red circled sts. Take out the current sts on the working needles until you reach the equivalent of the 22sts for the lower right back.
Then the right back once knit for the given rows will attach to the 22sts on the lower right back. That join is the instruction you quoted in your first post. The 2 back pieces are joined by k2tog across the given sts.
It’ll mean taking out the sections you’ve got on the needle now. Take them back to that 22sts point. Put the 22 on hold and put the 11sts onto the working needle and work the directions for the right back .
Which size are you making, first, second, third, etc?
I am glad salmonmac understood this tricky construction!
It’s a lovely design you’ve chosen but the pattern could have been a bit clearer in my opinion, especially as it seems to refer to a holder and then a spare needle for the same stitches which i think might have been what led you to work those on the spare needle rather than the holder.
I marked this in case it helps visually with what salmonmac has worked out and described.
This is fantastic, thank you so much for your help both of you! I understand where I went wrong and then hopefully when I get back to the original confusing instruction it will make much more sense how to proceed. I really appreciate the guidance!
I’ve actually sized up as the largest size on the pattern is too small for me so instead of 22 sts I’m working with 33. I’m confident that the increases I’ve had to do are correct as I have made the front of the top and everything has worked out there
I’m sure you’re not the only confused knitter. The pattern should have made the use of the “held sts” much clearer.
It’s going to be a great looking top. Have fun with it and if you run into another question, come back and let us know.