Magic loop question

Hi folks!

I am a beginner, knitting a simple tank top using magic loop. I am trying to understand something – could someone explain to me why one must separate the stitches in half and knit in “rows” in this style instead of just knitting around and around and around without turning the work, using stitch markers to know where you are?

Thank you! :slight_smile:

Maggie

1 Like

Can you give us the name of your pattern/designer? It might help us understand your question. Does the pattern specify magic loop?

You don’t often work in rows when using magic loop, but for something like a tank top, part of it is worked in the round (the body), and part of it is worked back and forth in rows (the upper body and straps).

It’s usually possible to NOT use magic loop…you can work the body in the round as usual, then switch to working in rows when you get to the part above the armholes.

Again, knowing the exact pattern you’re using will help. You can post small sections of the instructions, just not the entire pattern to protect copyright.

4 Likes

Perhaps what you’re describing isn’t really “rows” but instead it is working in tne round with magic loop which might sort of appear to be rows as the stitches are divided between the 2 needle ends to enable working in tne round.
Often magic loop is used for a circumference in the round when a knitter doesn’t have a cable small enough to work around and around as the number of stitches cannot stretch around too large a circumference.
Magic loop can also be used just out of preference as some knitters like the method more than a shorter cabl or a set of double pointed needles.

If you are only working the right side (public side of the fabric) then it is working in rounds or knitting in the round.
If you are working the right side and also the wrong side (the hidden side of the fabric) then this is knitting flat or knittinģ in rows.

It’s not unusual for sweater patterns to be worked partly in the round and partly flat.

1 Like

Welcome Maggie

Congrats on reaching out, all here to help

I’m not going to interfere as I would agree with the responses already “the pattern name will help”

You came to the right place hun

1 Like

Thank you all!! I so appreciate it. I am knitting the Audrey Top (a tank top) by PetitKnit. It is just a tube worked bottom up and I using a very long cable, so what I’m gathering is that it works better to do magic loop for this because I don’t want to stretch out my stitches.

Unfortunately, I either started with one less stitch than I was supposed to, or decreased a stitch along the way. I now have 169 stitches instead of 170, and have reached the part of the project where the work is going to be divided into front and back and things get “patterny” (not just knitting stockinette). Is there a best/least noticeable way to add that stitch back in? For reference, here’s the section of the pattern I’m on:

"Now divide the work for front and back and finish each section separately.

Front

Bind off sts for the underarms on the next round, thus dividing the work into a front and a back. The

technique described below ensures that the division of the sts looks neat. Work as follows from the

beginning of the round:

Round 1: Knit into the front and back loop of the next stitch, K1, pass the second stitch on the right needle

over the stitch that has just been knitted (as if to bind off), bind off 4 (5) 4 (5) 4 (4) 6 (6) 6 (6) sts,

knit 75 (79) 85 (89) 95 (105) 113 (123) 133 (143) sts, knit into the front and back loop of the next

stitch, K1, pass the second stitch on the right needle over the stitch that has just been knitted

(as if to bind off), bind off 4 (5) 4 (5) 4 (4) 6 (6) 6 (6) sts, knit 76 (80) 86 (90) 96 (106) 114 (124) 134

(144) sts.

The work has now been divided into a front and a back with 76 (80) 86 (90) 96 (106) 114 (124) 134 (144) sts

for each piece.

Now work the front flat, back and forth on the needles. Place the back sts on a stitch holder to rest."

1 Like

Yes! This is what I meant. Thank you!! :slight_smile: That was all a really helpful clarification.

3 Likes

https://www.ravelry.com/patterns/library/audrey-top-2

There are at least a couple of ways to do this. You could increase a stitch on the the previous round, Just tink back a few sts and make the increase. The increase will then fall at the second underarm bind off and be unnoticeable. You could also bind off one fewer stitch at one of the underarms to make up for the missing stitch. Probably not the better option however.
It’s also worth looking over the knitting so far to see if you can find a dropped stitch. At least you can secure it so it doesn’t ladder down any further. If it was just a problem with the cast on then no worries about the dropped stitch.
It’s going to be a very pretty and useful top to have in your wardrobe.

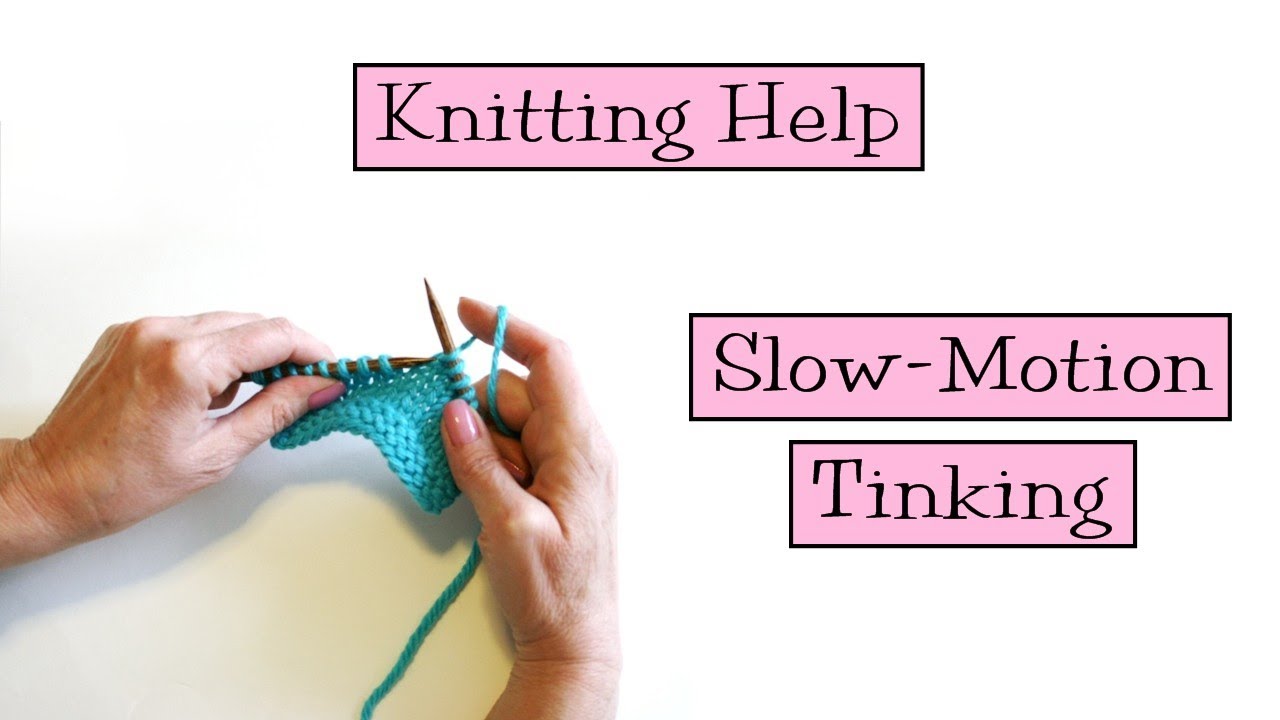
Here’s a video for tinking in case you need it.

2 Likes

Thank you so much! For making an increase in this case, is there a certain one you would use? Googling it, there seem to be many options! M1R, M1L, KFB, RLI, LLI.

1 Like

I would avoid the KFB on this piece as it leaves a purl bump which can be great for textureed patterns like ribbing or decorative detail but won’t look great in the stockinette.
Here is an easy KFB alternative, knit front, slip back, i really like it.

The M1 or L1 would be fine too if you have a preference for them.

2 Likes

That kfb improved that Creations recommended is a good one. Either of the others that you mentioned will work, the M1s or the RLI, LLI lifted increases. Whichever you choose will be hidden at the underarm and won’t stand out anyway. Have fun with this lovely top and do post a photo when you finish!

3 Likes

As Salmonmac mention check your knitting for the loose (dropped) stitch, it is easy to happen to all.

Have a fun with your project and come back if you need with more questions.

1 Like

The best increase for you to use is the one you choose, maybe because you’ve used it before and are confident using it. This has a very technical name - knitter’s choice . One of the great things about knitting is all the options available.

2 Likes