I do not know how to post a picture, but I knit a sleeve cap as directed by my pattern and it ended up,shaped more like a triangle than the more bell shape in the picture. ??
Welcome to the forum!
Please give us the name and designer of your pattern.
Here’s a way to post a photo:
In the Reply box, click on the landscape icon

An add image screen will pop up so that you can choose and upload a photo

You can also post a few lines of the instructions for the sleeve cap. Not the whole thing, due to designer copyright, but enough for us to figure out what went wrong.
1 Like


Thanks for replying! I hope these images work.
The pattern is from “Knits Men Want” by Bruce Weinstein. The instructions are, “(RS): At beginning of next 2 rows BO 4 stitches.
Decrease Row (RS): K1, ask, knit to last 3 stitches, k2tog, K1. Work even for 1 row.
Repeat decrease Row every other row.
Pretty typical for any sweater that I have seen. Just not sure how one would get a curve rounded shape like in the picture and actually every sleeve cap I have seen online. ![]()
1 Like
I would have expected that at some point you would start decreasing every 4th row, and then maybe every 6th, or something like that.
A sweater I did recently has this:
Bind off 4 sts at beginning of next 2 rows.
Decrease 1 st at start and end of every following RS row 13 times.
Decrease 1 st at start and end of every following 4th row 2 times, then
BO 3 sts at start of next 4 rows.
Bind off remaining 13 sts.
You would have to adjust for your yarn and size, but that’s the basic idea.
So, does the piece I knitted look wrong? I did pin the sweater together and it does seem to work alright. Maybe I am overthinking this.
1 Like
I have seen sleeve caps like this before although I don’t think I’ve made one. I believe it’s just a more basic version, not as nicely shaped as the bell but it should work. Quite confusing to have put such a curved schematic though!
I’d probably give it a seam with something thin and easily removable (I use embroidery thread, thin and slippy so pull out quite easily and a contrasting colour to help spot where to take it out) and try it on if possible. If you want to redesign the cap it will be easier to take apart, but a thin thread seam holds well for trying in and having a good look at the shape.
Edited to add. It looks more like raglan shaped sleeve cap. Is the body more raglan shaped too?
1 Like
If it’s a raglan, that schematic is seriously wrong for this sweater!
Is this the pattern?
Looking at the photo it does have triangular sleeve caps. It seems slightly strange to me but this book has the tag line:
“The ten rules every woman should know before knitting for a man”.
![]()
Rule 1 sexism is fine
Rule 2 men have triangle shape shoulders ![]()
Rule 3 don’t trust schematics in a book by Bruce Weinstein
Not a raglan, but actually a fairly structured cardigan.
You are all awesome and I will try the basting idea.
Thank you for your responses. I have felt kind of alone when I have questions and have had to pay for help sessions at my yarn store. This forum is so great. ![]()
1 Like
And yes, that is the sweater I am knitting.
1 Like
Hahahaaa! Is one of them “don’t stab them with needles when they interrupt you counting”?
3 Likes
The “triangular” sleeve cap apparently works, but I can’t say I like the look of it in the pattern pics. Personal taste, I guess. There are lots of comments on Ravelry, but only one person complained that the sleeves don’t look like the schematic. Another felt that the sleeve was overall too narrow for her husband. I didn’t look at the other 4 pages of projects.
1 Like
Ouch, paying for help could really add up! I agree, this forum is marvelous.
The sleeve cap shape does point rather when seamed, it can be seen on an few of the pics on ravelry (some quite pointy, some rather lifting up from thenshoukder rather than kaying flat) and where it can’t be seen I suspect pattern modifications which the knitter hasn’t mentioned.
This helpful knitter has noted a tip for the sleeve shape which you could consider. Seam from under arm up both sides to near the top, then frog several rows of sleeve cap until the cap fits smoothly, bind off and finish seaming. It sounds like a way to keep your options open and a good work around to reduce the point.
https://www.ravelry.com/projects/Arianaknits/basic-cardigan-two-ways-zipper-and-buttons-2
Or you could rip back some of the sleeve cap and reshape it. Have you ever done this before?
When I made a very fitted top I proprly worked all the calculations for the various areas, the curves and so on and in the end when looking at the resulting numbers thought I could just as well have approximated it.
Some online tutorials for sleeve caps use a more simplified version of calculation which doesn’t involve pi and curves. If you are familiar with the process or up for gaining a new skill this could be the opportunity.
Edited to add. After looking through quite a few more ravelry projects there is quite a lot of complaint about the sleeve cap shaping, cap not fitting the armhole, many knitters seem to think it is their fault for not having the skill to work it correctly but it is really the poor shaping. One person said this designer’s schematics never match the design.
Just in case you want this for now or future
You would set the initial bind off as the same asnyou have so that it fits the bind off on the armscye as you have it. Then work the numbers as given.
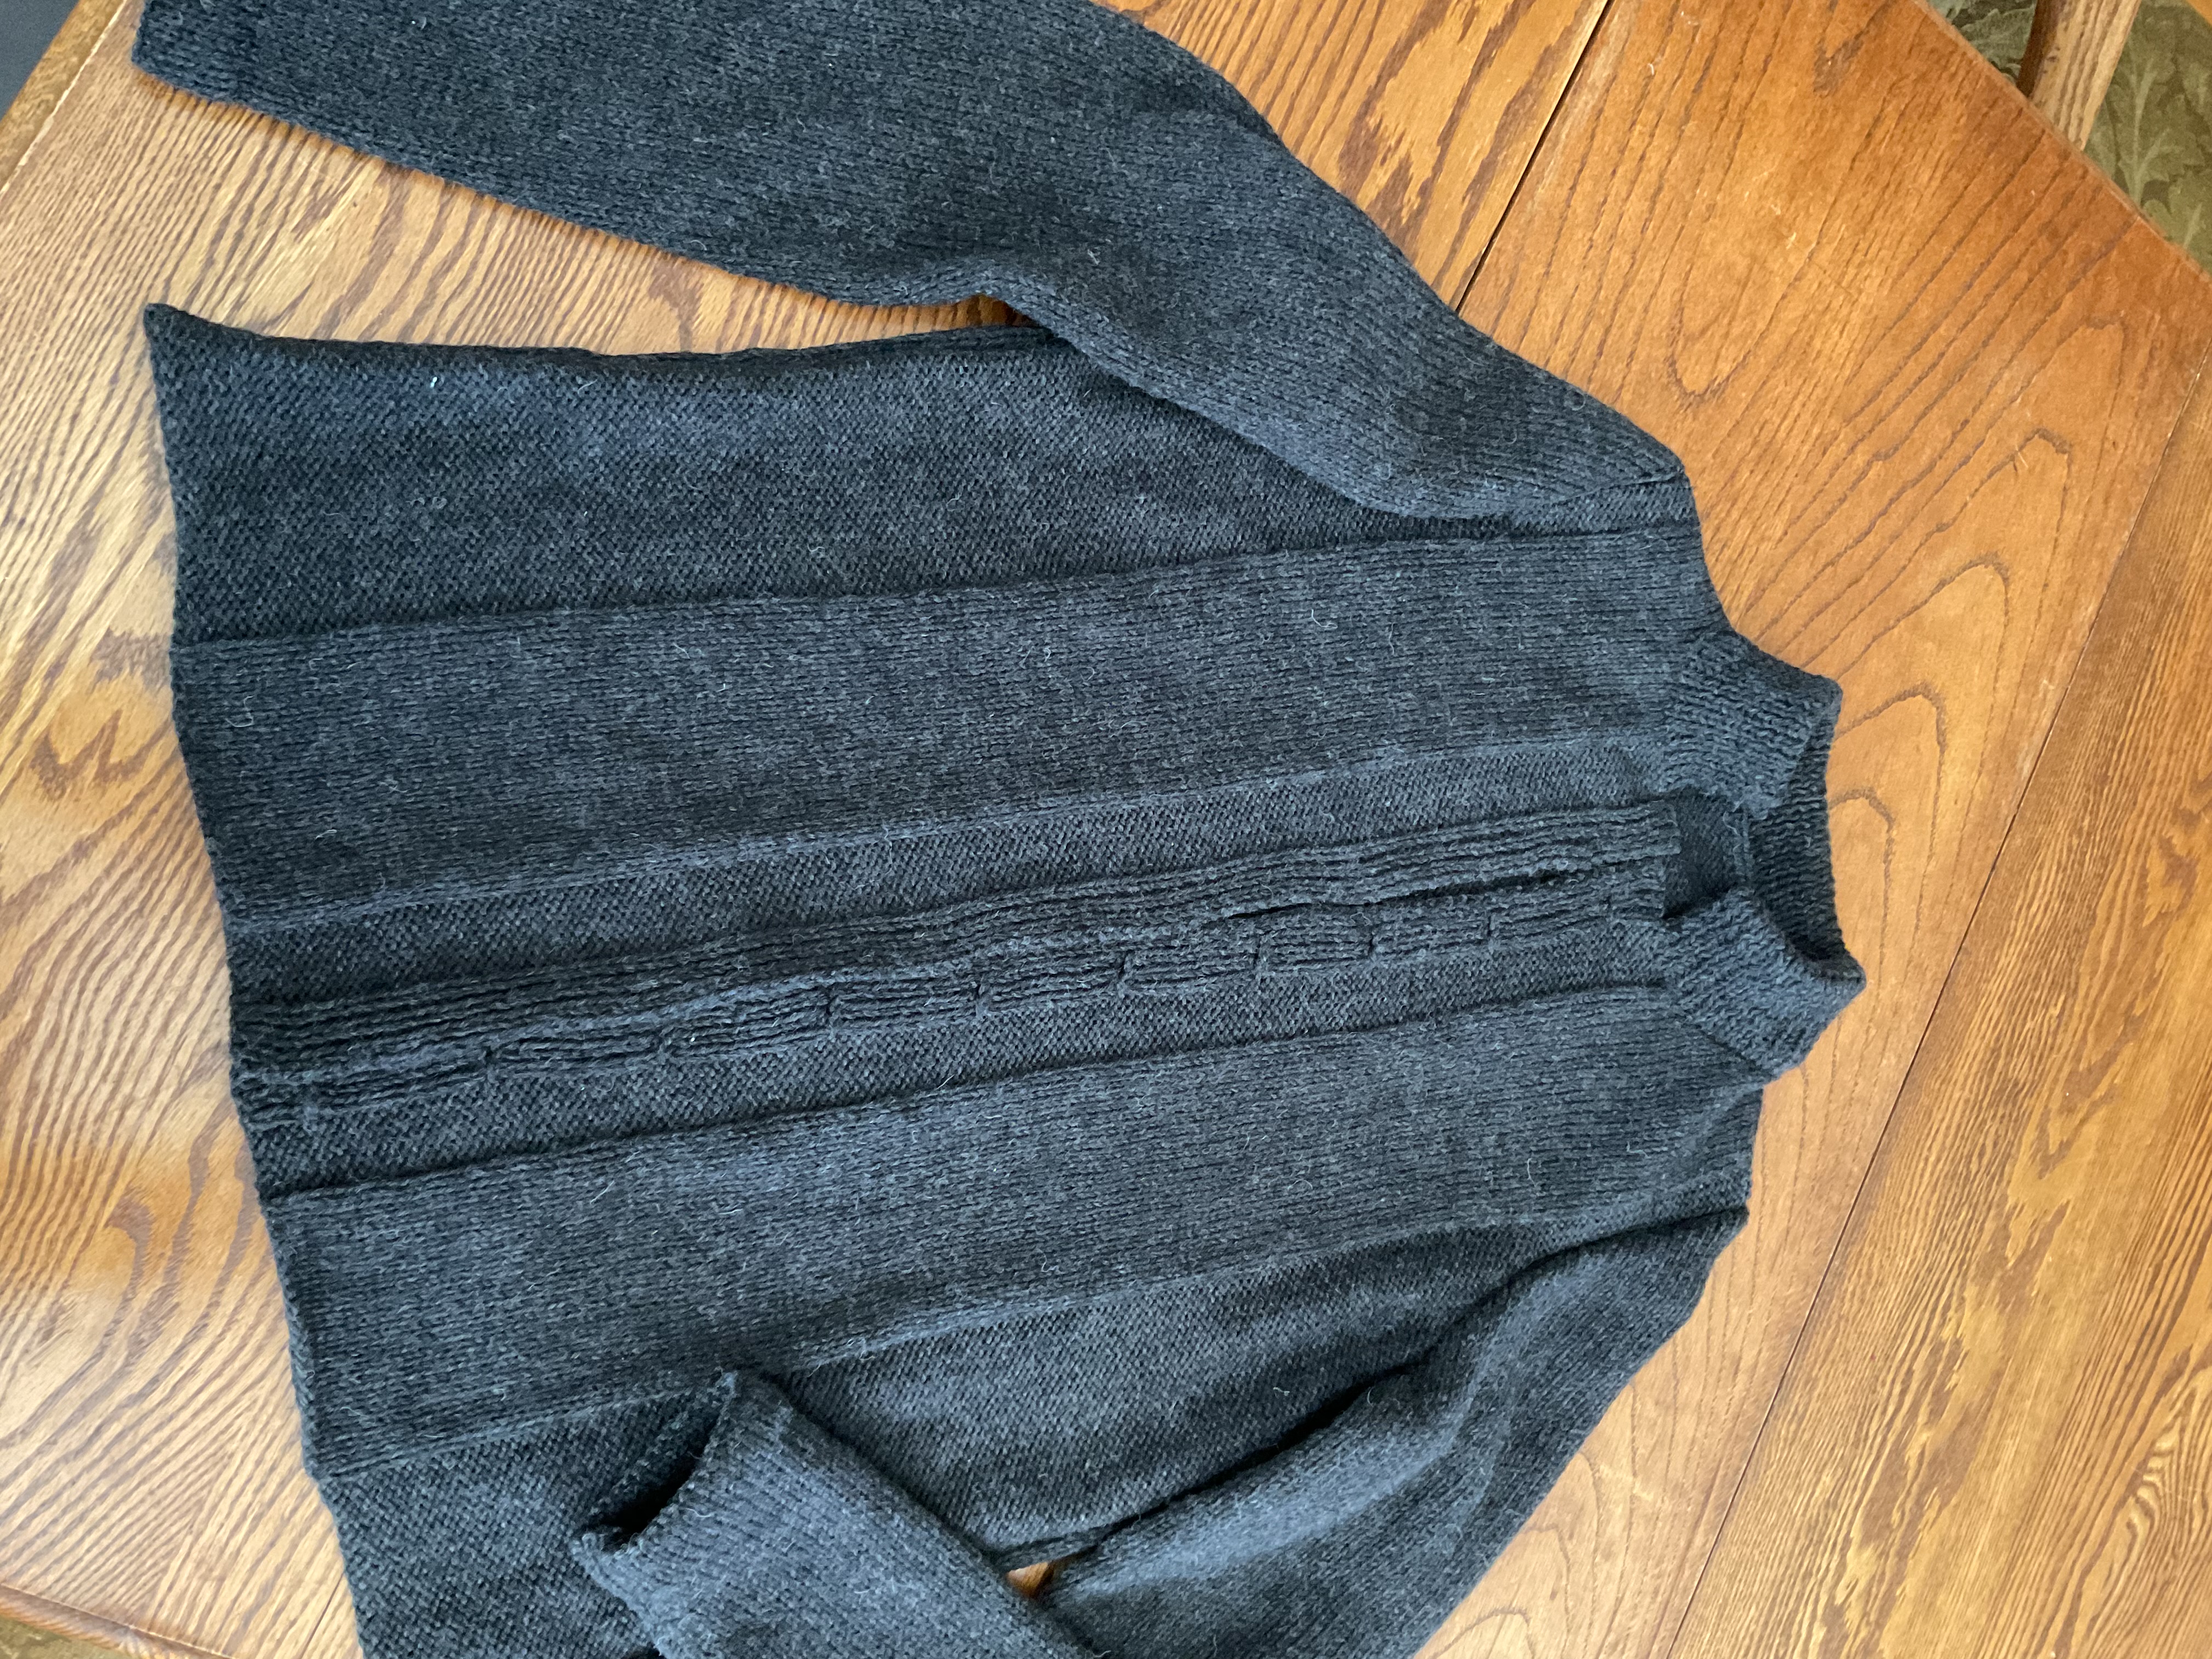
Here is the finished sweater minus the buttons. The right shoulder is fine, I just did not smooth it before the picture.
The shoulders ended up not rounded, like raglan, not pointed, but more square. So, final answer? The sleeves were fine.
Thanks again, for all the support!
2 Likes
Thanks so much for the photo. The cardigan and all it’s lovely detail is perfectly beautiful.
Turned out great!
It looks fabulous! Interesting that the sleeve shape worked so well.