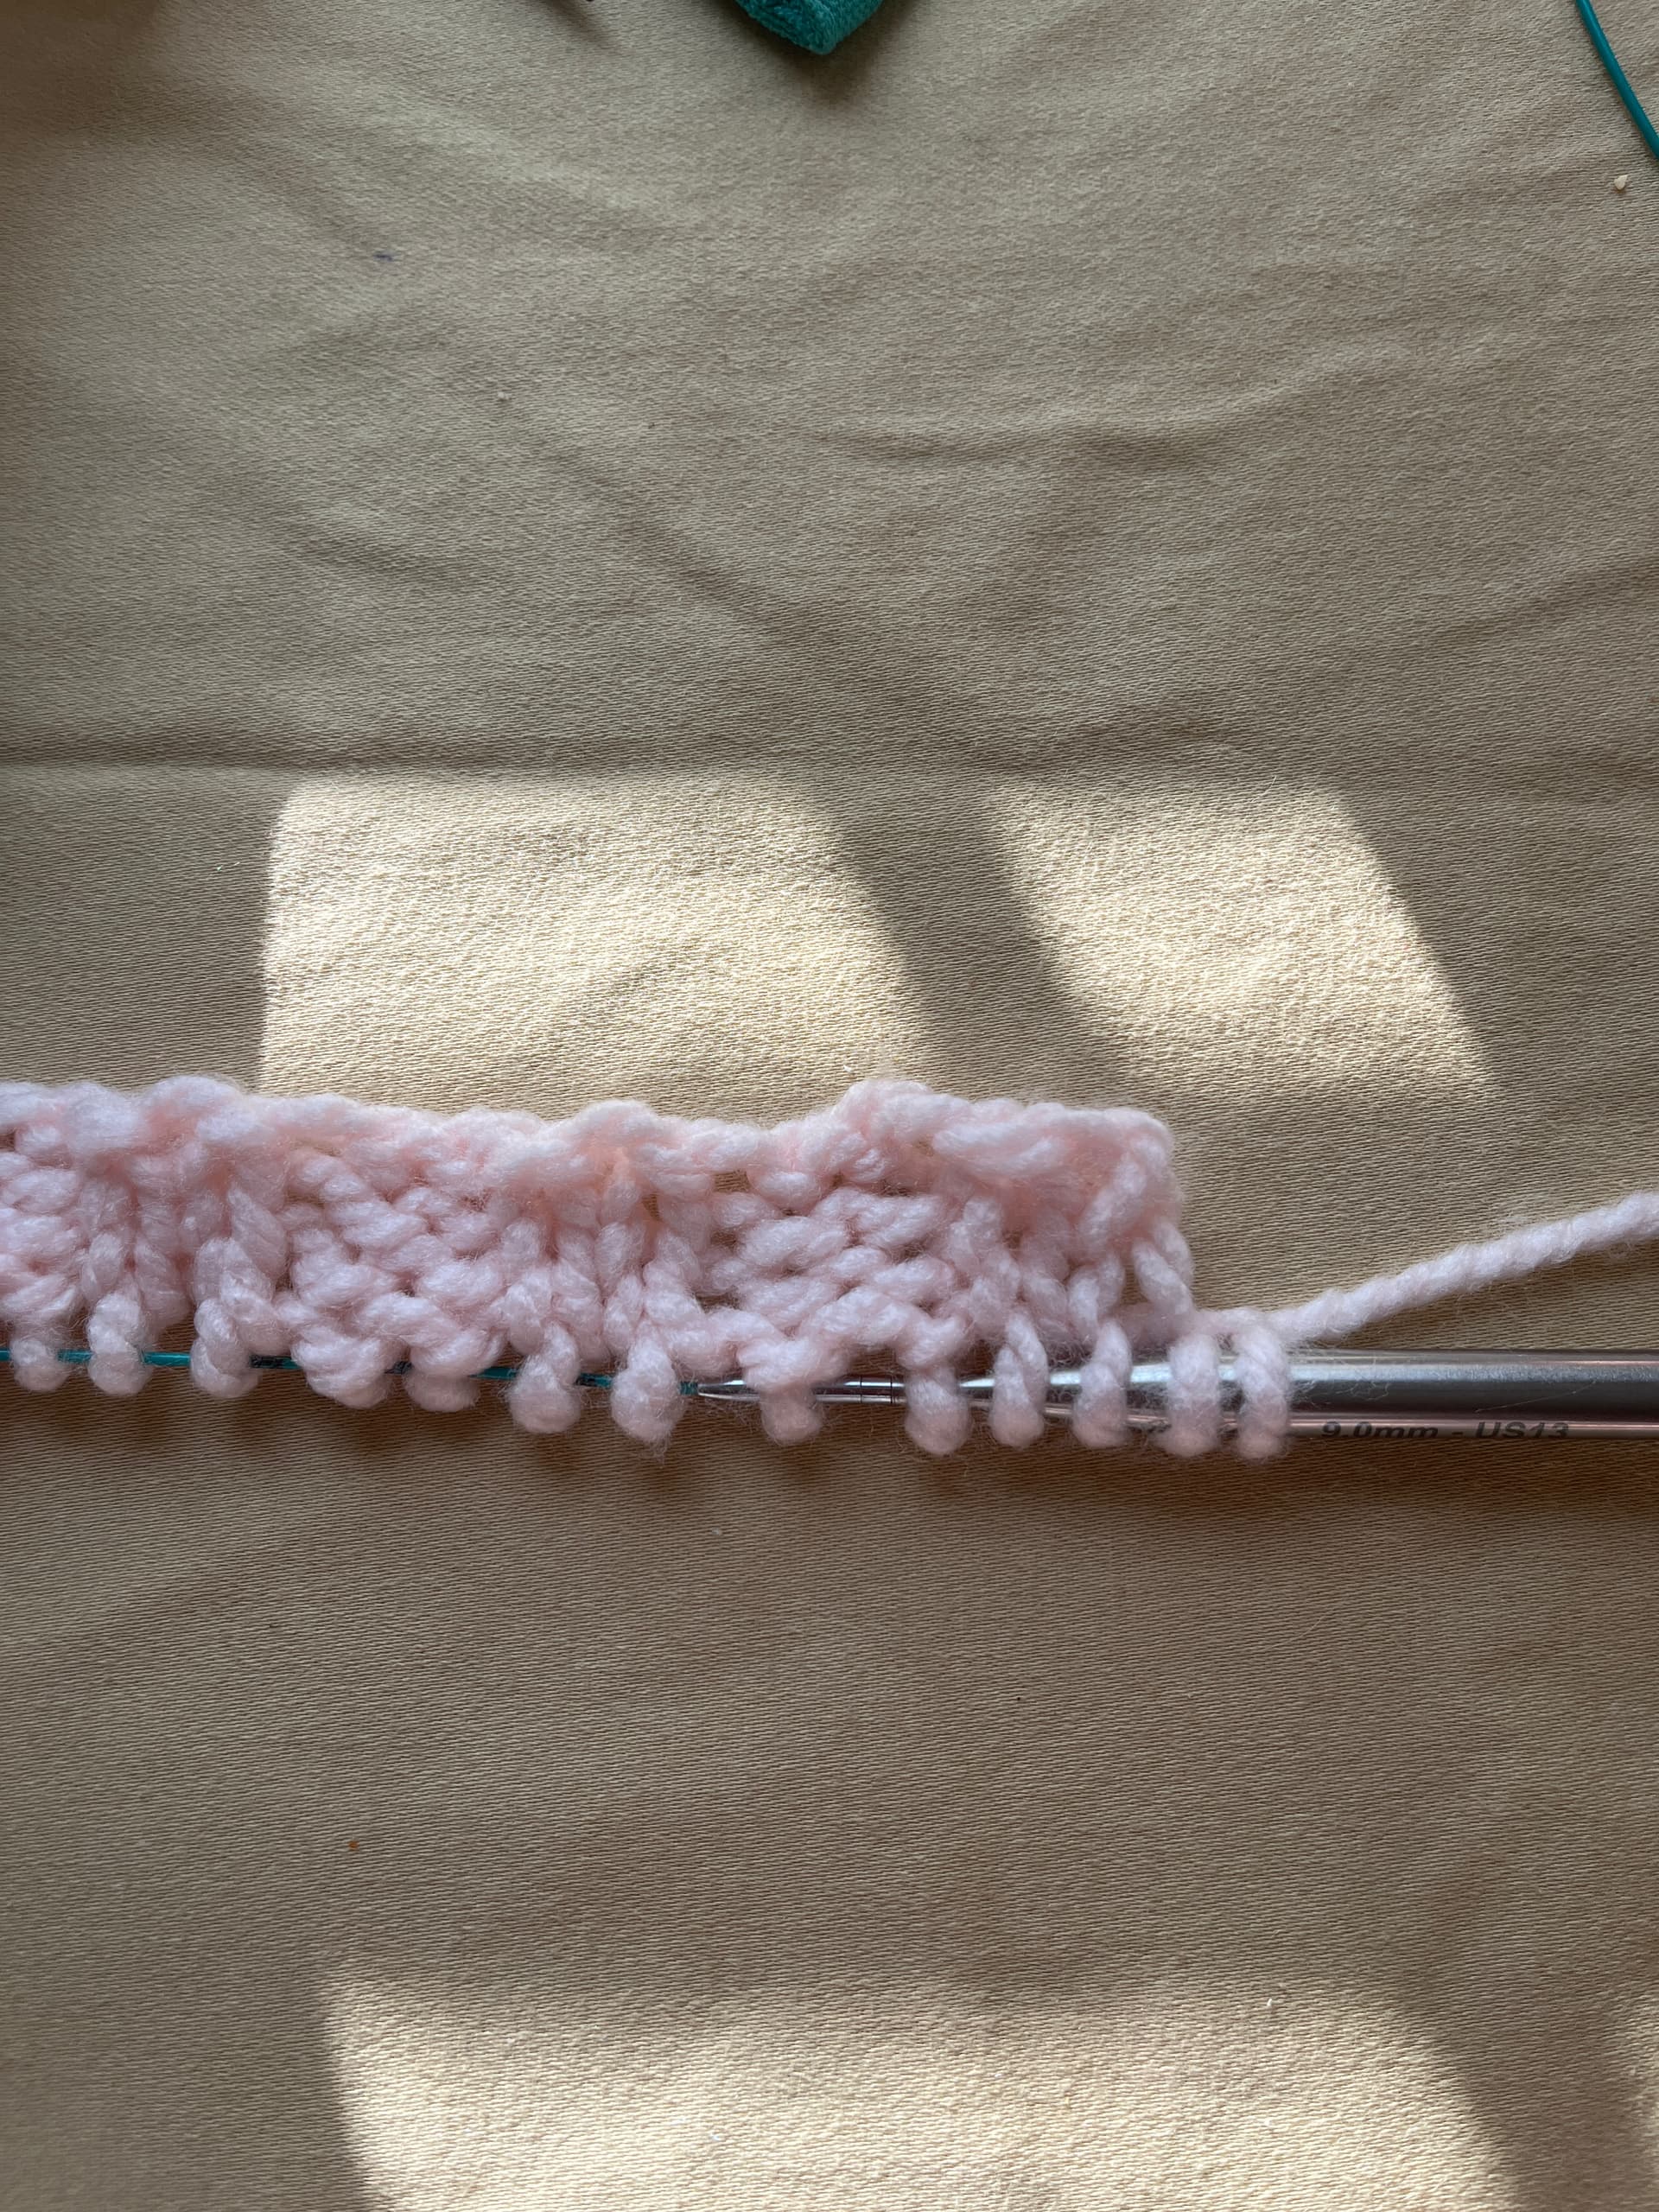
I casted on two sts at the end of the the row I was working per the directions. Then I flipped the work so RS is still facing me and cast on edge is on top. Now the directions say to pick up sts along the cast on edge.
But my lead yarn is now at the bottom, opposite the cast on edge my, so how can I pick up stitches from the cast on edge? Do I need to use another ball of yarn? This is how my work looks after I have added the two stitches and turned the work around:
What is the name of your pattern and designer?
It could possibly be that you slide the current sts to the cable part of the needle then use the needle to pick up the sts but thatās just a guess. Knowing what youāre working on will help.
The pattern is from Ravelry. Itās called Shawl Collar Vest by Jennifer Miller.
The pattern says to work rib pattern A for 10 or 13 inches before casting on these 2 stitches.
You will need to undo the 2 you cast on and continue in rib until the length given. At that point cast on 2, then turn, the 2 sts bridge the gap between where your working yarn is, and where you pick up along the cast on edge, forcing the fabric to fold over, 2 more cast on at the end of the pick up row, then continue to knit across the original stitches working in the round.
My guess is these will form the arm holes.
This seems to be a kind of tab to start the vest. It might help to pick up the two sts at the edge instead of casting on sts on each end.
This is a small example of the idea of the tab (see 2:00min). Itās not exactly your situation but close. See also where 2sts are picked up at the end (~4:30min).
Itās a very clever pattern worked sideways. Should be fun to do once you get this part started!
Salmonmac, if my post is wrong Iāll delete it to reduce confusion.
The pattern says
Begin at upper back:
Cast on 62 (78) sts. Work back and forth in Rib Pattern A for 10ā (13ā), starting with a
right side (RS) row.
Rib Pattern A (rows):
RS row: k2, p2 repeat until last 2 sts, k2
WS row: p2, k2 repeat until last 2 sts, p2
Which is why i thought it was not a tab.
Donāt delete your post. This may well be the armholes on the vest and Iām wrong in suggesting the pick up of sts at the ends. My point was only that this is ālikeā a tab, that the position of the working yarn isnāt a problem. Especially since the following steps join in the round. Sorry if that was confusing.
Ah, ok, thanks.
This would have been clearer with the directions in a different order!
Begin at upper back:
Cast on 62 (78) sts.
Rib Pattern A (rows):
RS row: k2, p2 repeat until last 2 sts, k2
WS row: p2, k2 repeat until last 2 sts, p2
Work back and forth in Rib Pattern A for 10ā (13ā), starting with a
right side (RS) row.
Work one more RS row, and do not turn. Cast on 2 sts using the backward loop method.
I appreciate everyoneās help, but something is still wrong. The pattern wasnāt working out using the yarn I intended to use, so I decided to make a sample pattern instead of working with 78+ stitches and wasting my real yarn. At least until I figure out what Iām doing wrong.
So far I have knitted the three flat rows of rib stitch, added on the 2 extra stitches at each end, picked up the cast on stitches, joined the work in the round, and worked the pattern up to and including Rib Patterns A and B and I also completed the increase rows. Then I spread the work out on my needles and saw that I had created a perfect circle. No armholes, no collar, no hem. Just a circle.
I feel like I missed some basic technique between working back and forth in rib stitch and picking up the cast-on stitches. I think the armhole should be at these ends but I donāt see how they would have been created and in fact there are no armholes. Iām mystified. How do I create the armholes? Collar? and hem? Hereās a pic of my sample project:
P.S. There are no tabs.
In rib pattern A you work a given number of rows back and forth. In your sample, youād need to work maybe 10 rows back and forth. Then cast on 2sts and turn the work to pick up sts from the cast on edge. That turn and pick up of sts will create the gap for the armhole.
The initial rectangle made from the flat knit rib will be 10 or 13 inches in the full size version. This is the entire circumference of the armhole (and if you want the armholes bigger this is where a modification would be made).
If you had only 3 rows to begin with, even if you worked the cast on and join correctly, the āarmholeā would be only 3 rows in circumfernce thatās 1.5 rows front and 1.5 rows back, you just wonāt be able to see how it forms with it this small. They might be there somewhere!
I think a sample is a great idea but needs to be bigger at the starting flat rectangle. Maybe 8 inches? Then when you cast on and join in the round you should get an armhole with 8 inch circumference, 4" front and 4" back. Working in the round then produces the neck and collar and the main body, you could do some rounds to see it taking shape but wouldnāt need to continue too far in the round for a practise piece because you just need to see the construction.
Let us know how you get on.
Iām so glad you saw where Iād only knit three rows instead of 13 inches. Thank you. Somehow I misread that first sentence that said to work for 13 inches. I blame it on anemia brain fog. Iām going to restart the sample piece making sure I begin by working back and forth for 8-10 inches. Can I send pictures of my progress so I can be sure Iām doing things right and donāt end up ripping out the whole thing and making another scarf?
Of course you can post pictures of your knitting. Thatās why this forum is such a great help, in the absence of a face to face knitting group or mentor we can all get help from one another here.
Ok, hereās the latest pic. I looks a little weird because I only casted on about 23 stitches. I think I might be in the right track. I guesss that big bulby part would be the collar?
.
I donāt like the M1 increases; they create big holes in the work and make surrounding stitches bulge out. Anyone have a neater solution for the increases?
Youāve done it!
The section forming a sort of cylinder (the part sticking up on the 3 pics) is the armholes and upper back. When the circular part (flat on the table in your pics, the part on the needles) is worked bigger it will open up, one part of the circle will become the collar and the rest will be the fronts and lower back. When itās the right size, and can stretch out because itās not on the needles, there is an opening which is currently sitting on the table, you put it on that way - arms go into the central āholeā of the circle and one arm comes out of each end of that cylinder.
This is not the easiest construction to understand , it doesnāt look like a cardigan at this stage⦠but you have got it right now and if you work your correct, full, size it will be successful. Youāve overcome the hardest part.
I have seen notes on ravelry that if arm hole size needs changing then it is done on that first flat rectangle as this is the arm circumfernce. Iāve also seen not to make this too small or too big. Too small and it wonāt fit the arms, but too big makes a bunching on the back panel (someone worked to maybe 18" and found a bunching back panel). I would go with one of the 2 sizes given but not stretching the fabric out to measure, just ensuring it really does make the full measurement as given. When complete the sleeves donāt sit at the fullest part of the arm/shoulder, but a bit lower, opening out and giving more room in the arms, shoulders and back with the big circle part. So Iād say keep to the size given and donāt panic.
You and well on your way now!
Looking good! You can slip the opening (that was created after the cast on of 2sts and the pick up of sts from the cast on edge) over your arm to check that it will be the correct size.
Are you twisting the M1 when you pick it up, knitting into the back of the stitch? That should close up any hole. You can also substitute any increase that you prefer, a kfb, eloop, right or left lifted increase, etc. Just remember that a M1 or eloop occur between sts and a kfb or lifted increase uses up a stitch. Youāll need to count that stitch when you work the increase rows.
Thank you both. Iām starting the real project now. Iāll practice that twisted M1 stitch on the sample before I try it on the main work. ![]()


