Hi all, new to the forum and hoping someone can help me! I’m knitting a bottom up cardigan with a shawl collar. You divide for the fronts and the back. And at each front you shape the shoulder with a stepped bind off. Then you knit on remaining stitches for the collar extension on each side. When you knit the back section it also shapes the shoulder with a stepped bind off. The product is all one piece and here’s where I’m stuck. The pattern then says to sew shoulder seams. I can’t figure out how this works! I have three steps in the bind off on each side of the back and two in each front panel - then the collar extension - and then another short bind off section. I can’t figure out where I’m supposed to sew together. I’ll try to attach photos if possible. Maybe someone can make sense of this or if you need more information, please let me know. Thanks so much!
Welcome to KH!
What is the name of your pattern and designer?
It’s unusual to have the front bind off not match the back but there’s stretch in the knitting so you can usually align the shoulders and seam. In future there is a neat way to avoid the steps in the bind off and make seaming easier.
Here’s a video that explains seaming the shoulders and joining the shoulder extensions which form the back part of the collar. It shows binding off the collar extension. You would then seam the two collar extensions (one on each side) at the back neck. You can also join these with 3 needle bind off if you prefer. I’m assuming there are two collar extensions. Your pattern may differ.
Thank you for the welcome and the links!
The pattern is Selby by Tonia Barry. I downloaded it from Ravelry - A Classic Elite Yarns pattern.
Great looking jacket!
Hello
Hopefully you’re on track now, but if not please do come back and ask again.
Posting a photo of your knitting is a good idea if you aren’t sure what goes where. Click the little landscape picture icon in the message box, then navigate to your pic or camera.


I’m still stuck! Here are photos of the top of the garment. Two stepped sections for the shoulder in each of the front sections, and three on each side of the back. How do I match these? Any help would be great. Thanks!
Can you post a photo of the directions from the beginning of the shoulder shaping including the section on the neck extensions. In almost all cases the front shoulders will mirror the back and the collar extenion should look like this.

It may be that the bind off on the right should be on the left in the photo and be the third shoulder bind off. Then the extension would be at the front edge rather than in the middle. Seeing the directions will help. Don’t post a large portion of the directions due to designer copyright, just the shoulder shaping and collar extension.
See also the second photo down in this project.


The underline in blue shows the 3 bind offs on alternate rows (every RS row). For the left front (left as you would wear the sweater) bind off at the beginning of a RS row. All these bind offs at at the same edge, the armhole edge. That will give you a shape like the one I tried to show in post #7. (that photo is shown from the WS but the concept of the shoulder bind offs from the armhole edge is the same).
You’ll need to rip out down to the single bind off at the right in the photo and re-knit so that all 3 bind offs are at the same edge (like the 2 bind offs on the left in the photo).
I second what @salmonmac said. It looks like on the first bind off row, you bound off on both edges. Did you maybe lose track of where you were in your pattern, and do the first bind off row for the left shoulder, and then switch to reading for the right shoulder? It would be easy to do. I recommend a Post-It or highlighter tape on the row you’re working.
As you will need to frog back to the correct bind off row and reknit the top section I thought I’d post a link to life lines. You may already know how life lines work, if not then this may help. When I discovered life lines I was utterly amazed.
You will need to seperater the garter bumps to see the V legs to put the life line in.
I personally prefer to go a row or two higher than I need and then tink back individual stitches to get to the correct row, this is because I rarely get my life line 100% straight (but I am improving!). If your life line crosses 2 rows just tink until you are on the correct row and all the stitches belong to that row. Tink is knit backwards, it’s a really useful skill which again you may already know, here’s a video just in case.
Oh my goodness - this makes total sense! Thank you. So I’ll watch the video on lifelines. I tend to just wing it with tinking. But just to be clear, the consensus is the collar extension is adjacent to the front opening and all three steps of the shoulder shaping are adjacement to sleeve. That is what the schematic shows. I don’t know how I managed to do the extension in the middle. I will definitely update when I figure out how to correct this. Thank you!!!
It’s easy to be off sometimes when reading directions and then knitting the rows. It may help to place a marker on the armhole edge as a reminder of where the shoulder bind offs should be. Also a marker on the RS or public side since this is garter stitch and it’s easy to confuse RS vs WS.
It’s going to be a stunning jacket. Have fun working the rest of the pattern!
When a project has a construction shape we aren’t familiar with we do expect these ‘odd’ shapes, and that they will somehow make sense later, so I can totally understand how you accidentally got this in the wrong place. Garter stitch is easy to confuse right side and wrong side and you’ve made this one error and thought it was part of the construction. Easy to do.
At least it’s not so much to redo.
FWIW - I figured out how I made this error.
In the shape shoulders section, I did the bind offs on every consecutive row - not every WS or RS row as the pattern indicated. Just didn’t read carefully!
I’m well on my way to tinking and reknitting. I can’t thank you enough for this. This pattern is the first time I have knitted a bottom up sweater, so I wasn’t clear on the construction. You all made it very clear!
Glad to hear you’re on your way with this lovely jacket. Even better that you can see the error. We’d love to see a photo when you finish!
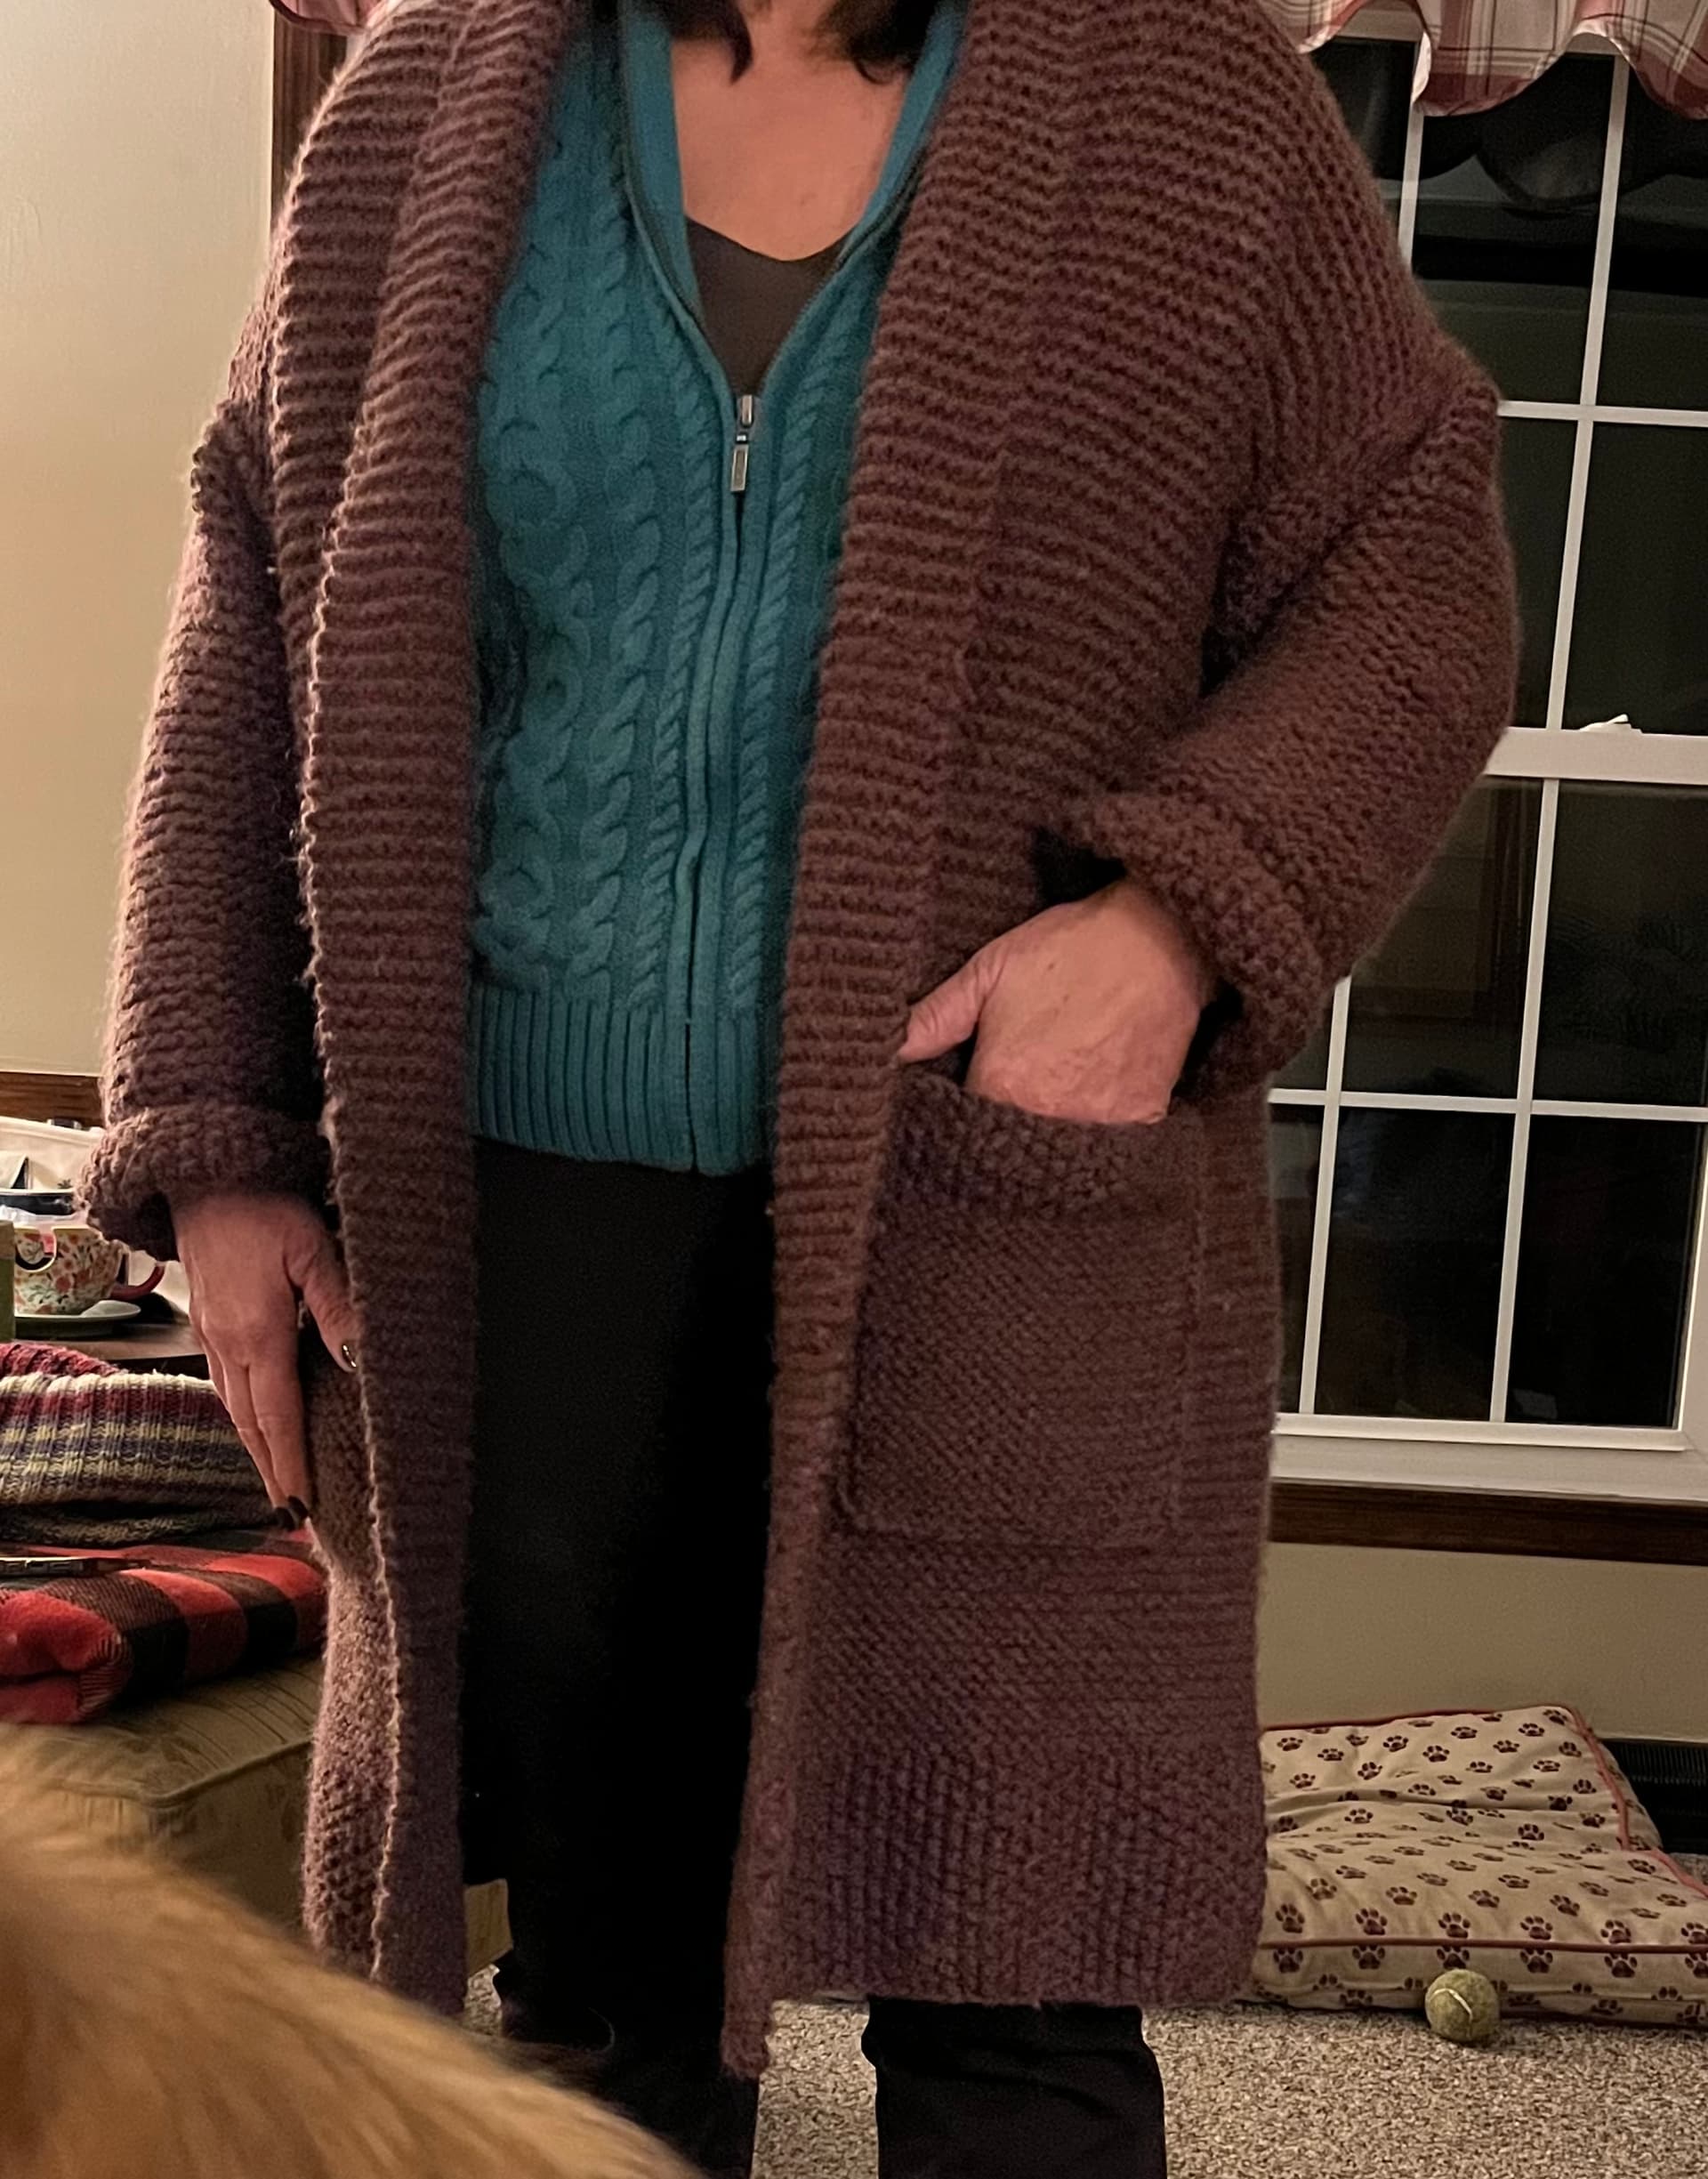
Beautifully finished! Shaping and pockets look grand and the collar is very nicely set. Thanks for the photo which is a delight to see.
Brilliant jacket! Looks so cosy and smart.
Nice work vippets, wery cozy.