I am creating a cardigan sweater of my own pattern and want to do a garter stitch button placket. I am trying to figure out how to create the main body front in stockinette and then add a garter stitch placket that attaches at the connecting inner stitch rather than picking up stitches along the front button edge because I want the garter stitch to be horizontal not vertical. Then I will continue down the button placket, turn the corner and go around the bottom of the sweater so the garter stitch is now vertical. I could do it all together but I still need to add something at the bottom.
Does anyone know how to attach the new garter stitch knitting WHILE i am knitting, not by creating a long ribbon of garter stitching to add by needle and thread to the stockinette fabric–neatly?
It sounds like this is not what you want to do, but so many cardigans are done with self button bands just worked right on to the front of the sweater as you knit the sweater, that way it would be like you want it in front but not along the bottom. If you are doing top down you could finish with garter or if bottom up begin with garter. :think: Maybe someone knows but I’ve never done such a thing.
The only way I know to do horizontal is to knit it along with the rest of the sweater. :shrug:
Here’s a picture of my latest practice attempt. It is bulging at the seam–ICK! And the seam is uneven. Now going to try having the inside connecting stitch on the underside while leaving the selvage stitch on top.
A valiant attempt. It least you have found 1 thing that doesn’t work and that is part of the process. 
You said:
Then I will continue down the button placket, turn the corner and go around the bottom of the sweater so the garter stitch is now vertical.
That sounds like you would like to start at the top and work down which may be even harder. Did you do your sample adding on the band from the bottom up?
I’m making a swatch that I can play with and see if I can come up with anything, but don’t hold your breath. :lol:
If you want the garter vertical at the bottom you would probably need to start with the bottom and then turn and go up. Just guessing.
Can you tell me what you did to get the result you showed?
Here is what I tried. I began along the cast on edge at the edge of my swatch. I inserted the small silver dpn into the bind off loops ( I had them on the needle the wrong way so when I worked them I did it though the back loop, if you did them right you wouldn’t need to do that). So I didn’t do a regular “pick up and knit”, just ran the needle through the stitches. I had used a long tail cast on and purled the first row of my swatch. If your case is different you will have to experiment to see what looks best.
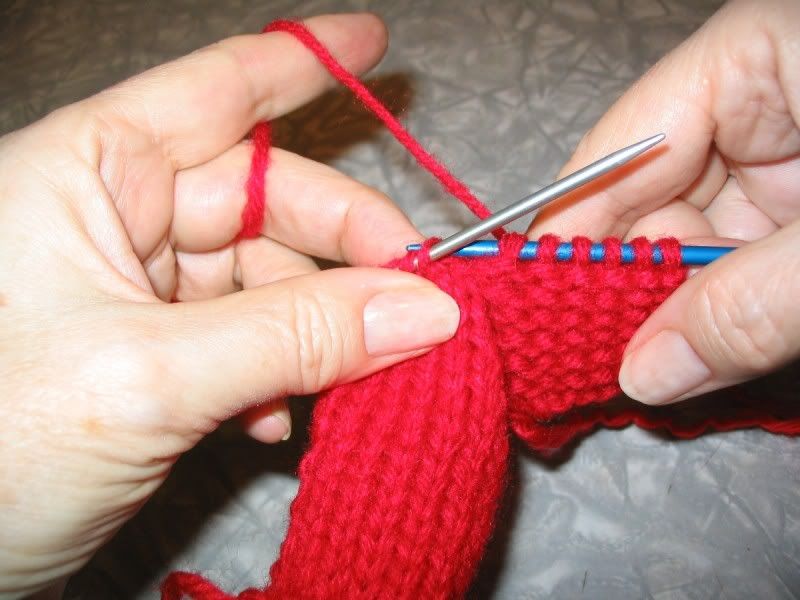
Then I cast on 6 stitches (random number) to make the width of the band. I knitted across the first 5 stitches and then with the RS facing slipped the last stitch knit wise, then I slipped the first of the stitches on the silver needle that I had picked up.
This picture shows how I slipped the stitch off the bottom edge of the swatch:
After I had that stitch slipped (also knitwise if it was on the needle right and straight on purlwise, behind the needle with it the way I had them) I completed a slip, slip, knit. So I had the last stitch of the 6 band stitches slipped then the one from the edge, then knit them together like a SSK. Now turn and knit back across the 6 stitches, turn and knit 5 and repeat the joining SSK. I recommend a smaller needle than you used for the sweater by at least 2 sizes because you will have more rows because you have to work back and forth to make the band. My sample was all on the same size needle that I knit the “sweater” swatch from.
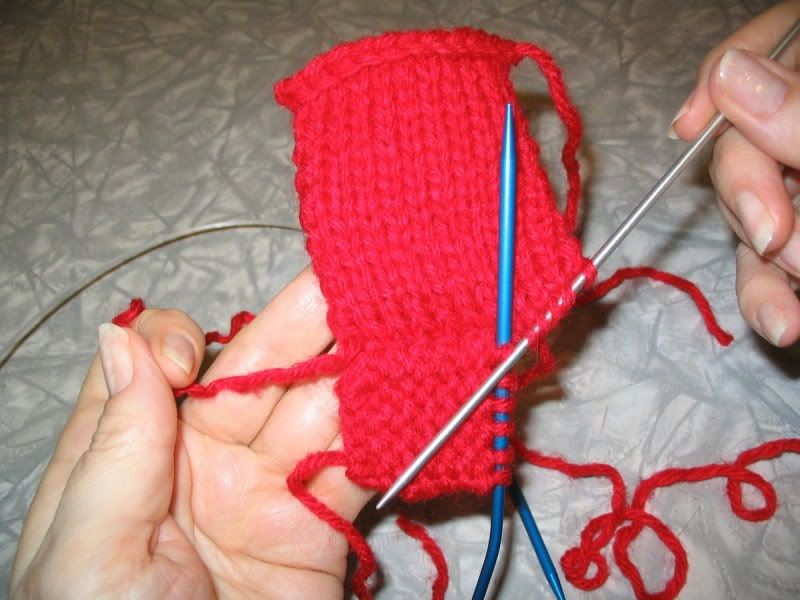
This picture shows how it looks from the right side. The silver needle is holding the stitches from the edge. This is showing it upside down from the way it was worked.
I don’t think you (or should I say I) could work the band around the corner and on up the front of the mini sweater piece. I think I would pick up stitches along the front including the edge of the bottom band and work the front band in a similar way. I haven’t tried it yet and don’t know how it will look though.
Here is one more picture of what I was getting.
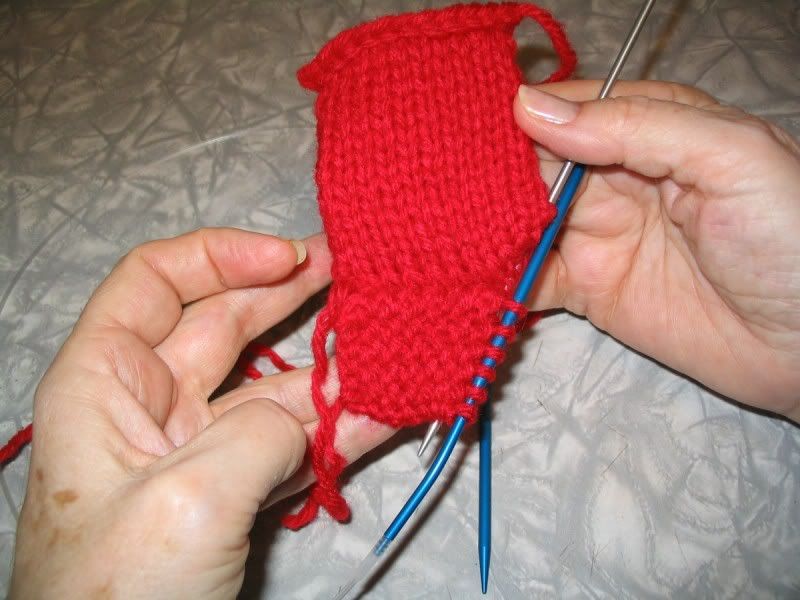
Maybe this will give you an idea of how you might proceed.
I’m still working across the bottom of my swatch, I want to try the button band part too. And…I just noticed the back side of my swatch. It looks excellent. But that is the garter against the Rev St st instead of the St st and may just work out better, but I thought it might be worth trying to do the joining with the WS facing and see if that looks better. So I’m passing that along to you. 
I’ll have to try this with my knitting needles and gauage swatch to follow along. Thank you so much for your help! 
Okay, more reports. I tried doing the front band from the wrong side and that meant starting at the top and working down. I didn’t think it looked real good. So took that out and tried doing it from the right side.
I had the live stitches from the lower band and used them first and joined the way I had before with a SSK. When I got to the front edge stitches I tried a couple of different things. At first I picked up every other outside leg of the knit stitches along the edge, but that looked a bit gappy. So I started doing the join in every edge stitch doing the SSK still that works. Then I tried doing every stitch but doing a K2tog instead of SSK and that may even be better. I was thinking of trying a K2tog tbl to see what that does but I’m wanting to quit and get back to some of the things I should be doing around here.
When I picked up the stitch from the body of the sweater I didn’t bother to run a needle through or anything, just stuck a needle through each edge stitch as I needed it and worked it that way.
My recommendation to use a smaller needle is wrong. I tried it. It didn’t work. Went back to the same size needle as the sweater and that is better. You might try joining the bottom band with the K2tog too and maybe that will look better than the SSK. It is doable and will look fairly good, but it seems picked up and knitted on bands or self bands would look better and be easier.
I can have my DH take pictures of what I have here, but I don’t know how. :oops: If you’d like to see the final thing I did let me know.
Susan Bryant has a video on this on YouTube. Also Ten Rows aDay. It involves inserting short rows at some interval to keep GS even with SS.
Hope this helps for future.
1 Like

