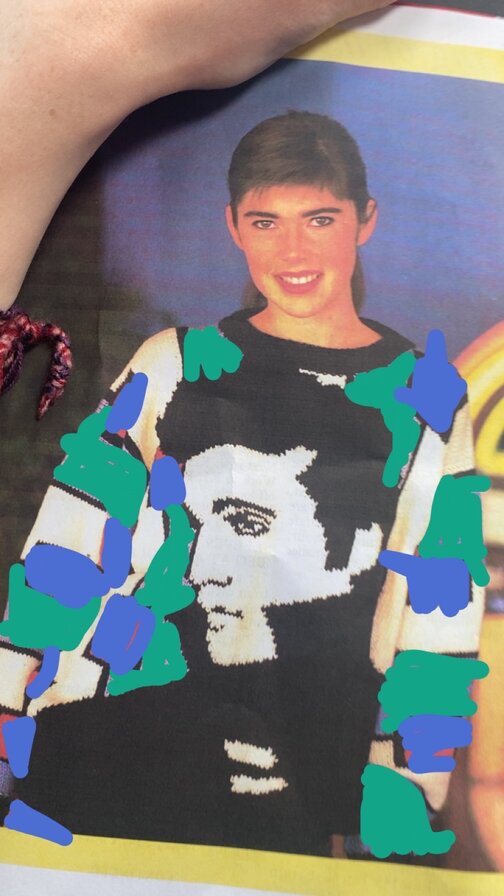
I’m OBSESSED with Elvis and I’ve finally found a jumper pattern I’d like to give a go.
Few questions to start:
- It’s a pattern that has one size, and I’m wondering how easy would it be to make it smaller.
- Tension says 20sts and 26 rows to 10cm over st st, using 5mm needles. I have to admit I never check this…and I have been fine…touch wood it carries on. The ribbing is done using 3.75mm needles and I thought I’d brought some on holiday with me but turns out I haven’t. So I’m wondering if I do my tension square and I have fewer stitches I’d use a smaller needle but does that go for the ribbing too?
Great sweater for an Elvis fan!
I’d say in general if you need to go down (or up) in needle size to get gauge on stockinette then probably best to alter the rib needle by the same. That said, many knitting tutorials advise an even smaller needle for ribbing to get a nice neat rib. This can mean changing the stitch count on the rib though so that it doesnt pull in more than expected. And of course it’s always knitters preference as to how loose or tight you like the fabric to be.
You asked about making it smaller. Do you need to change the size by much? Or are there certain areas you’d like smaller?
Overall youre restricted by the size of the chart for the main motif but if there was a bignsize difference you might try a lighter weight yarn which would make it overall smaller without changing stitch count.
Otherwise, you can shortern pretty easily without losing much detail and could recalculate narrower or shorter sleeves.
What you don’t really want to do is just knit a lot tighter, it would make it smaller but you’d get a firmer fabric which may not be desirable. Certinaly you could swatch to see how it is on a smaller needle though.
If you’re making a start and are without your ribbing needles you could go straight onto the main body of the sweater and return to the rib later. I have done this a few times when I wasn’t sure what sort of rib i wanted or how long i wanted it or what colour to make it. You can just pick up and knit down from the stockinette at a later point.
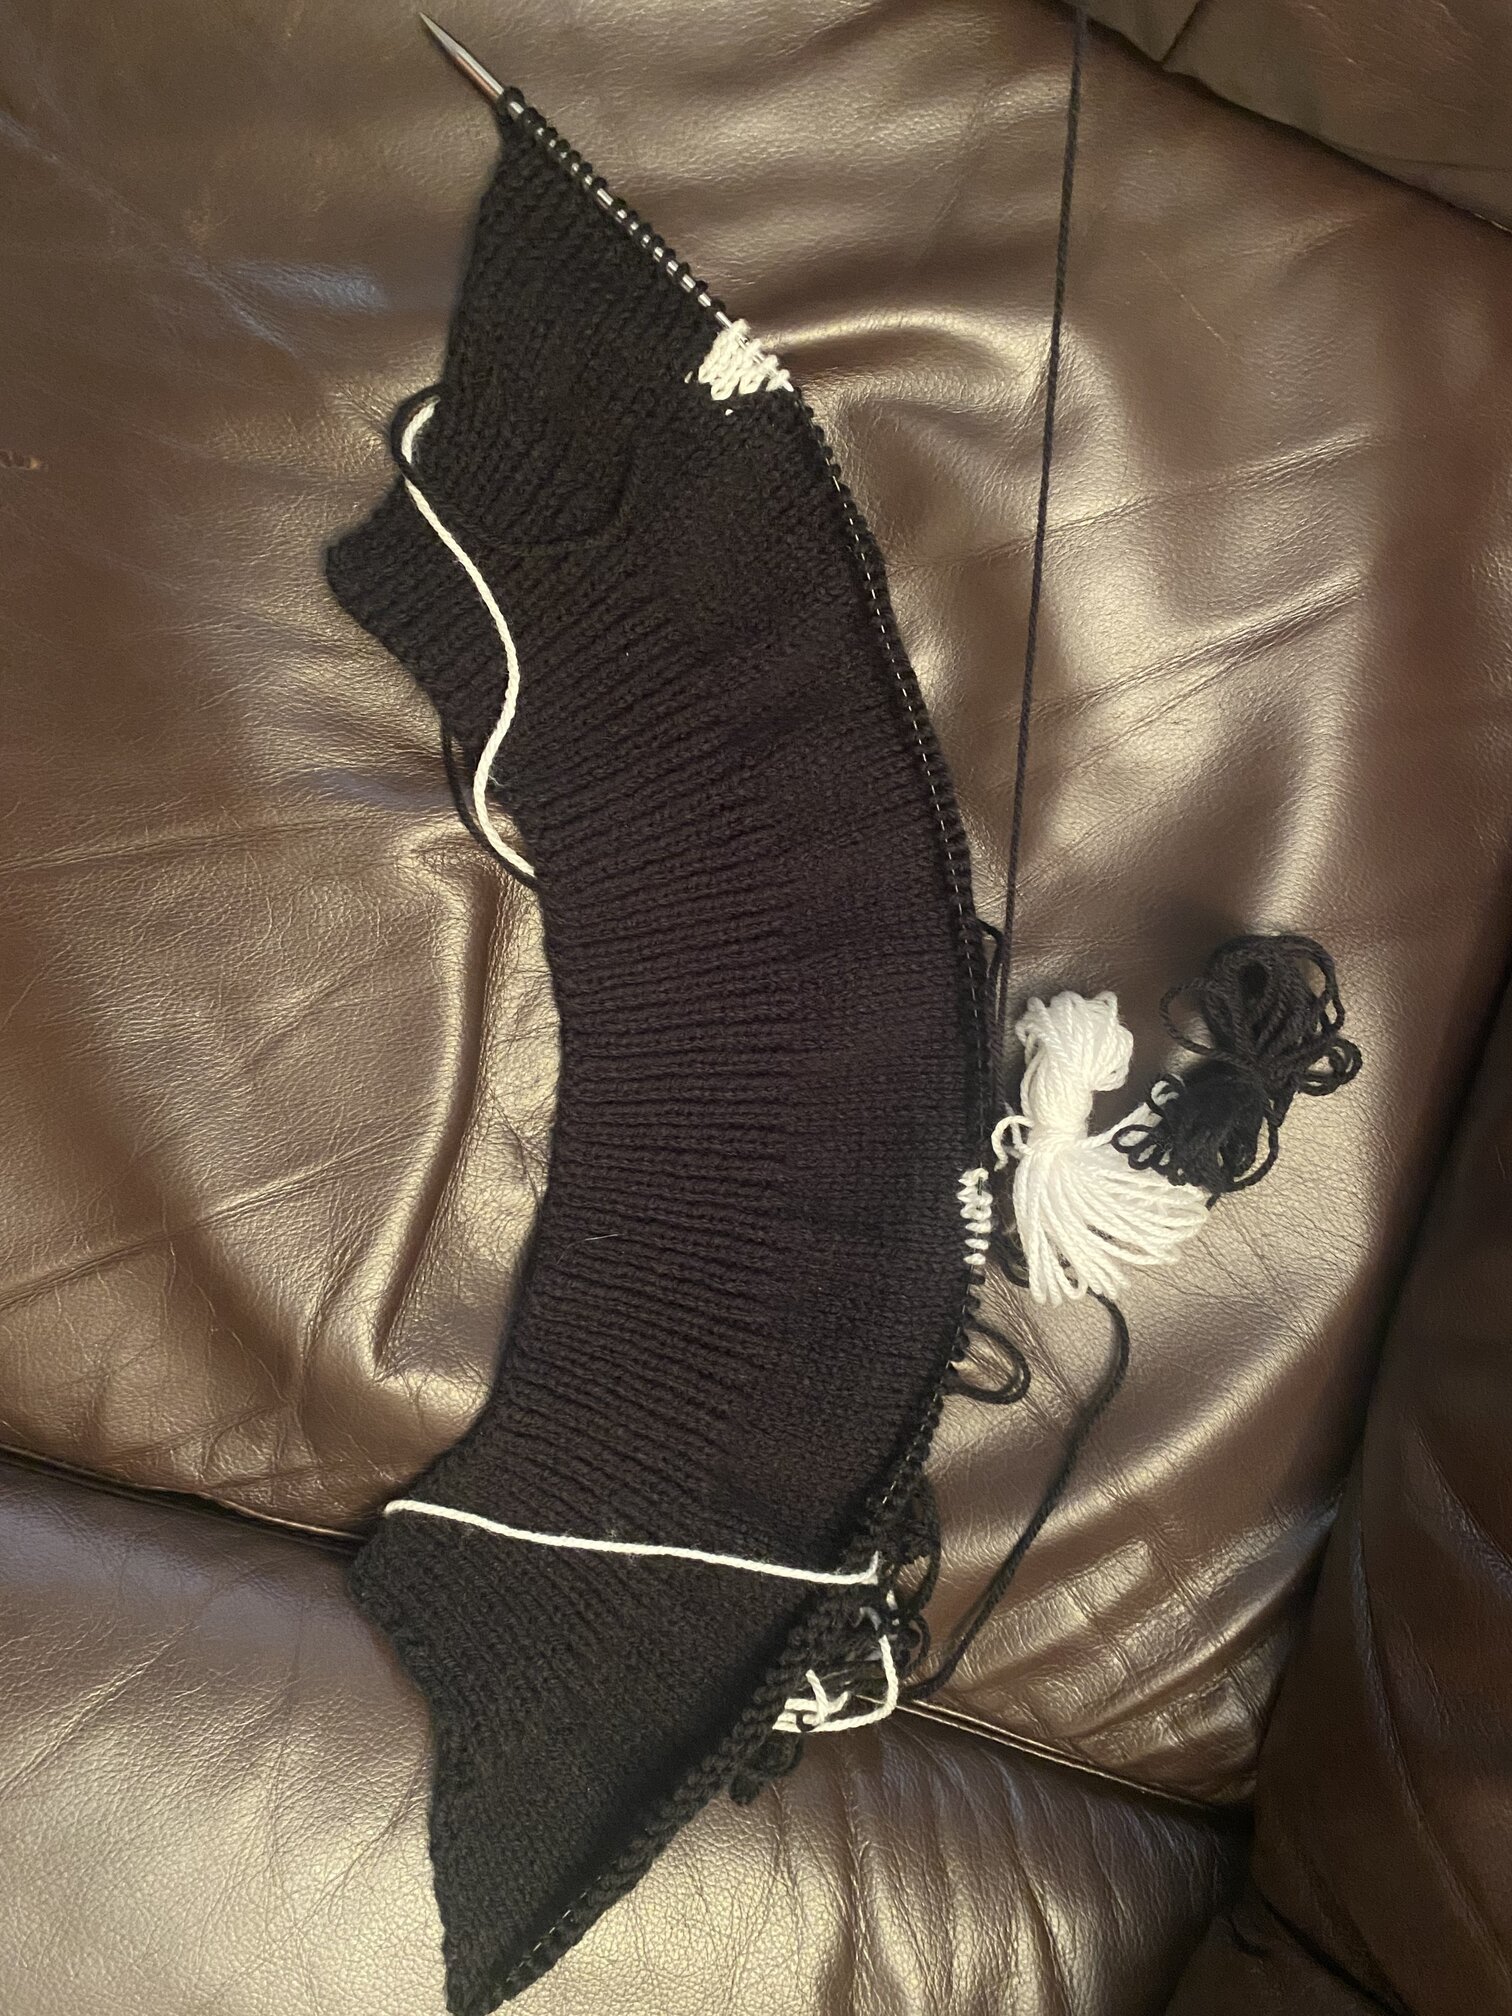
I was able to get the right needles and have done the ribbing and a few more rows.
Now intarsia ahhh. If you can remember I made a pretty cute snowman sweater for my niece xmas just gone and I was able to do the weave in and twist method with no issues, no holes no loose stitches etc. but now for some reason I’m having a nightmare with this jumper. Basically I have 3 bobbins (black, white, black) and the white only has 2 stitches. Do you believe this is why it’s proving more difficult than the snowman as they had bigger blocks of colour?
I’ve watched several videos and read multiple websites and still can’t seem to get it. Does anyone have tips?
Or should I be using fair isle?
Intarsia should work great with this design. I do remember how great the xmas sweater was,mso you can certainky do it.
Which bit has just 2 stitches? The eye perhaps? I have done intarsia with single stitch sections, just pay attention to the tension when you switch yarns and it should be fine. That said though, if you want to do a couple of bits in stranded colour technique instead, the mouth, nose and eye pehaps, then that’s fine too and you can still use the intarsia method for the rest.
So I’m working bottom up so it’s the first white section on the left. I’ve unpicked and going to have another go!
It’s probably that having only 2 stitches doesn’t fully establish your tension with the new color. I bet a quick tug on the tail will tighten it right up! Or maybe an extra twist?
It might also be better after you work the next row.
1 Like
For just a couple of sts you could try duplicate stitch. It works really well for just this sort of thing.
This project is perfect for intarsia with some stranded work at the eyes and eyebrows. It’s going to be a standout!
1 Like
Thank you!
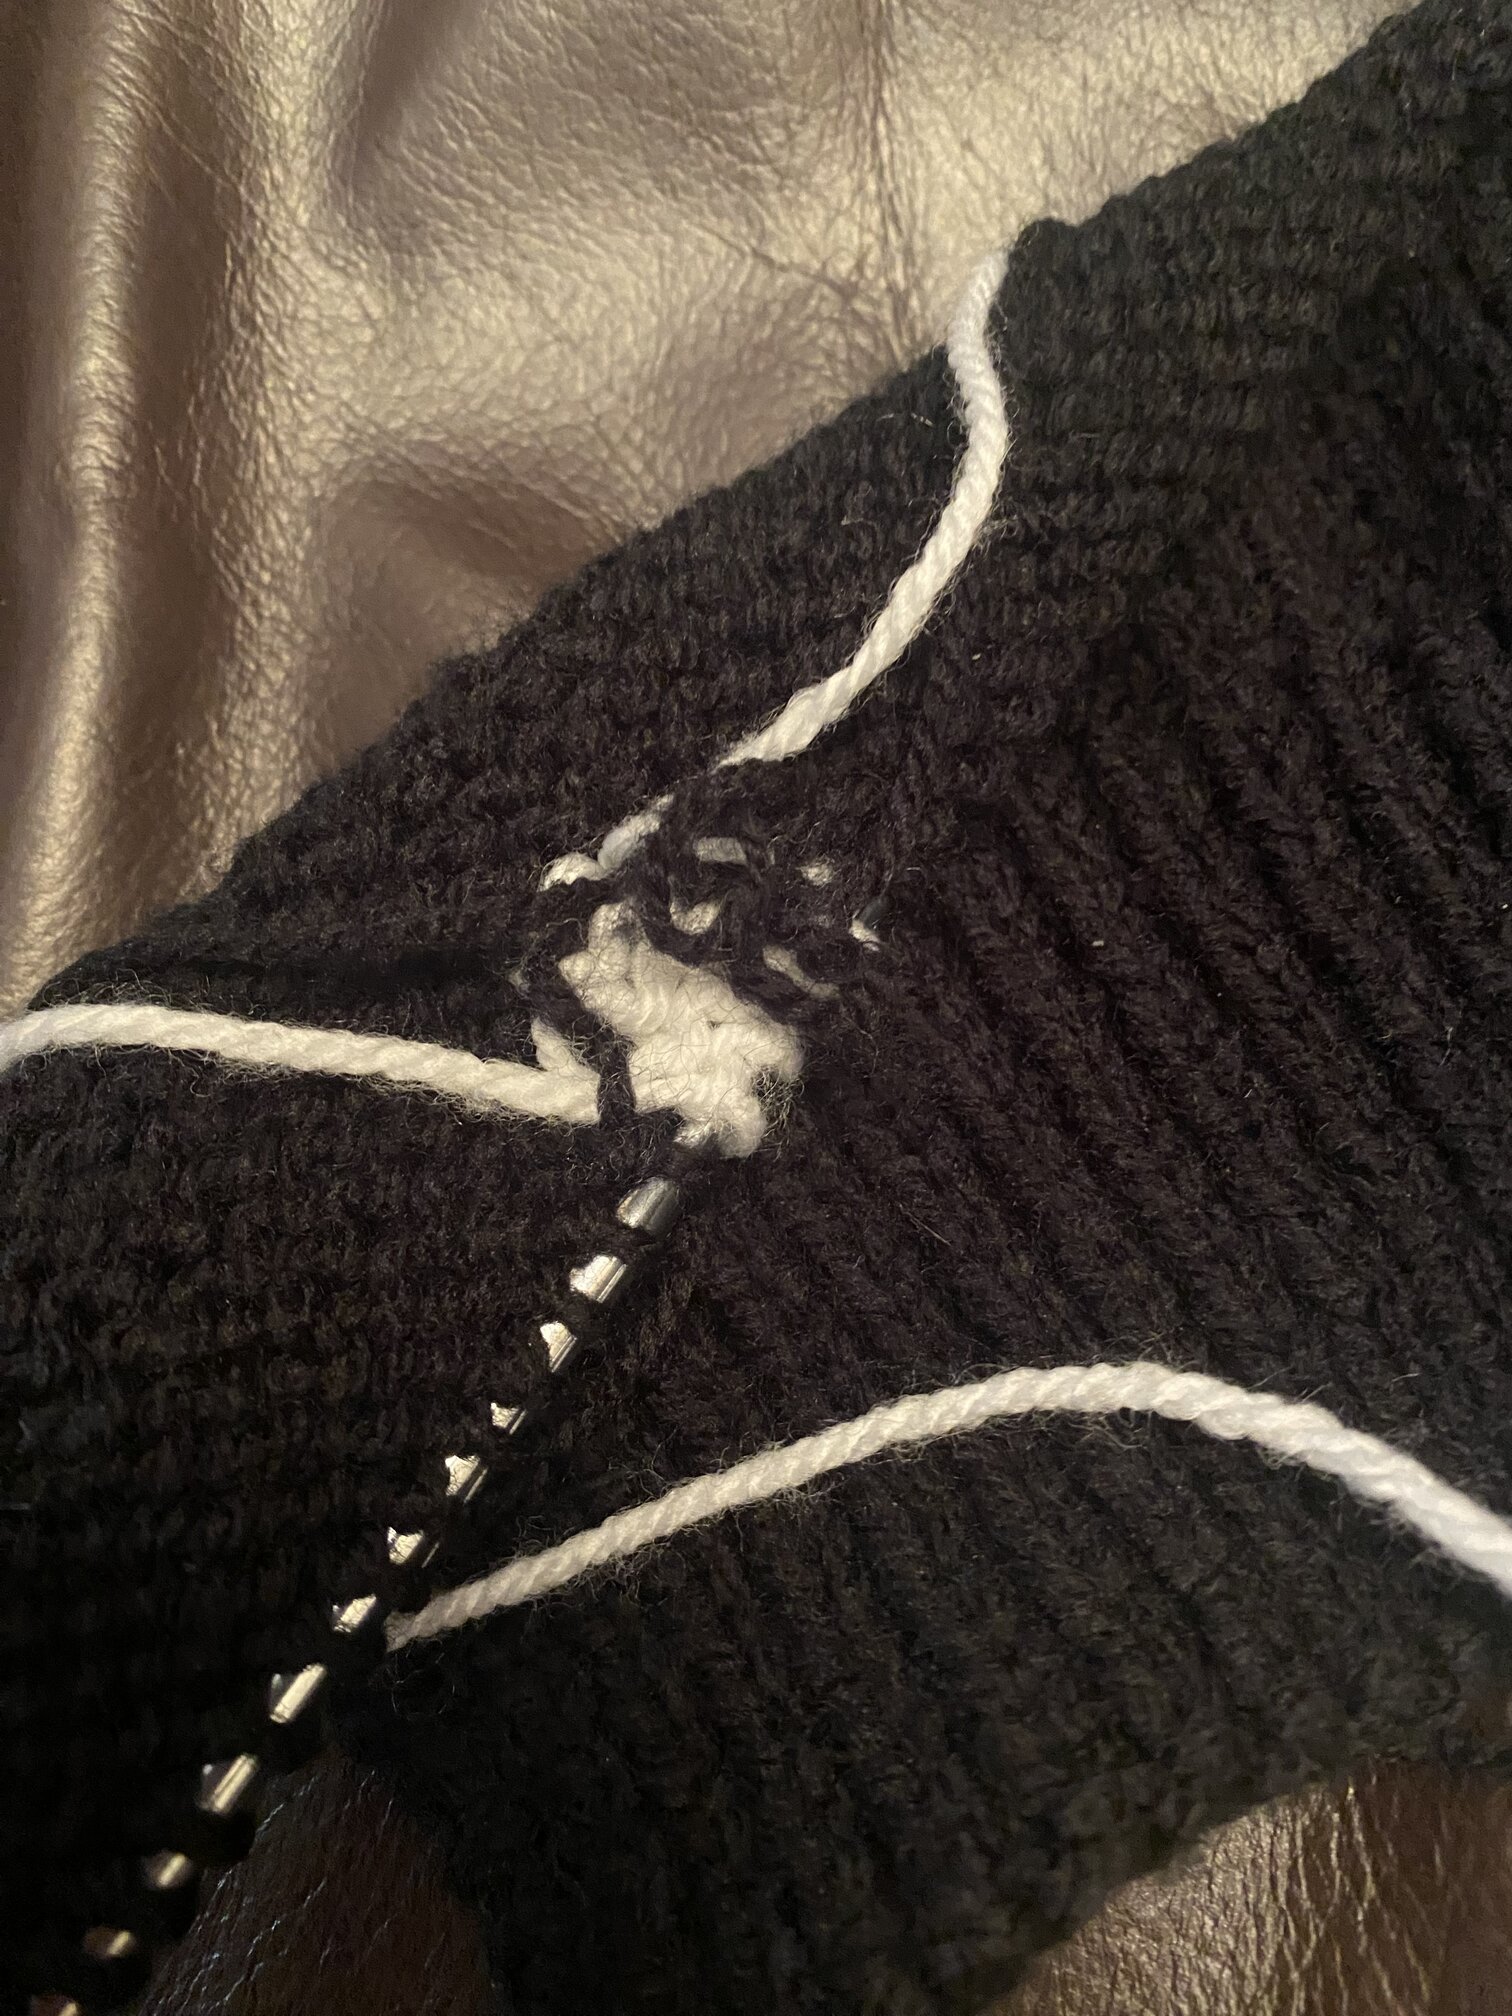
I’ve had a panic hahah hence why I’m up at 4am but basically I was doing really well and then one stitch was funny so I decided to pull it ahhhh and now i’ve got two loops on back because can’t seem to get them to the tail to pull the excess out 

Going to try again tomorrow and hopefully distribute the yarn as don’t want to frog again!
2 Likes
The start you’ve made looks fine, very nice.
I think, as colorcro mentioned, you just have a bit of a loose end because it’s the start. The starting tail (white but then also the following new black) will be loose and can effect the next couple of stitches if the loose yarn from the tail works its way into those following stitches, but you can snug it back up as you work the next row and also when you come to weaving in the ends (when the fabric is secure all around because it has rows above firming it up) you can resize the stitches a little if needed.
When i have a large piece of fabric with dozens of tails I’ll spot some horrendous large stitch but every time if i look at the back it’s where a tail is hanging and it snugs with a pull.
Try not to worry about a little white peeping through the black or vice versa, it will be fine, it will be equally peepy all around making it part of the fabric and don’t forget it’s a hand knit, not a mass produced printed sweatshirt.
Also if there happens to be the occassional awful stitch even after weaving in and redistribution of extra yarn as much as can be done etc, there’s usually a way to give it a fix. A duplicate (or weaving in tail) on the back can pull a stitch tighter making it visually better without adding bulk to the front. Or even, a small stitch of sewing thread on the back i did his once because duplicating with the yarn was too bulky, i don’t even remember where it is now, it’s not noticable.
I can’t tell what happened on the back but i doubt you’d need to frog.
1 Like
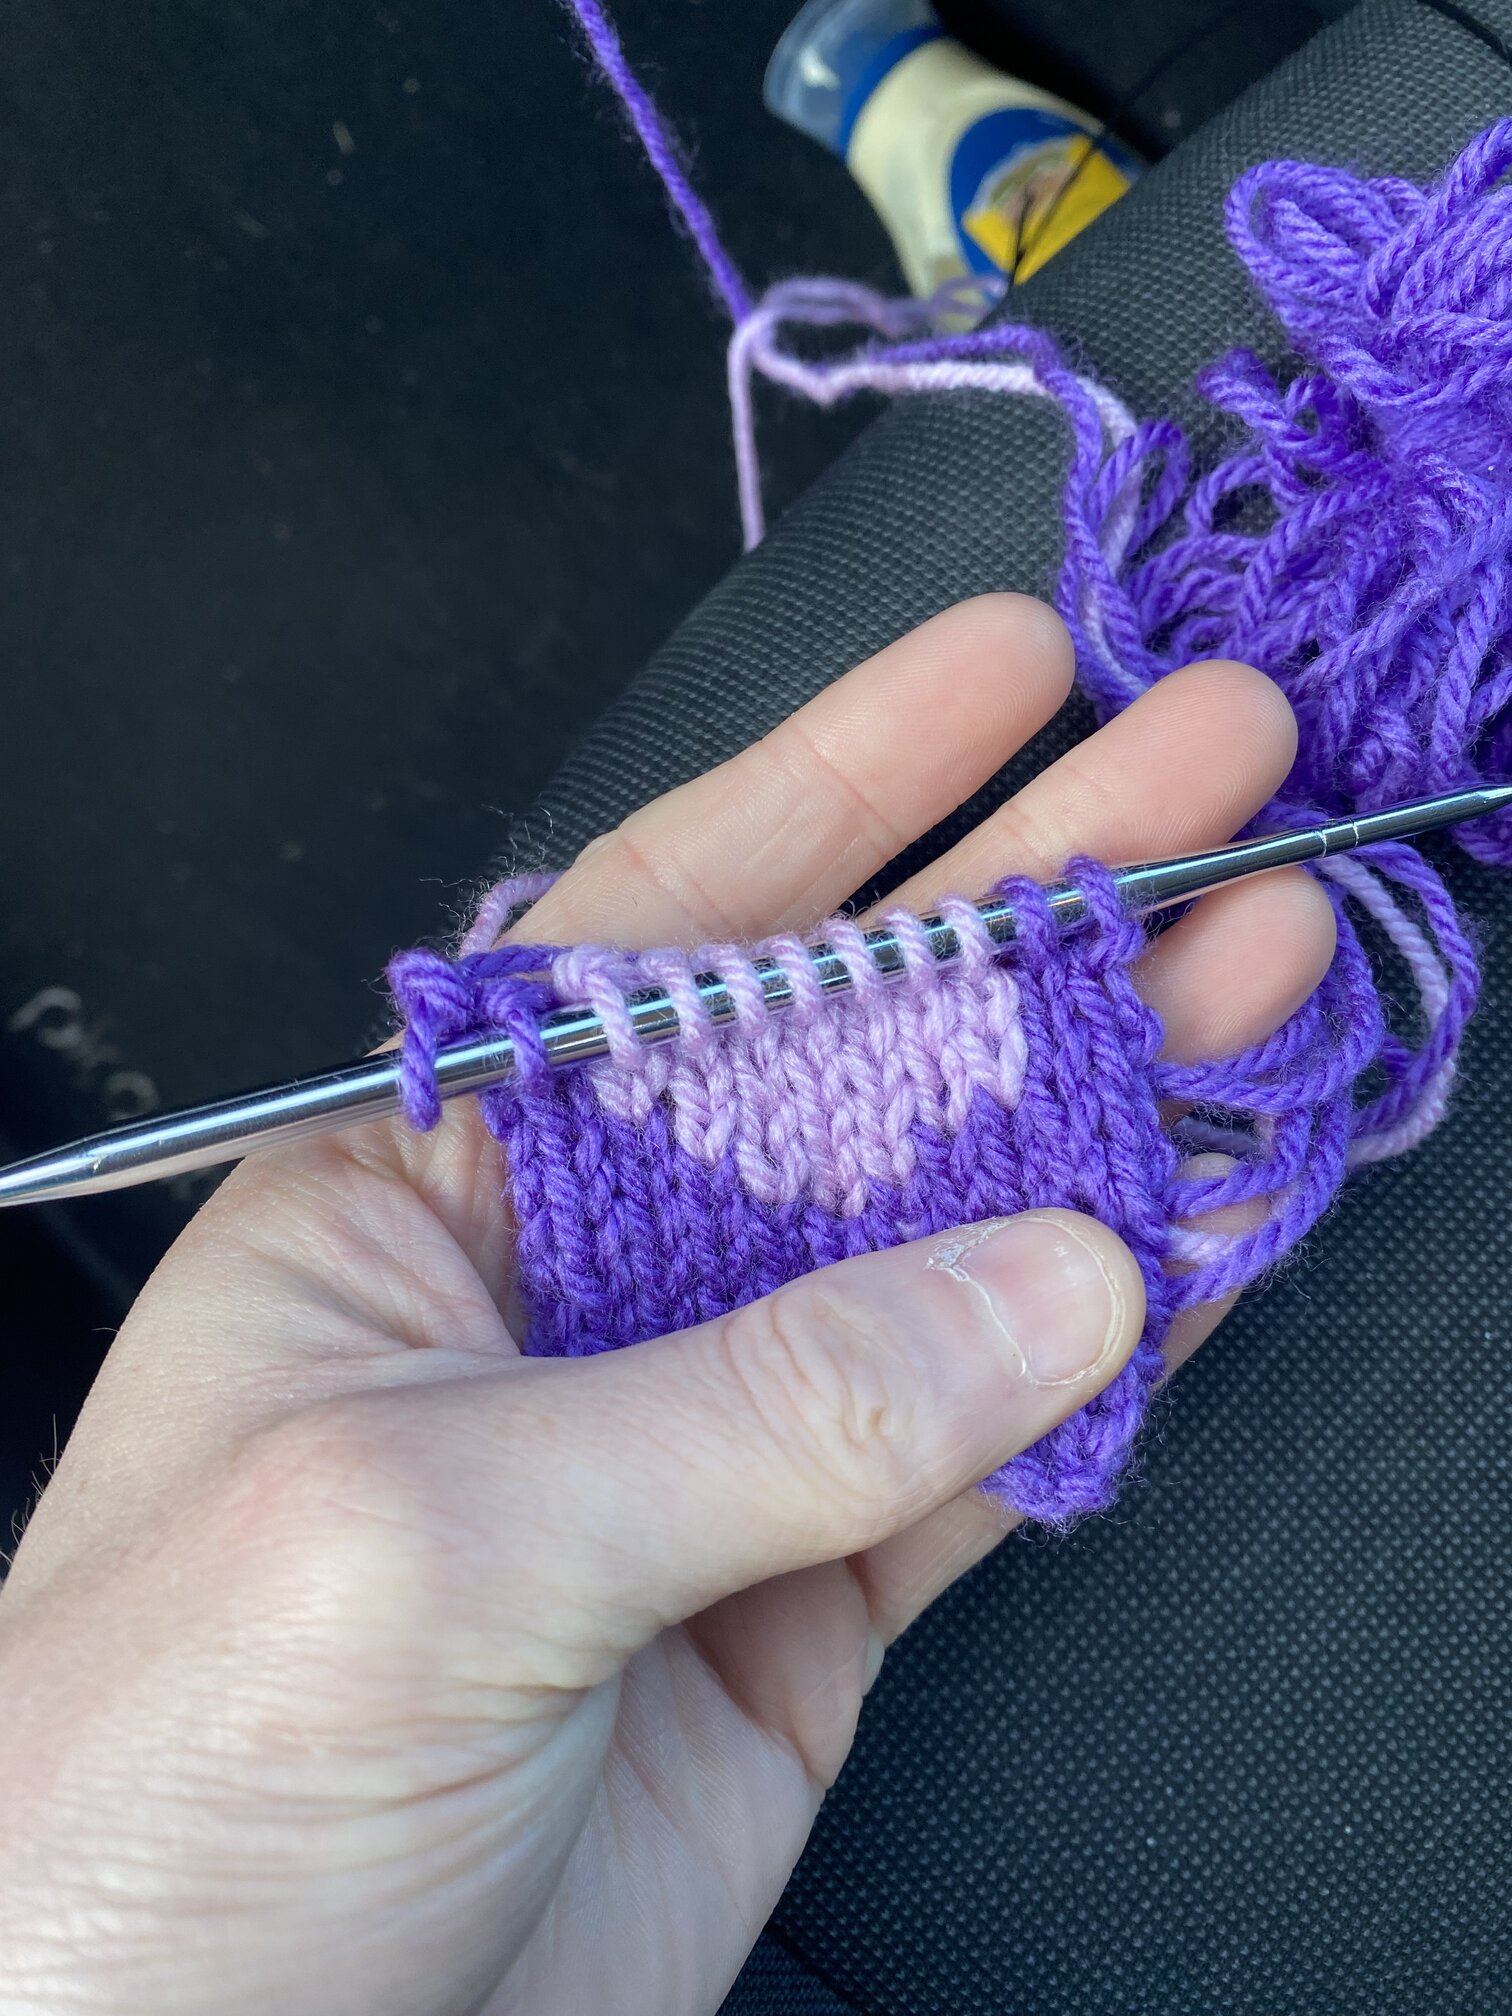
So I did some practicing of colour changes and I’m quite happy for my rough attempt.
4 Likes