The slanted edge is the opening of the pocket. What you’ll be doing is working across the pocket lining then joining it to those 4 held sts at the side edge of one of the fronts.
For the left front, the pocket sts you have just been knitting (making decreases until 9sts were decreased) will be placed on hold. The pocket lining will be joined to the 4sts on hold. With the WS facing, purl across the pocket lining to the last pocket lining stitch. Purl that last stitch together with the first of the 4 held sts then purl across the last 3sts.
That has now joined the pocket lining to the 4 held side of body sts. Knit across all these sts until the piece is the same length as the slant edge pocket front which is on hold.
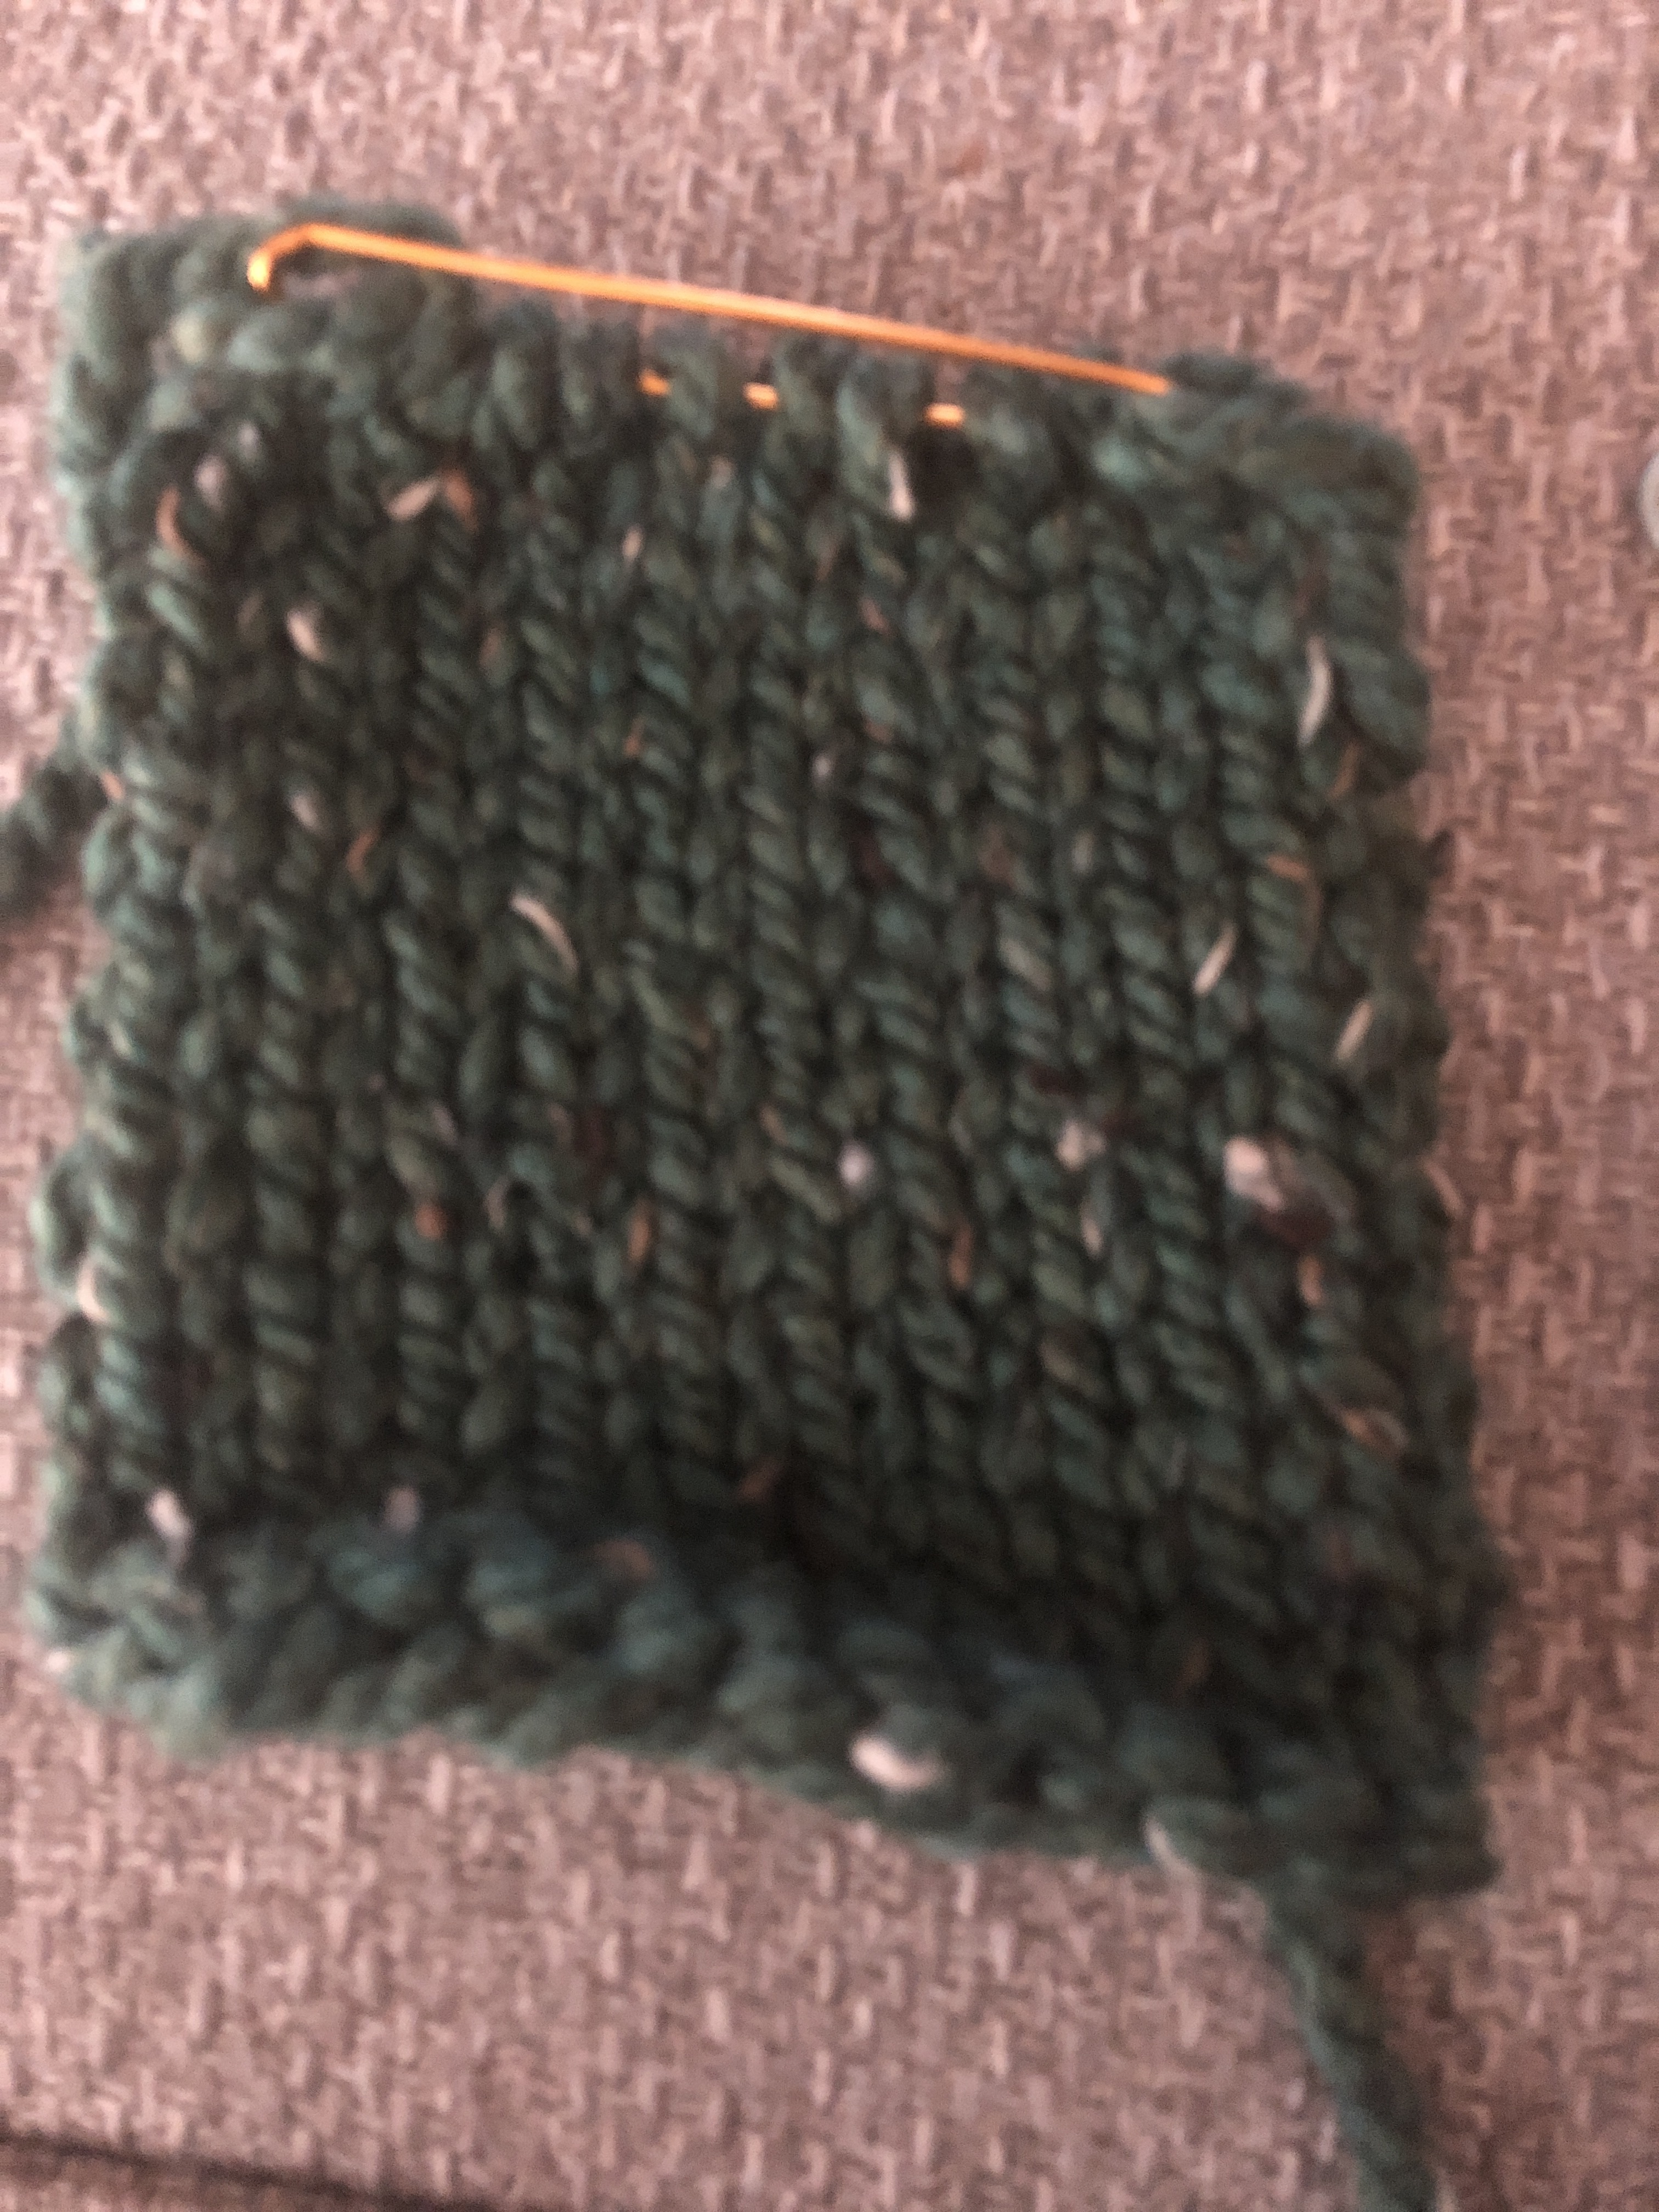
emphasized text Here is my pocket lining, and here is my left front . How do I hold these pieces together? Should both the wrong sides be facing me ? I’m not sure how to hold these two pieces together .
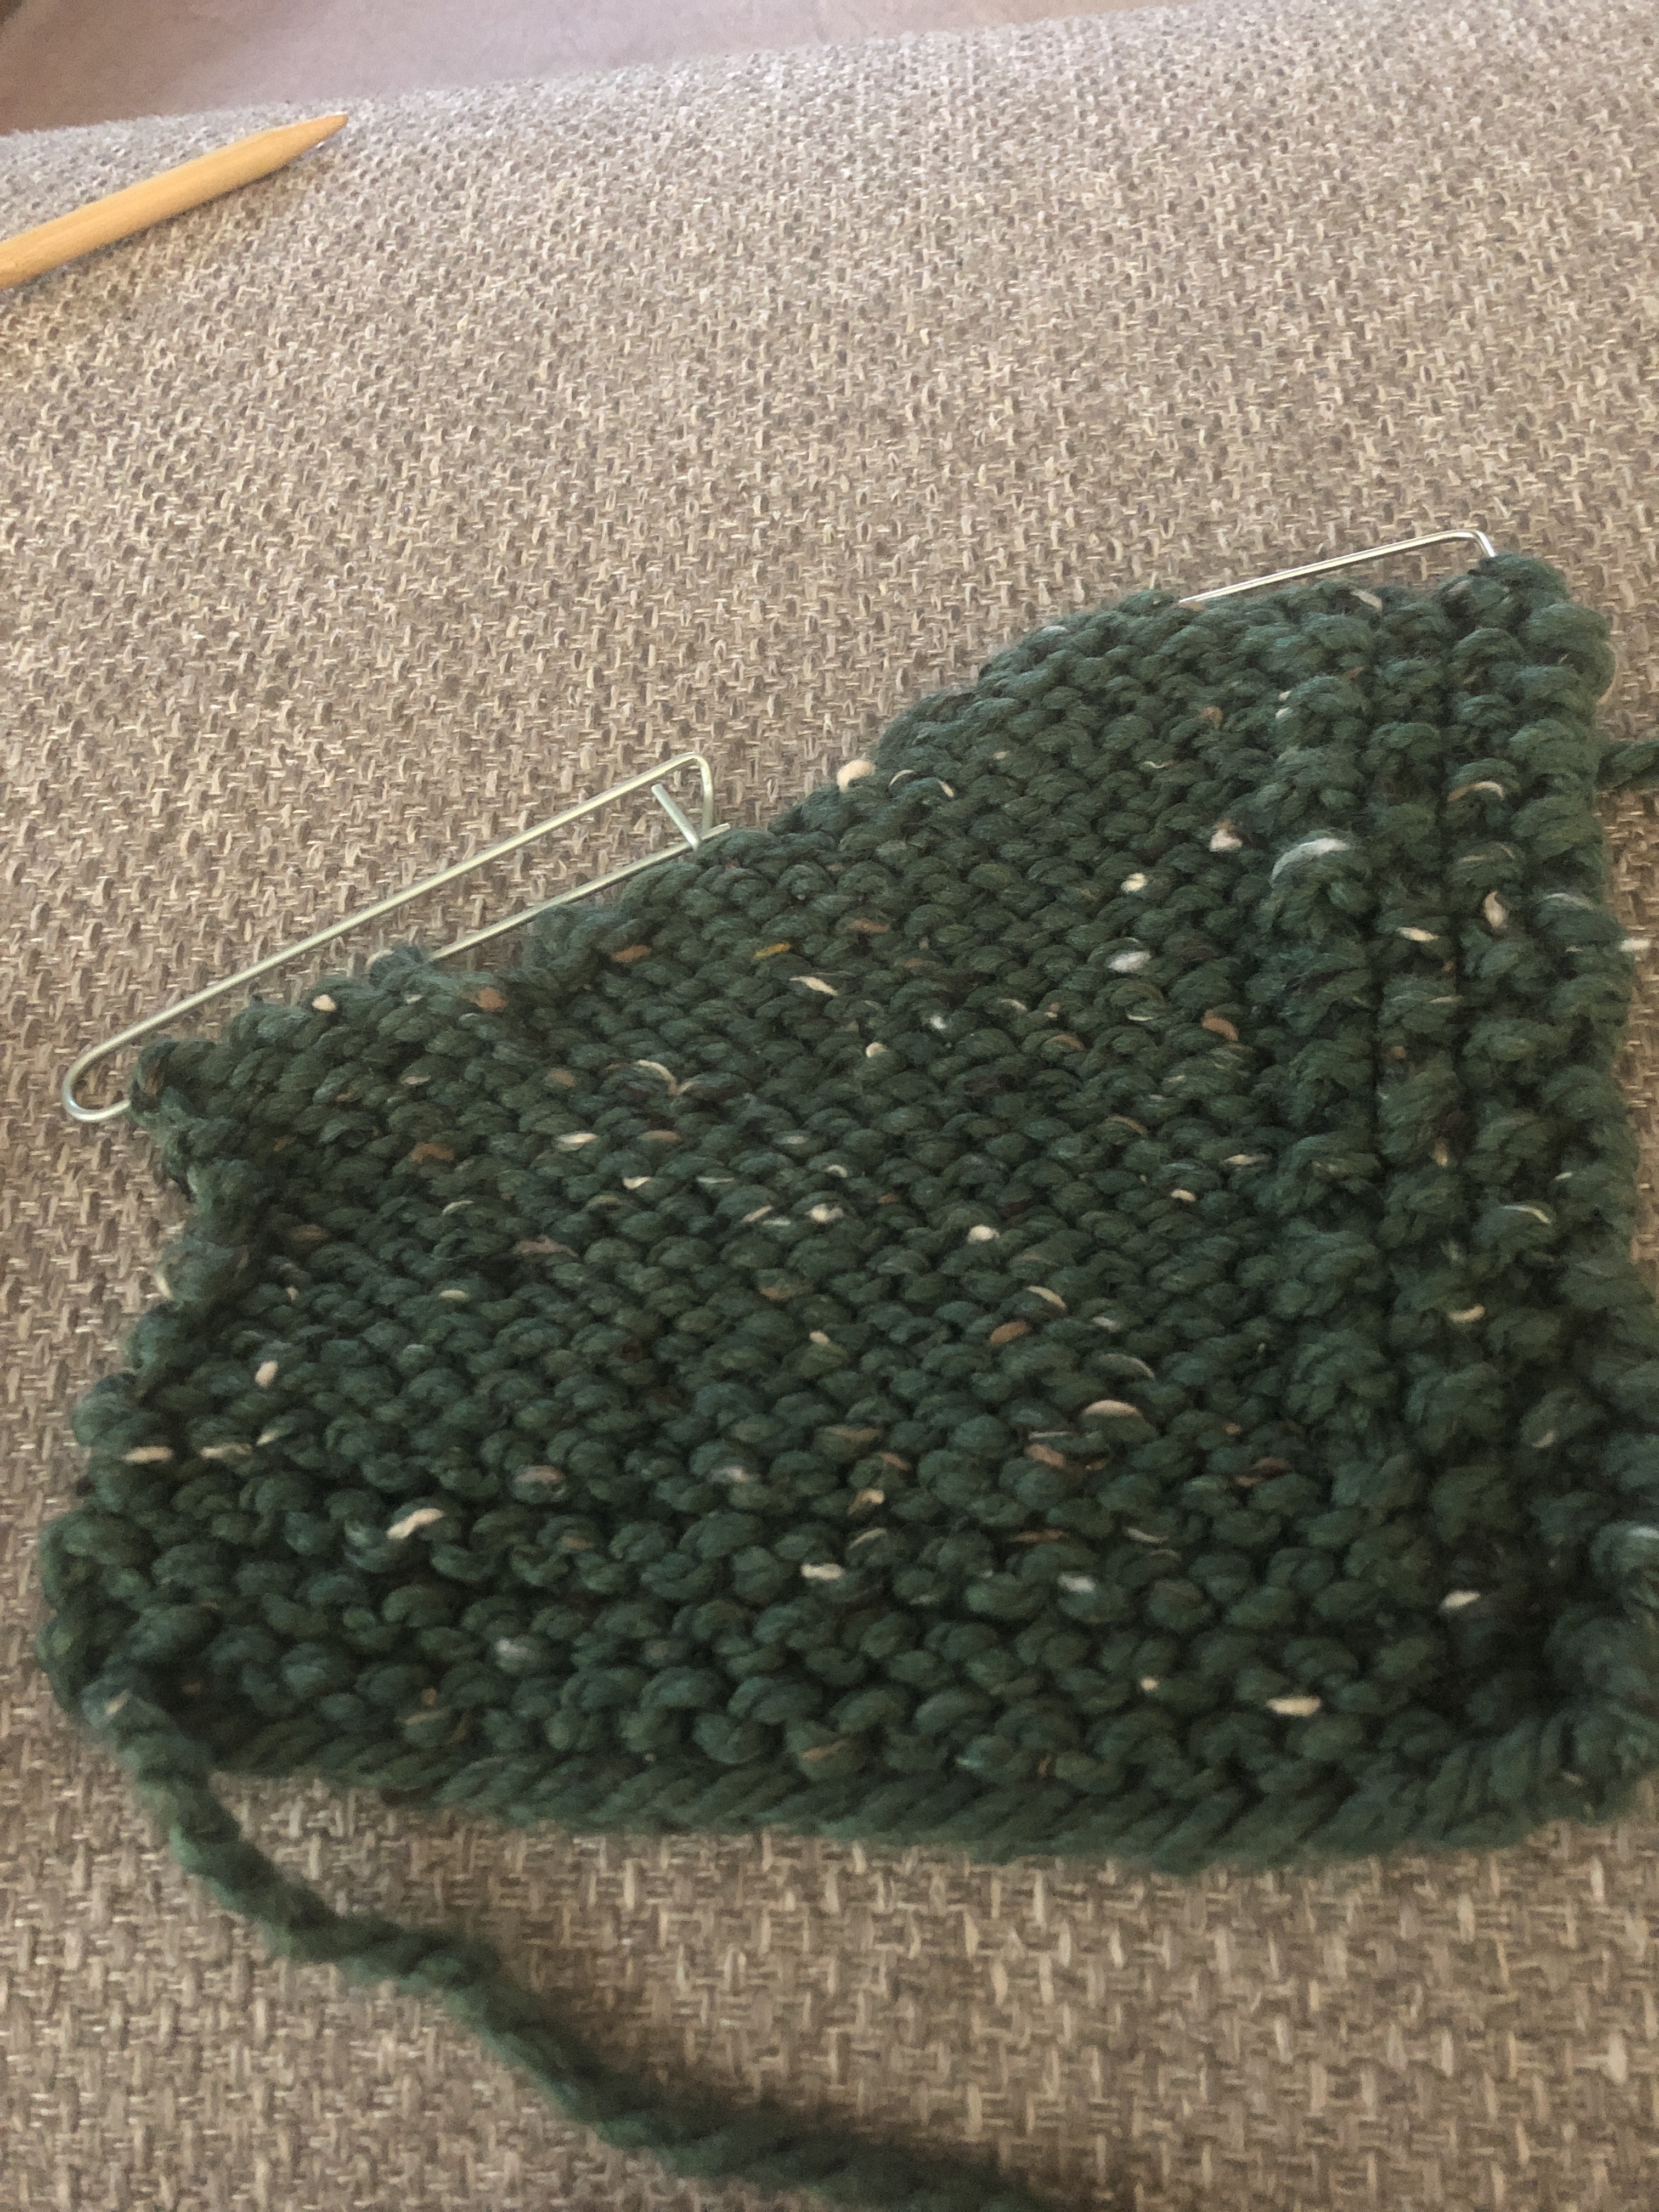
Place the left front down on a table just as you have it in the photo. Place the pocket lining on top of it purl side facing up. (The RS of the lining will be facing the WS of the left front.)
Now purl across the pocket lining to the last pocket lining stitch. Purl that last stitch together with the first of the 4 held sts then purl across the last 3sts. Now turn and continue on these sts, knit and purl the rows until the piece is the same height as the held sts at the top right in the photo.
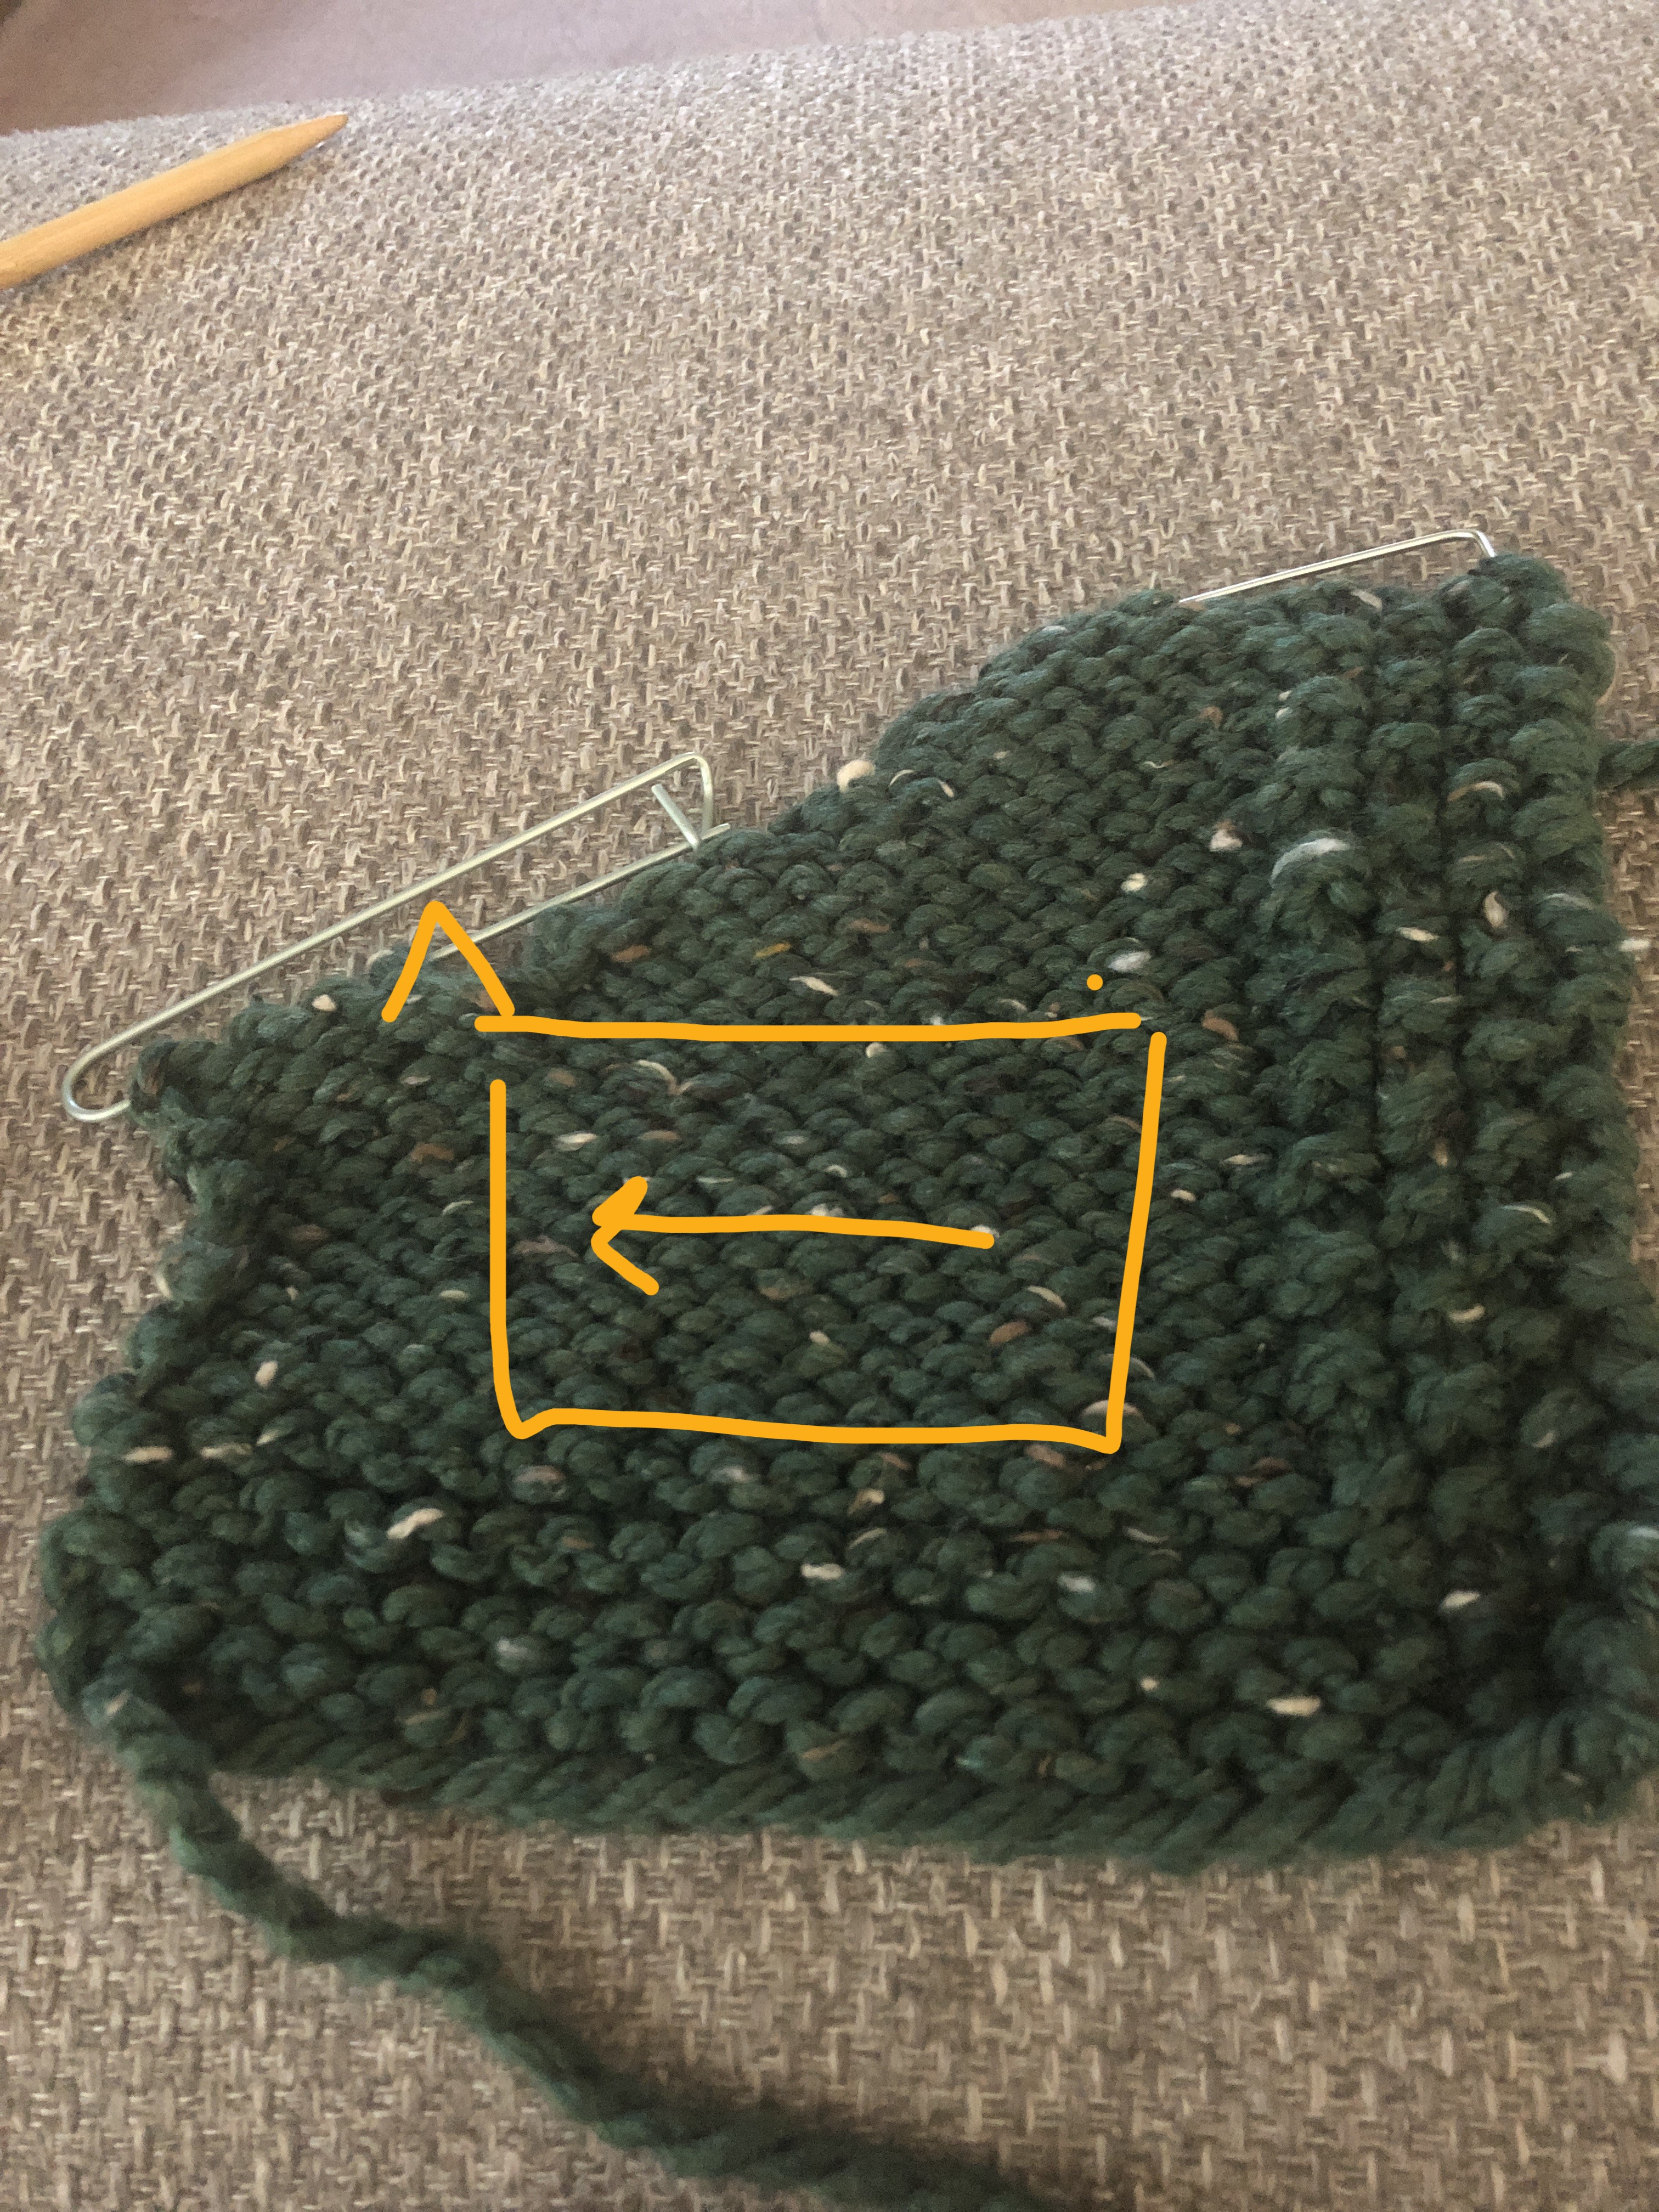
The little inverted V is the p2tog. I may not (likely I don’t) have the proportions correct but the idea is right.
1 Like
I think I got it !!! ![]()
![]() You are fantastic in explaining the directions. Somehow, I couldn’t visualize how the pockets were placed. I know I’ll need you again for this project, Especially, for the right front pocket. I’ll be back , sooner than later . Showing you the pictures really helped me .
You are fantastic in explaining the directions. Somehow, I couldn’t visualize how the pockets were placed. I know I’ll need you again for this project, Especially, for the right front pocket. I’ll be back , sooner than later . Showing you the pictures really helped me .
1 Like
I’m so glad. It’s really a wonderful cardigan and hoodie.
Ok I’ve completed where you left off. I ended with the right side row . Next row; Joining pocket opening with pocket lining . It says, Purl across center front , so you Purl across to the last 2 stitches, then Purl those 2 st tog?
I need to take the stitches off the side front holder , including the 4 st from the button band , , and Purl all those stitches until the last 2, then Purl those tog. Is that right ?
“Next row: Join pocket opening with pocket lining: Purl across center front (with
shaped pocket opening) to last st, work this last st tog (p2tog) with first st of pocket lining/sweater side body piece, purl across rem pocket lining sweater side body sts.”
Purl across center front up (something like 7sts which have been on hold) up to the last stitch. Purl together this last stitch with the first stitch of the lining/side edge. This is a join between the front part of the pocket and the back part (the lining and the side edge).
Just make sure that the front buttonband sts are up to a purl row and not a knit row. It looks like a twisted garter stitch band for the buttonband.
I replaced the seed st for button band . This is a little confusing , because I was using circular needles throughout this sweater (not joining) I’m going to try my straight needles for joining the pocket lining to the sweater I’m getting messed up when I need to take the stitches that were on the holder , and trying to join them to the pocket lining . I’m not going in the right direction somehow . Can you give me step by step directions like you did previously?
Ok.
Purl across all but the last stitch of the center front sts that have been sitting on hold. These are the sts with the slanty edge.
Purl the last stitch of the center front together with the first stitch of the pocket lining.
Continue to purl to the end of the row (including the side edge sts).
You’ll have 21sts for the smallest size.
Now work back and forth on these sts for the length given for your size.
If you’re using seed stitch for the buttonband then continue to work those buttonband sts in seed stitch as you work that first joining row. See if this helps and if not, come on back.
Wow!! I did it ! But, I have 23 st, and I should only have 21. Maybe I could k2 tog at the top of the pocket slant , where it won’t be noticeable . Thank you so much! I couldn’t have done this on my own. I will need you for the right front: I’m sure it’s just opposite. I’ll be back !!!
1 Like
Yay! Good going. Yes, decrease somewhere at the side edge or the join with the pocket slant or even at the underarm.
Hi! Not sure how I ended up with 23 st, but I decreased at the top of the pocket slant, so It looks good . I will definitely need your help with the right front , with the pocket. I can’t thank you enough for your clear instructions.
1 Like
Ok, now a silly question. For the neck shaping, I shouldn’t begin binding off at the first 4 stitches of the button band , correct ? I should start binding off the 5 stitches, at the neck edge , AFTER the button band ?
I realized you do start the decreases at the button band
Yes, you’ve got it. Begin at the front band.
“Maintaining pat, bind off 5 sts at beg of next WS row (neck edge), then 2 sts at beg of next WS row.”
Thank you , I knew that was a silly question. I’ve completed the left front. Starting on the Right front buttonhole band, in seed st on the first 4 stitches , I need to do a yarn over , on a Purl st, but , I did a knit st , instead , cause I’ve never done a yarn over in a Purl st. It looks ok. Is there a way to do a YO on a Purl stitch
With the standard knit YO you bring the yarn between the needles from back to the front and take the yarn over the right needle to put it in position to knit. From there bring it between the needles again to get into position for the purl stitch. The yarn strand stays over the right needle as you make the purl stitch.
Hope this helps
Ok So,it’s kind of like a double YO, cause I need to be able to stay in the seed st pattern .
Well, a double YO would put 2 strands over the needle, making 2 new stitches. You only want a single strand over the needle, but it does involve going between the needles twice.
Yarn in back
Yarn between needles
Yarn is in front
Yarn over needle
Yarn is in back
Yarn between needles
Yarn is in front again.
A single strand lays over the right needle.
1 Like