Bingo wings and twisted cables/seams

Oh dear. I thought my sweater was going too smoothly to be true.
I was right.

Finished both sleeves, did not even try one on before making the second. Seamed one in yesterday to discover the horror of what I’ve made.
They are truly awful.
I don’t know how they can be so bad.

The top of the sleeve (below the cap/underarm) is not only wide, but sags horribly. I’ve made bat wing sleeves before but these could only be called bingo wings, not attractive in a sweater. In addition there is a crazy twist on the lower arm making the pattern of cable, rib and rev st st spiral around my arm like a candy cane. If I straighten the cable to make it travel down my arm straight then the seam/rib pattern is twisted, if imstraighten the seam the cable is twisted.

I did not follow the pattern because I did not want the style flared in the lower arm and towards the cuff. I wanted to make a more regular tapered shape sleeve with a slightly longer length/cuff and a slightly deeper armhole (I’ve done this before successfully, thought it would be okay). The deeper armhole is because I have some mobility difficulty in my arms so I’m making tops easier to get on and off (having previously made perfectly fitting set in sleeves on fitted tops and now can’t get in/out of them).
I increased the arm hole from 16 cm on the size small pattern to 23 cm.

The armhole does measure 23cm when laid flat, but the weight of the yarn is extending the measurement to 27 cm when worn. Not great. Any way to fix?
I’m usually not against frogging but I can’t bare to frog the whole thing. If I frog to reduce the armhole I lose overall length in the sweater making it too short which I don’t want, which would mean frogging to below the armhole. Feels like the whole thing. I’d rather live with a fix or a too wide armhole. Any magic trick to fix this, like sewing in a gusset type rectangle to raise the underarm bind offs?

Next problem. Bingo wings.
I made the sleeves flat, top down. The sleeve should taper from the underarm, but it sags. 29 cm probably, so it’s actually wider than the armhole.
As I’ll be making new sleeves would you advise starting the decreases for tapering directly after the underarm seam, on the very next row, or to maintain the 2.5 to 3 cm working straight section which is more usual? I don’t know enough about shaping to know what to do here to make a better version.

Next problem twisting cables and seams.
The cuff end is quite fitted after the shaping. I realise sleeves don’t hang perfectly straight because arms are not perfectly straight, but this candy can twist is ugly.
My pattern is a central cable flanked by rev stockinette and knit columns
Seam, stockinette, P10, K2, P2, cable 12, P2, K2, P10, stockinette, seam.
The outer stockinette reduces with the tapering, ending in K3 each side, when seamed makes a K4 to transition neatly into the rib cuff. Sounds okay but it’s not okay.
Why is it all twisting? I’ve seen patterns with pretty cables in the underarm seam which appear to hang straight.
What have I done to cause this? Is it because the cuff end is too narrow? Would it be solved with a wider lower arm with a tighter cuff rather than overall tapering? Should I eliminate the stockinette and just work it in rev stockinette so that the twisting seam is invisible (the panel of stockinette really shows the twist off)?

I’ve started recalculating for new sleeves but realise I don’t really know what to change.
I need a lot of help.

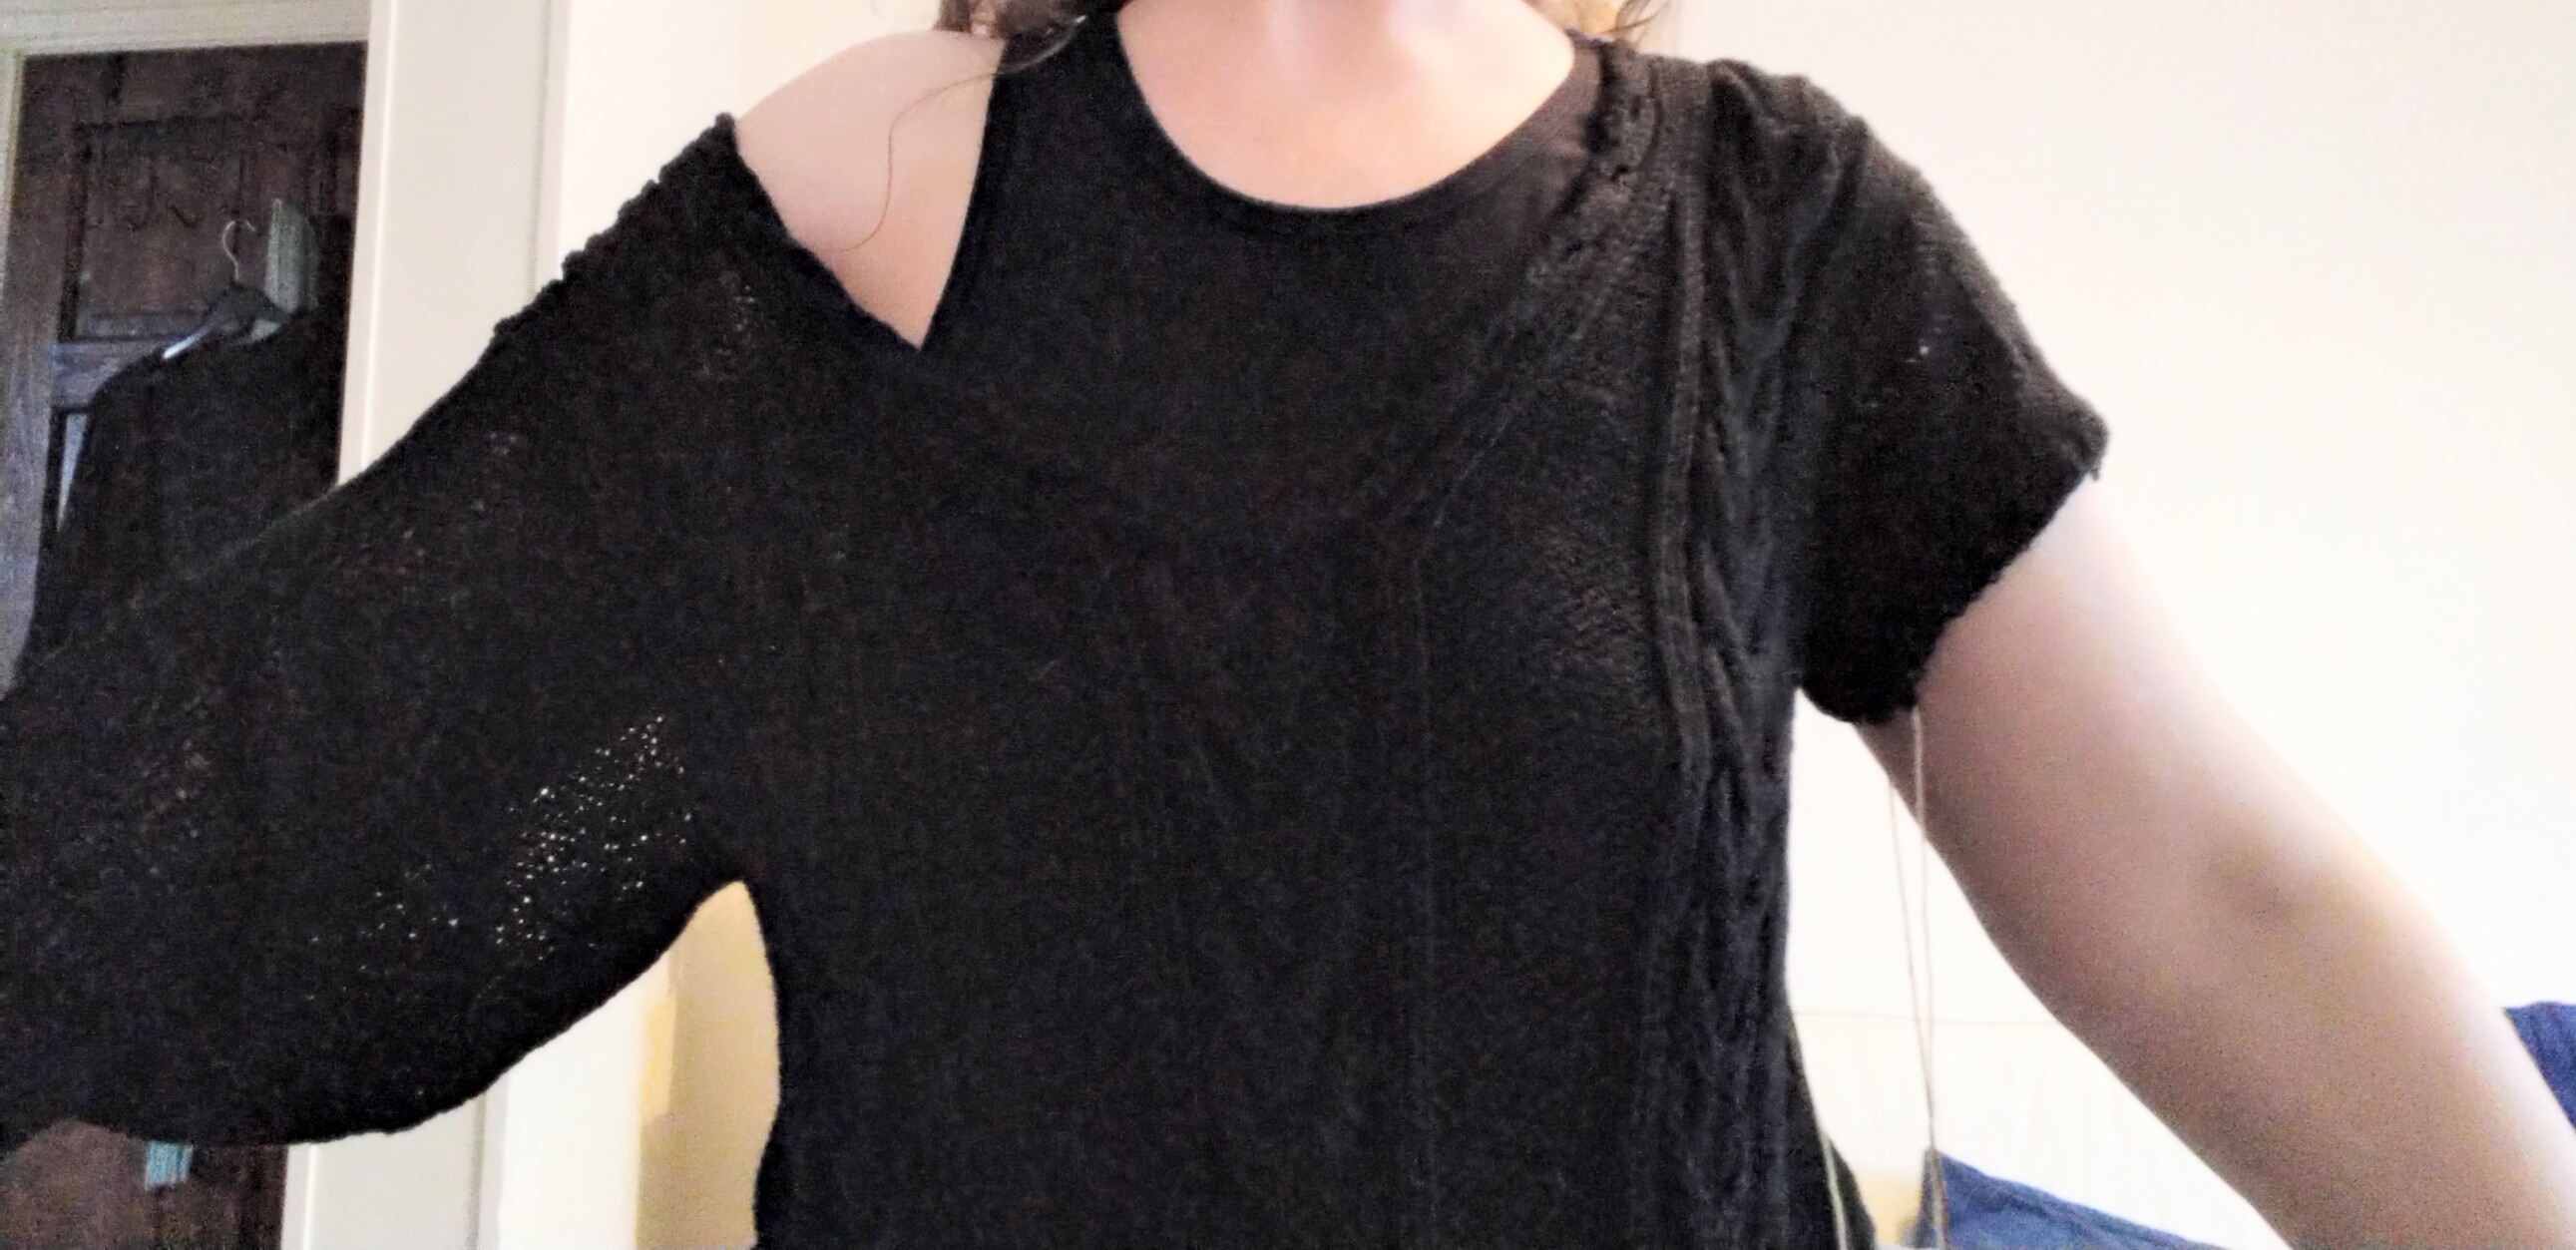
Here’s a pic of the sleeve that’s seamed in

And the one not seamed in

I’m better with the fit of cloth garments than with knits, but I suspect the depth of tight-fitting cuff / forearm is part of the problem. The forearm isn’t an even tube, but tapers from wrist to elbow, and THEN becomes more evenly round…or not. Totally depends on the body.

Your flat sleeve looks like there are more stitches on one side of the cables than the other. That could contribute to the twisting. Unless it’s just the way it’s laid out for the photo?

I would start increasing immediately after your cuff ribbing and continue the increases more or less evenly all the way to above the elbow (checking fit frequently!!), and then you can increase faster to make it fit the armhole.

Here’s an excellent diagram of different sleeve types and the pattern shapes it takes to make them! I think you want something like the leg-of-mutton shape for the underarm seam, with a flat cap.

Hope this helps!

3 Likes

Thank you so much!

I’ve just started to reknit and you’ve made me stop and think again. That’s a good thing.

There is definitely an equal number of stitches each side if the central cable. Just hard to take pics to show it.

The bad sleeves I had slower decreases at the top and faster at the lower arm and have now reworked the numbers to make, as you have said, more rapid shaping at the top, slower in the lower arm. It’s reassuring to hear you suggest this as it means I’ve made at least one change in the right direction!

I wonder though if I would get a better shape going even quicker at the top?
My new numbers are decreasing every 4th row, 8 times
Then every 6th row, 11 times.
Do you think I’d get an even better result in the upper arm if I went every alternate row, twice as fast, and then more gradually for the rest, evenly - to make more of a regular tapered sleeve (like the cuffed shirt sleeve but obviously without the bell shaped cap) but also bridging the gap caused by the deep armhole wih a short rapid decrease section at the top?
Or perhaps even decrease every row at the top??

The new numbers are wider the lower arm. I should have said earlier though, it’s not the entire lower arm that’s narrow. The shaping in the bad sleeves goes almost to the wrist, just a little above (is it called bracelet length?? Longer than 3/4 but not all the way to the wrist), the additional length of the sleeve goes probably to my finger tips, almost. Like hand warmers, fingerless mitts, so the length in the photo is a bit deceiving.
Well, you’ve said it needs to be wider in the forearm near the cuff so that’s encouraging, I’m on the right track as I’ve increased the stitch count and width there.

I think I need to stop knitting before I go any further.
You’ve helped me realise that I’m still unsure what I’m should be doing!

I think part of the problem came from working the fine yarn on a bigger needle. The fabric is nice but ‘drape’ has been renamed ‘sag’ in my upper sleeve.

1 Like

Yes, you can come in quite steeply at the top of the sleeve. Since your armholes are so deep, you need the width at the top, but can bring it in close to your arm pretty quickly. It will act like a built-in gusset. It could be almost the reverse of your “bingo wings”…in fact, you could fold the “wing” so the fold is a straight line, and use the resulting curve to reshape the seam. If you haven’t frogged both sleeves, that is.

Maybe you could use a sweater with sleeves you like, to get the dimensions around wrist, forearm, elbow, and bicep, then expand to match what you need for the armhole. I know you’re knitting top down, but these measurements should help a great deal.

1 Like

Thanks.
I’ve pretty much got all the dimensions in cm and stitches that i need for the sleeve, but hadn’t expected the fabric to sag like this.

It appears i need to almost ignore my measurements. Even trying it on at the early stages isn’t a good indication of how it wears once it’s got all of its weight knitted on.

It was good rethinking it.
I have now done rapid decreases at the top immediately at/after the underarm seam. I have done a bunch on every row then a bunch on every alt. It looks like the curve on a round neck. Then the rest are planned for gradual decreasing along the length (i think it’s every 8th, I’ve put my notes away). I’m hoping this will work.
It’s not all knitted yet but I’ve started seaming with embroidery thread so i can see how it looks and try on. There’s a chance it will look okay until i knit more rows and then sag again, but maybe not.

I had another couple of possible thoughts.
One was to bind off a number of stitches directly at/after the underarm seam, it would make a kind of small rectangle gusset flap thing for seaming.
The other is that when i seam the sleeve in i could “lock in” the seaming thread at a length of 23 cm so that the armhole has more support, less chance of sagging down to 27 cm. I usually pull the mattress stitch yarn firmly and then pull the seam out to avoid a hard or tight seam, but I could instead measure to 23 cm and add a stitch to prevent further movement. It is not something I’ve tried before but i feel it could, logically, help stabilise the fabric.

I also checked quite a lot of free basic sweaters, in the gauge I’m working with and my stitch counts are not totally crazy, just 2 sts different at the top and between 1 and 10 at the bottom (depending on the pattern, but often they have a decrease transition row then rib whereas i continued straight), so… i don’t think i went totally wrong with stitch count or measurement but i did go really wrong with how it looks when the fabric sags and expecially with slower decreases at the top rather than rapid ones. Checking other patterns was reassuring at least.

1 Like

So far success!
Bad photos but they show well enough the change in sleeve shape.
I marked this one, the blue line is the seam to body and the red arrow the underam seam. The light thread is a life line, not a seam.

And although I never post pics of myself i have to share this because the change is so dramatic and successful (I haven’t knitted the full sleeve yet though!)


The side fits my body, the sleeve fits my arm, no bagy bingo wing and now the v neck is also stabilised- you can see how it falls off my shoulder on the bingo wing side and stays put in the right place on the new side!

So far i am super happy. The modification doesn’t look at all odd despite thinking it ‘should’ look odd.
Pulling the seam thread to around 21 cm still has a bit of movement and it hangs to 23 cm. It doesnt puff or wrinkle or gather the fabric and holds the stitches closer to the original size.

Fingers crossed the rest of the sleeve shapes well with my decrease plan.
I don’t like knitting with it all attached but I’ll have to for now so i can try on again. Bingo wing is staying on for comparison until I’m done with the new sleeve.

4 Likes

That looks great! The curve you’ve achieved is a fairly normal transition from body to sleeve; it doesn’t look at all odd to me. Hopefully that will also solve the twisting issue, along with a looser fit for the lower arm.

2 Likes

Thanks for the vote of confidence that it doesn’t look odd.
I get the increased armhole size this way which makes a big difference getting it on and off with my mobility difficulties but without making the entire sweater huge on me.
For the size I’m making (size S) the schmatic shows a 16 cm armhole depth. Even the largest size (XXXL) only has 21 cm armhole. Some other patterns have a 23 cm armhole for the size S, it’s funny how they differ so much. I doubt I’ll ever get to grips with clothing size, shape etc.
One top at a time and tackle the problems as they arise.

2 Likes

One bingo wing, one non-bingo wing.

The stitch count has barely changed but the position and speed of the decreases made a massive difference.

I’m just adding another few cm on the length now (it’s to my knuckles but i want longer!) but this is basically the revised sleeve.
Happy. It looks so much better.

It still has a very obvious twist, in that if the cable runs straight the seam is twisted around, and if the seam is straight the cable twidts around.
Perhaps all sleeves to this?
Do they?
I noticed the same in the sweater i was wearing yesterday.
It’s not so obvious when the pattern doesnt have an obvious visual clue as to the twisting, like a cable, but just wondering do all sweaters do this and i never really noticed?

1 Like