I found a pattern for a doll cradle- but I was wondering if someone could walk me through the steps of how to make it on a circular needle instead of flat? Tiny Crib – measures 5″ | Miss Lizzy's Knits Also, I tried before to make a doll cradle purse, and I would like to see if I can modify this pattern, to make my own version of a cradle purse. I had previously tried to make this cradle purse, but I found the instructions confusing Ravelry: Cradle Bag pattern by Frankie Brown
Cute pattern!
You could knit the pattern as given taking notes as you work the rows. It might make it easier to then repeat the pattern in the round.
Round 1 knit
Round 2 purl
Round 3-6 k4,p4
Round 7-10 p4,k4
You should see the same pattern forming in the round as you worked knitting flat. Since you’re working in the round the pattern will continue. (The pattern as given doesn’t include any seam sts but you wouldn’t need them in the round anyway.)
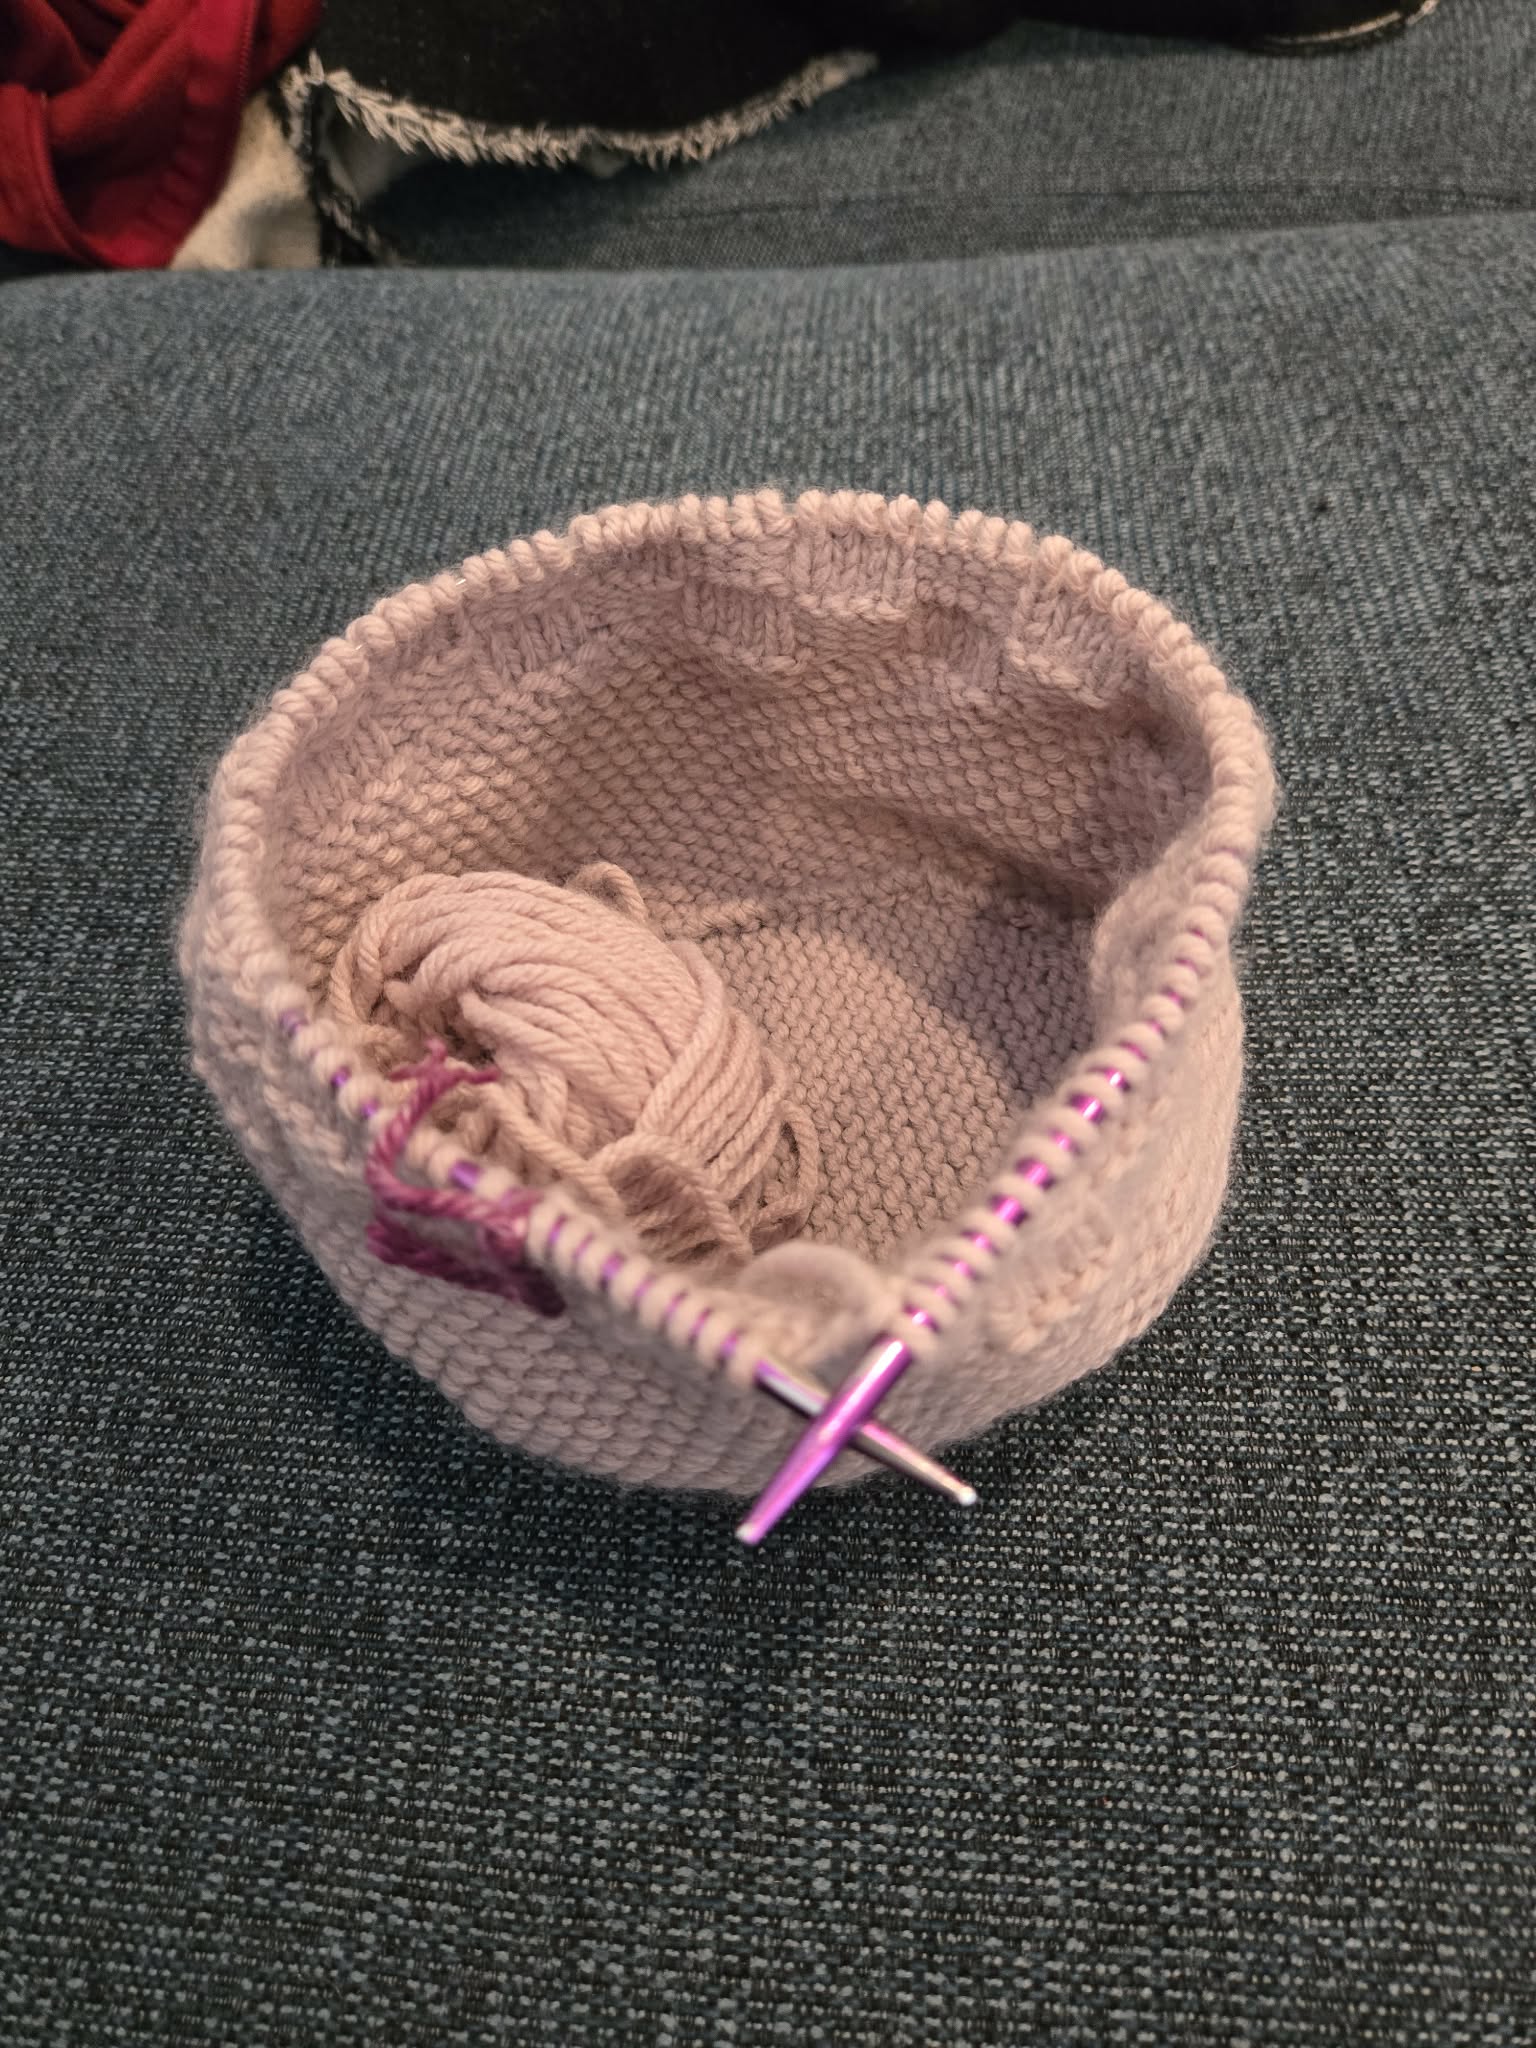
Thanks! I am currently making a garter stitch base, then I plan to pick up 88 stitches and do seed stitch for a few inches- then switch to the basket weave pattern- so when I fold it over, it will be basket weave- then the eyelets will be on the bottom. I am going to use the top of the Frankie Brown pattern to make the top of the bag. I haven’t really thought about how to do the hood part yet, but I will cross that bridge when I get there, Then finish off with ribbon for the draw string of the bag- I am excited about how this is going to look, and I hope it will turn out better than my previous attempt.
2 Likes
A good plan. Make sure to pick up 88sts so that the pattern is continuous. Let us know how it’s going and post a photo when you finish please.
Do you have any ideas about how I can make the hood of this pattern in one piece? It says that the hood and back of the hood are two pieces then seamed together- I don’t really want to do that, I am afraid it will look bulky and not nice because I am not actually good at seaming
I’m not sure from your crib pattern that i undertand how the hood is supposed to be shaped but i used this tutoial to convert a squarish flat and seamed hood into a short row hood (curved no seam) and it worked well. I found the tutorial very helpful. Maybe you can pick up stitches from the crib edge and work the hood in short rows with no seaming?
One way to work the hood is with short rows. Go back to the first pattern you tried. I’ve made that pattern and the hood there works neatly with short rows.
Your number of sts and placement of the short row turns will probably be different but if you test it out you can get it to work. See toward the middle of the pattern for the Hood instructions.
Thanks for the tip! The bag is knitting up well, and I will try again with the short rows for the hood. Anyway, I was also looking for a doll and I found this one at the dollar store. ($5)

3 Likes
Looks like she’s found a home. Knitting looks so nice for the cradle too.
I thought about doing the short row thing, but then I looked again at the Miss Lizzy pattern. I wanted to pick up 20 and increase to 36, but it seems my hood might not look the right shape. I like the basket weave pattern on the hood on the Miss Lizzy pattern, but I just don’t know how I can do it without having a wonky shape. I am having difficulty visualizing this…and again, I don’t want to do seaming that is why I was hoping to pick up the stitches- now I am just confused
The short rows and a basketweave pattern might not be the easiest combination. The shape would be ok, like a sock heel but the basketweave would be disrupted. You could work the hood in plain garter stitch and then add the fancy ribbon or lace trim that really stands out on the hood and distracts from any stitch pattern there. The benefit would be no sewing on the hood itself with the minimal addition of the ribbon.
As far as using the stitch pattern on the Miss Lizzy, can you work the basketweave with increases at each edge, maybe one or two sts in from the edge? The Miss Lizzy does have seaming to cover the back portion of the hood with the garter stitch panel however.
So many choices. Why not try the one you prefer and see how it works on the needles?
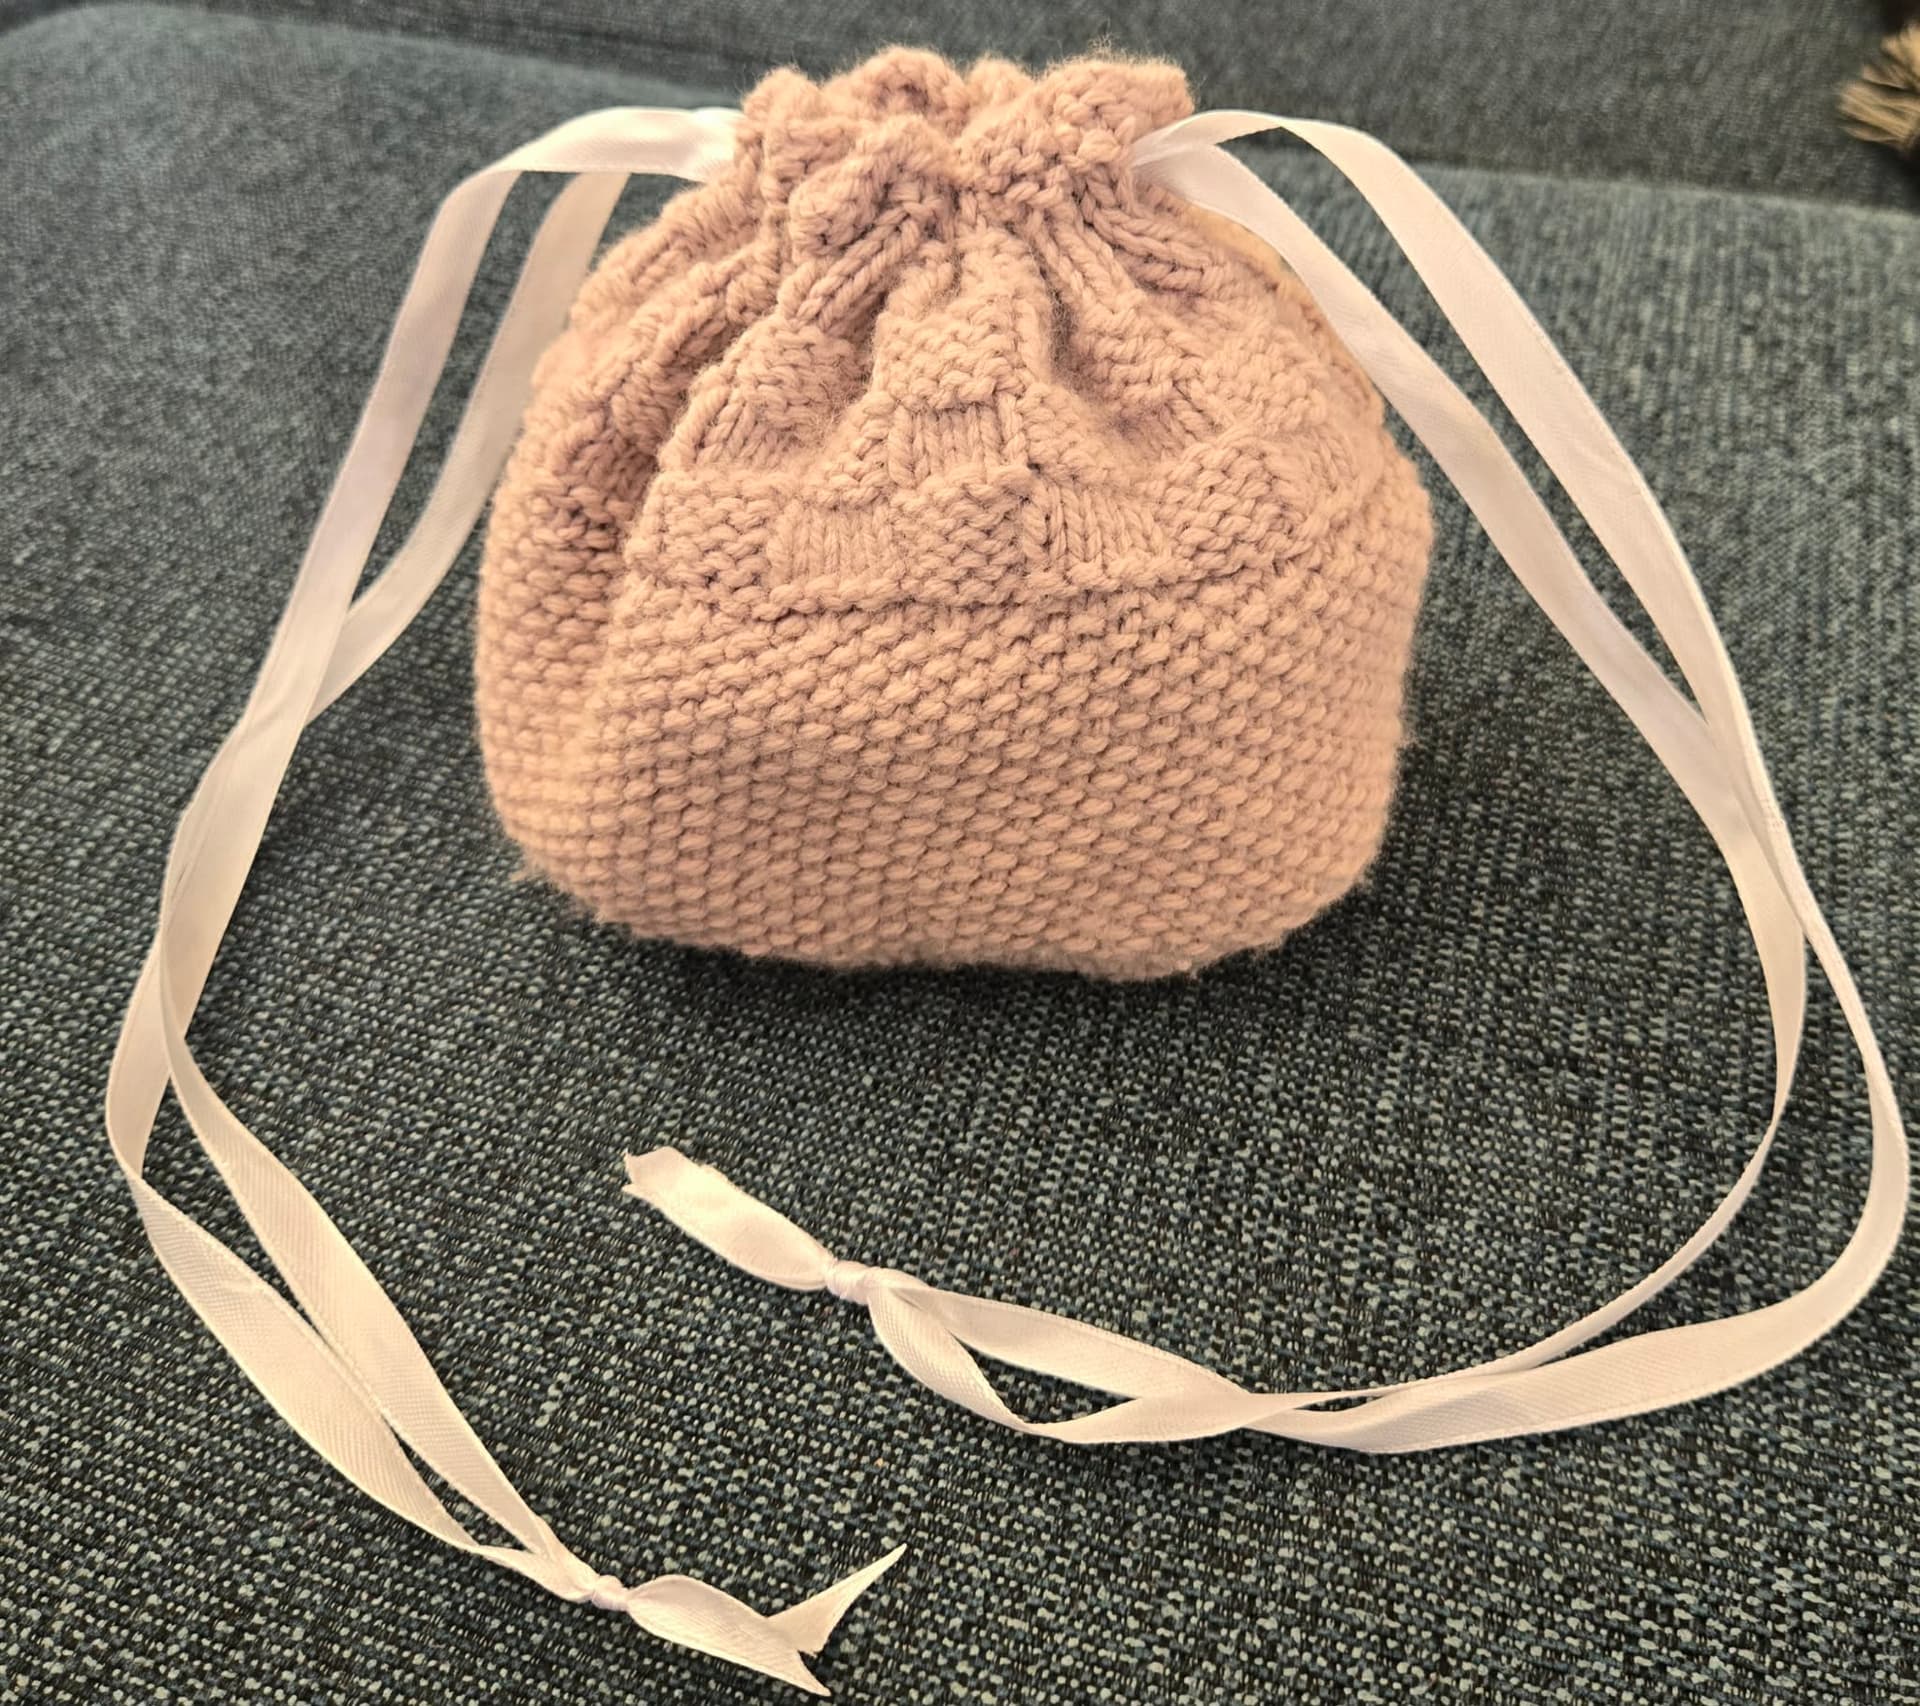
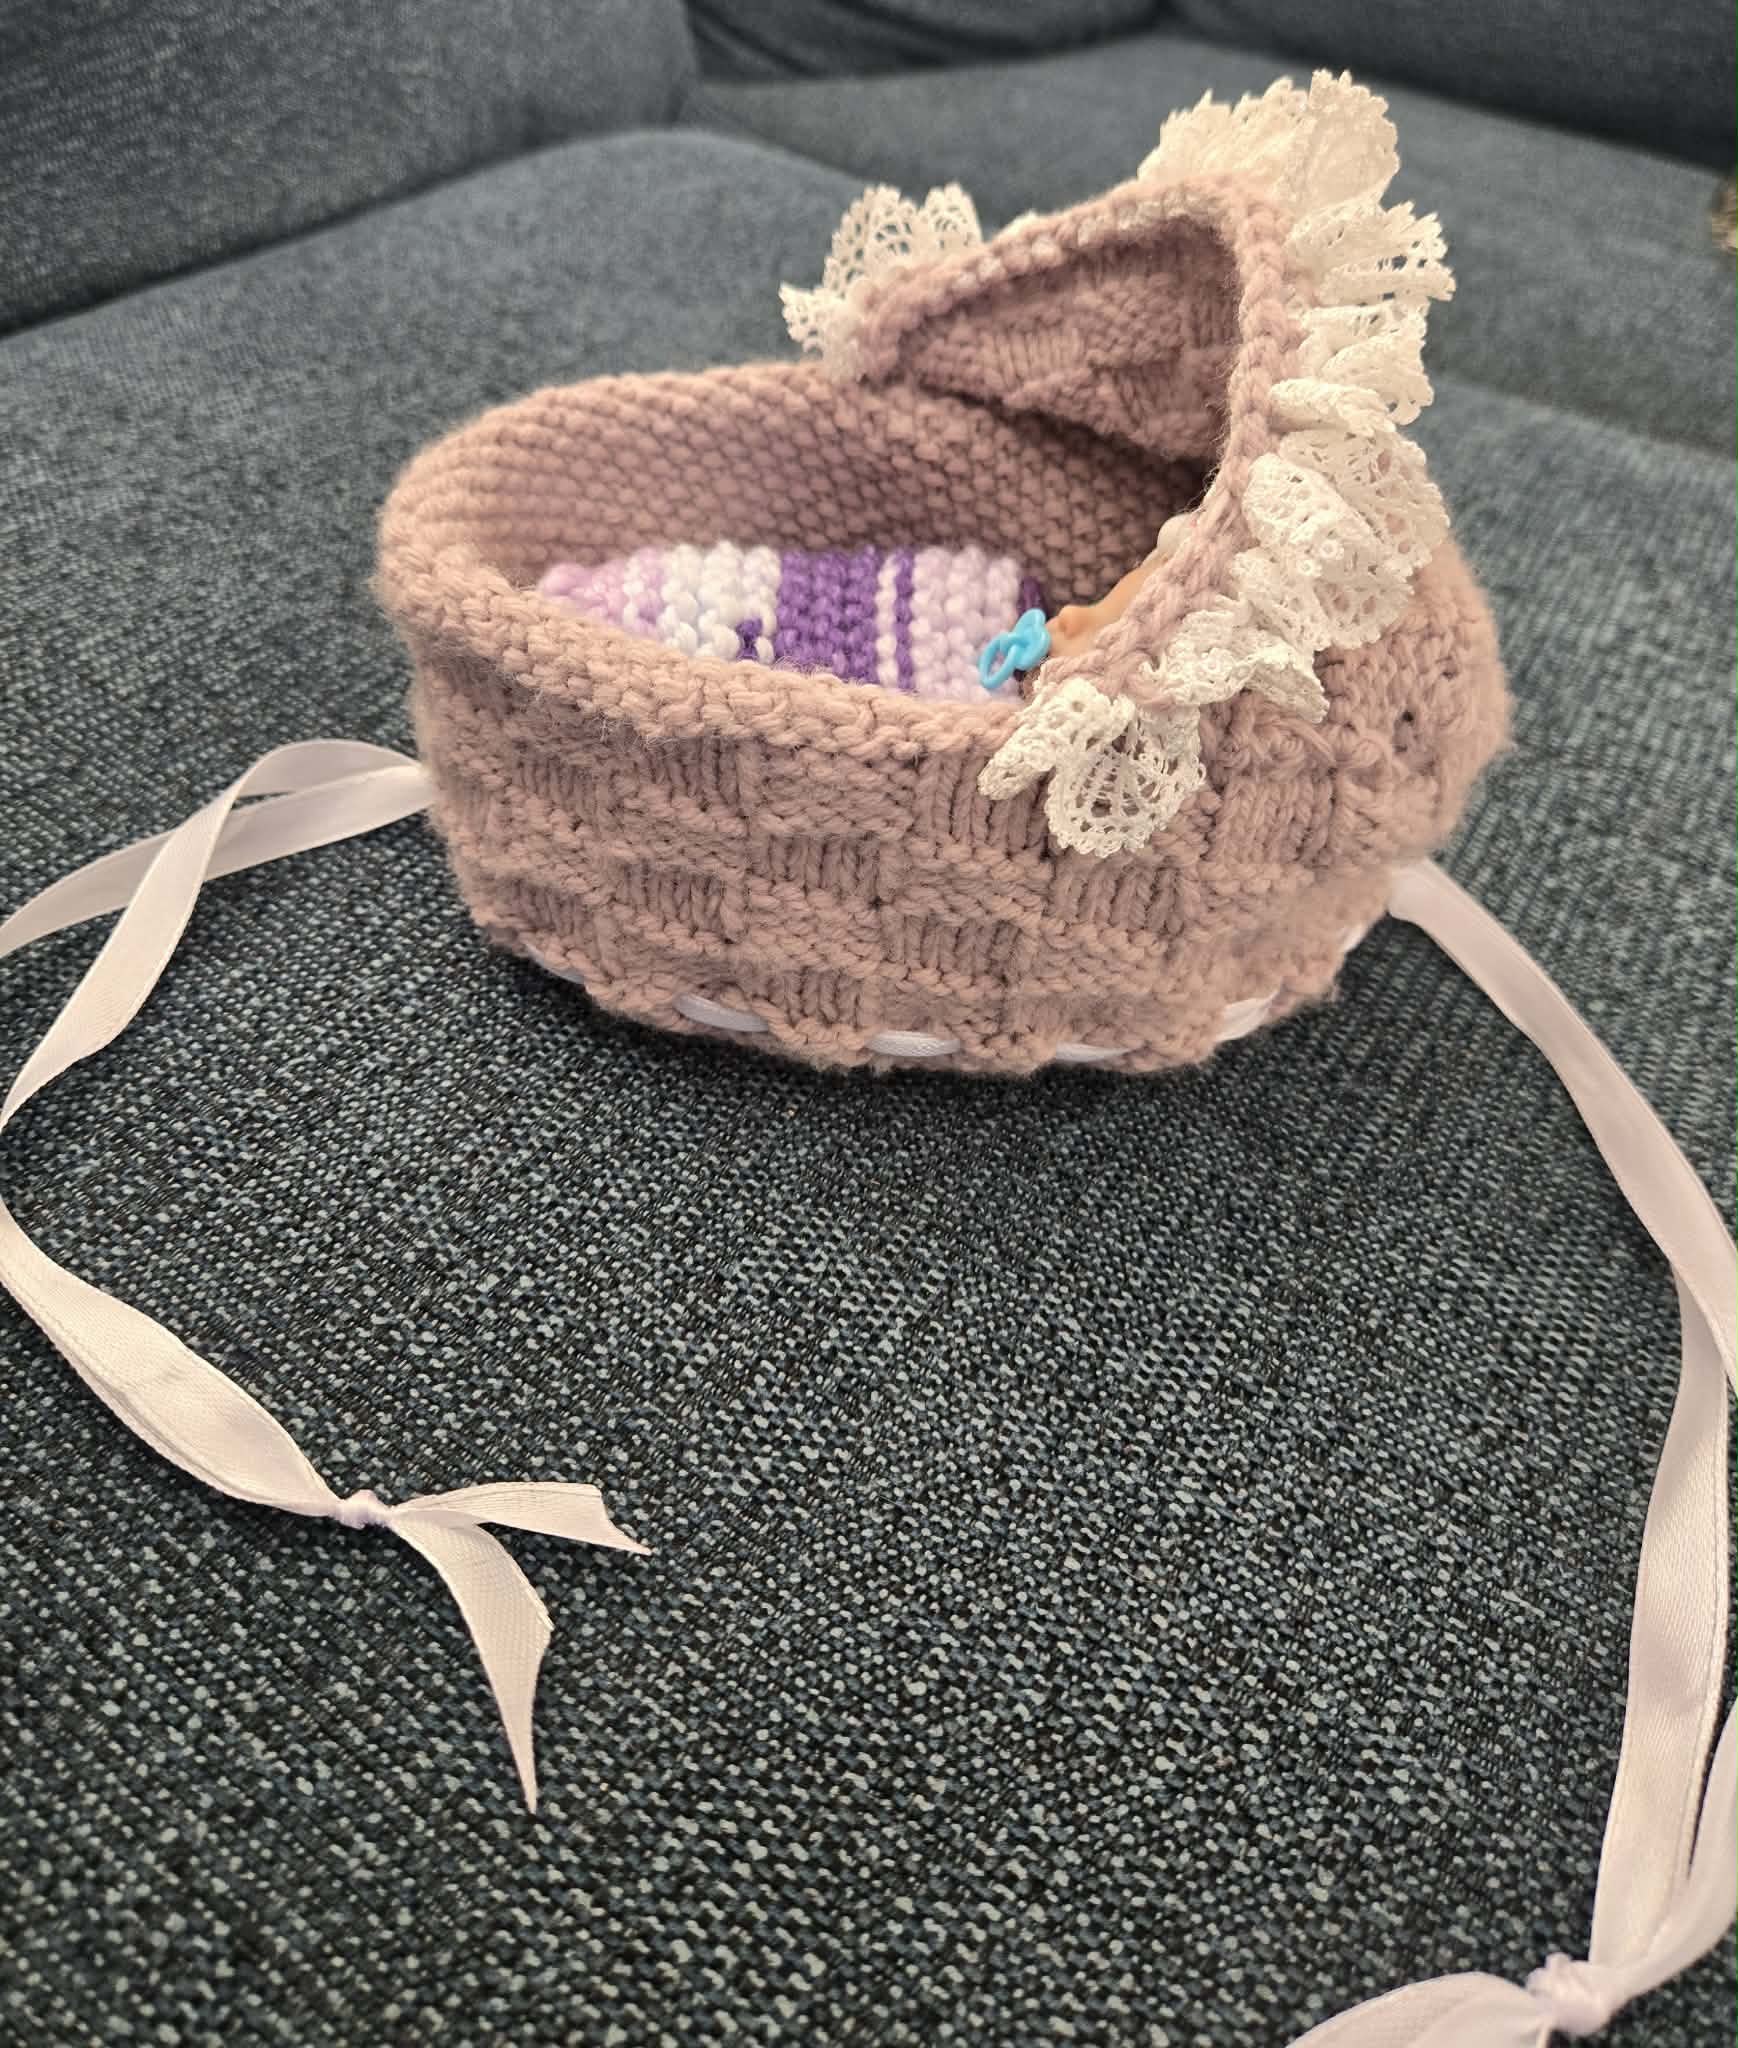
So I picked up stitches along the edge to make the hood- but rather than increase on each side I picked up an extra stitch on each side. I knit up for a few cms with garter stitch, then did the basket weave pattern. I added the knit-in-lace- it looks so cute! Anyway, I will still need to seam the sides a bit- but that is minor. I am working at Michaels now. Tomorrow is my day off, so I am planning to go to another Michaels store to pick up some ribbon to finish the draw strings. By the way, with the eyelets, how do I attach 2 draw strings? I have seen some examples on sewn stuff, but I am not sure how to attach on something knitted, I promise to post pictures soon!
So good that you’ve got the hood to work! It’s a darling cradle.
Are you making the cradle so that it closes up like a bag (Cradle Bag)or is the ribbon a decoration around the top edge of the base (Tiny Crib)?
The drawstrings are threaded through the eyelets, one starting and ending at the foot of the cradle, the other starting and ending at the back of the hood (180 degrees from each other). That way you can pull on the two strings to close the bag.
The ribbon decoration on the Tiny Crib alternates in and out of the eyelets.
Thanks for telling me how to do the strings through the eyelets! It is going to be a bag, and the hood is going to be a surprise because the bag will cover it until it is turned down to make the cradle!
2 Likes
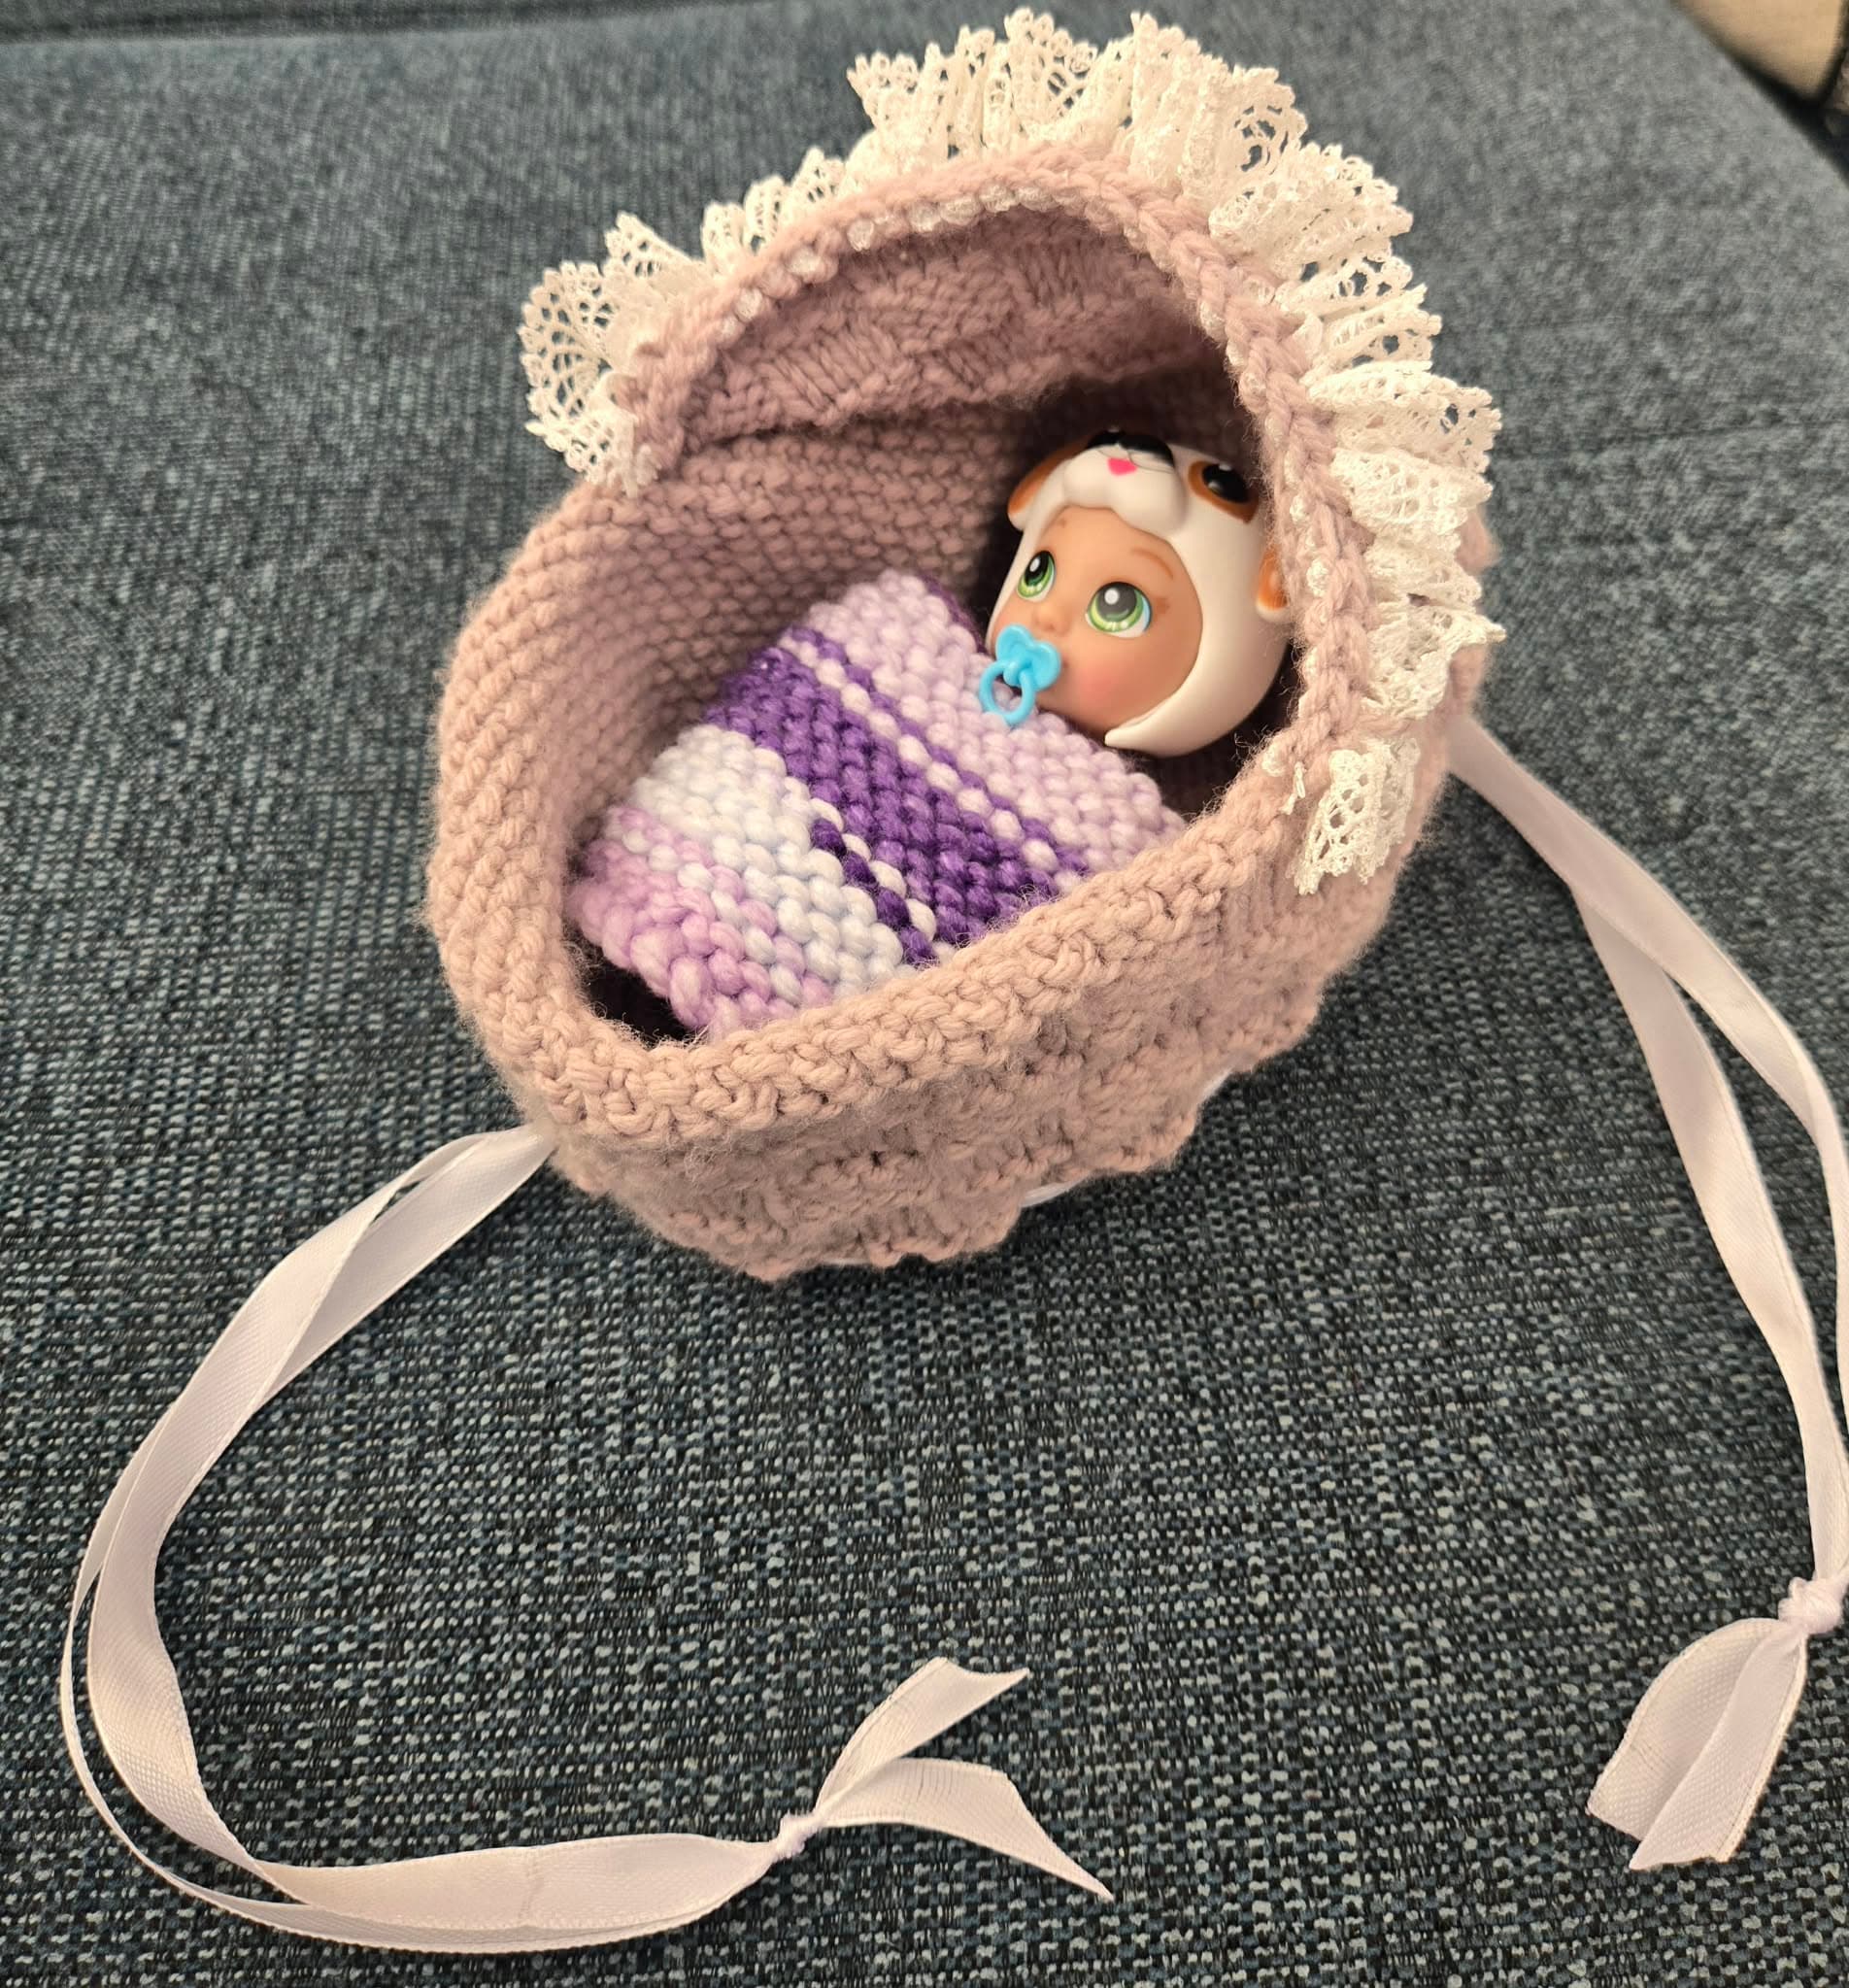
Absolutely adorable! That is a success all around. Thanks so much for the photos.
You really did a great job of this. Baby doll looks so cosy.