Really beautiful knitting.
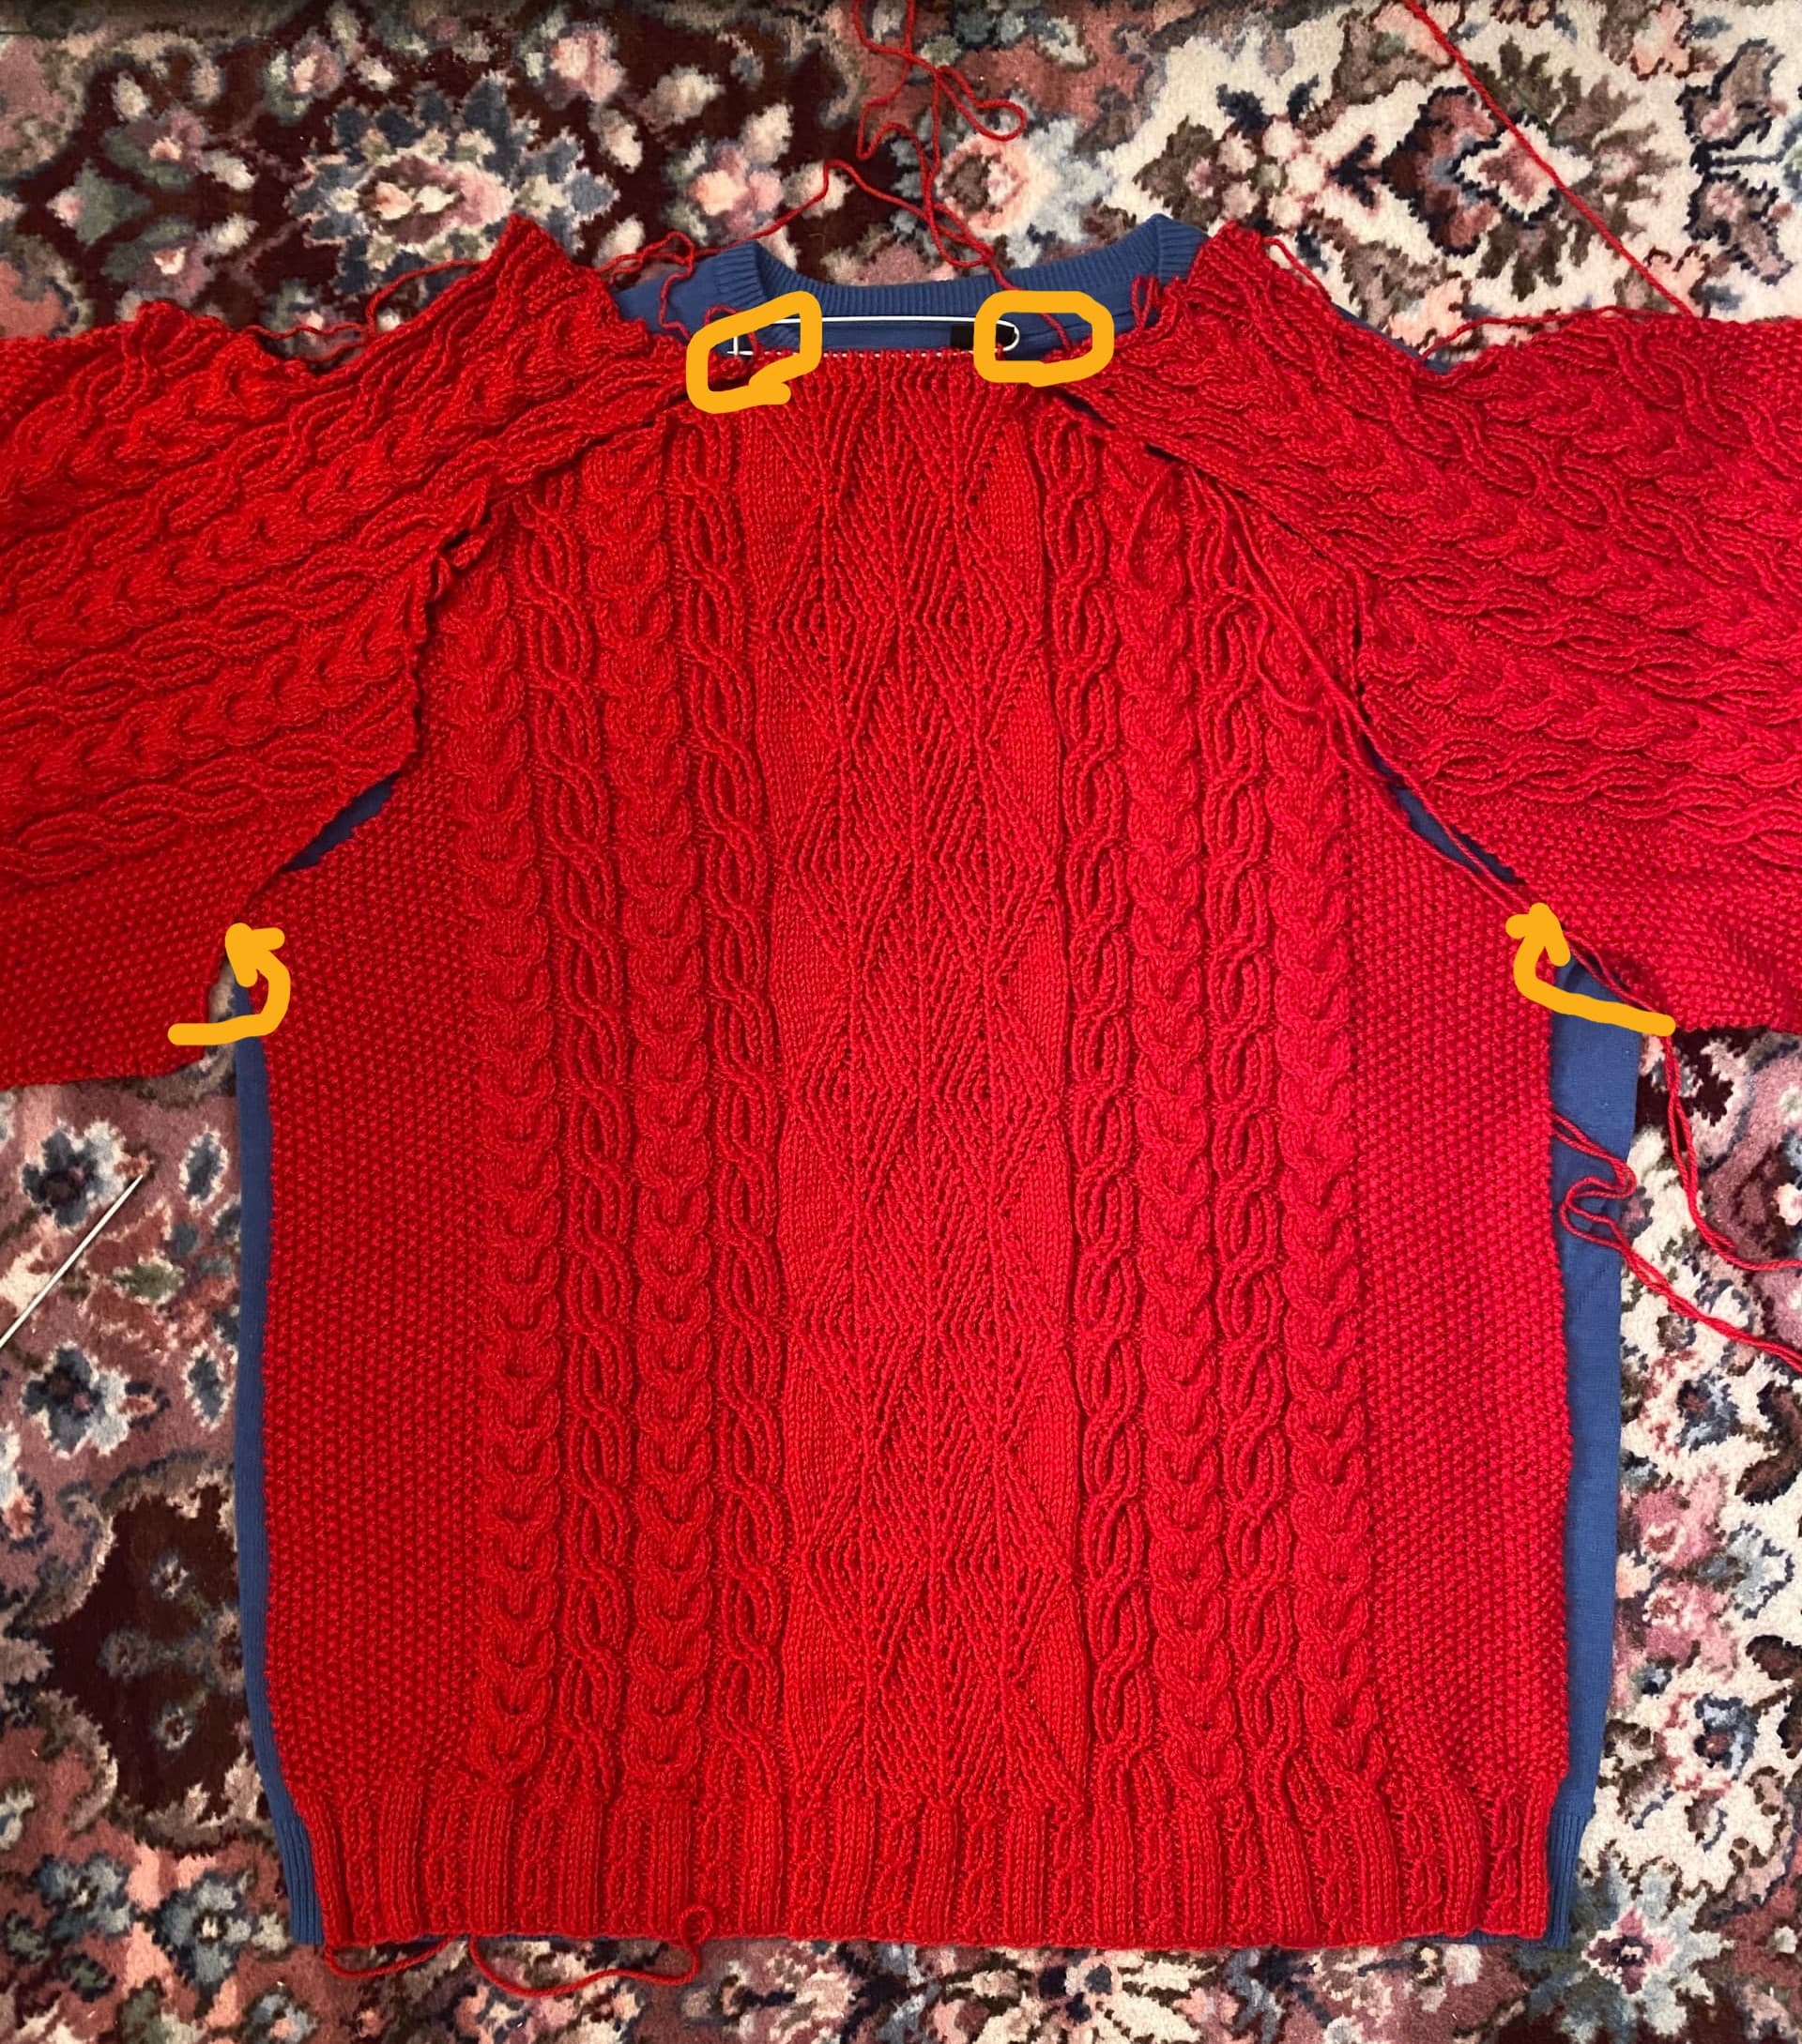
It’s good to pin the sleeve in first starting at the beginning of the underarm bind off on sleeves to underarm bind off on the body. Then pin the saddle as you have it at the start of the shoulder. From there you can ease the rest of the shoulder into the body.
Those split cables are beautiful. This is going to be a stunning sweater!
1 Like
Helloo. Still working on this sweater…but an end is in sight!!
Can someone shed some light on these instructions for the shoulder and neck shaping for the front please? Do I really have to cut and join strands of yarn? Or can I do what we did for the sleeves and do row after row (hoping that makes sense)?
Thank you as always!

1 Like
You can do the two shoulders at the same time with two balls of yarn or you can work one shoulder at a time.
I find that an easy way to visualize and work this is to make a small diagram and cross off the numbers as I work the rows. In all cases the bind offs are worked at the beginning of a row or shoulder section. The bind offs are from the shoulder edge or from the neck edge, not at the end of a row or shoulder section but at the beginning.
Here’s an example of a diagram.

So for example on row 1, bind off 7sts at the left shoulder, place the 19 center sts on hold and with a second ball of yarn bind off 5sts at the neck edge of the right shoulder. On row 2, bind off 7sts, work to the neck edge, drop the yarn strand and pick up the strand attached to the left shoulder and bind off 5sts then work to the end of row.
3 Likes
I’m unable to help, but I love scrolling through your process through this! Guernseys look fantastic and I hope to knit myself one some day 
2 Likes
Thank you for this! When I get to this part I may have more questions.
Go for it!! This has been in the making for over a year now because I keep having tantrums about the neatness. But it’s nearly finished and very proud so can’t wait to see it done! Thank you 
3 Likes
Yes go for it!
1 Like
We have no per person limit on questions so ask away. Can’t wait to see a photo when you finish!
1 Like
I will some day!  It’s on my list of projects, so I’ll get to it eventually. And in the meantime, I swatch for textures and techniques in between projects, so I’ll be more prepared for it when I do
3 Likes
Here I am again and just on row 1 of the shaping!!
It’s right fiddly with the neck stitches on hold.
Your diagram is super helpful!! Just wondering though the instructions say continue in patt, binding 7 stitches off for a total of 3 times. I see you’ve included that with the first row? Why wouldn’t this be 4?
Glad that the diagram might help.
The pattern says bind off 7sts 3 times total each side. When you add up the numbers it comes out to 121, the total number you start the row with.
21+21+16+16+19=93
5+5+4+4+3+3+2+2=28
Total of shoulder and neck bind off plus the 19 neck sts on hold is 121
1 Like
Ahh yes having it explained like that has made it much more understandable! Thank youuu.
1 Like
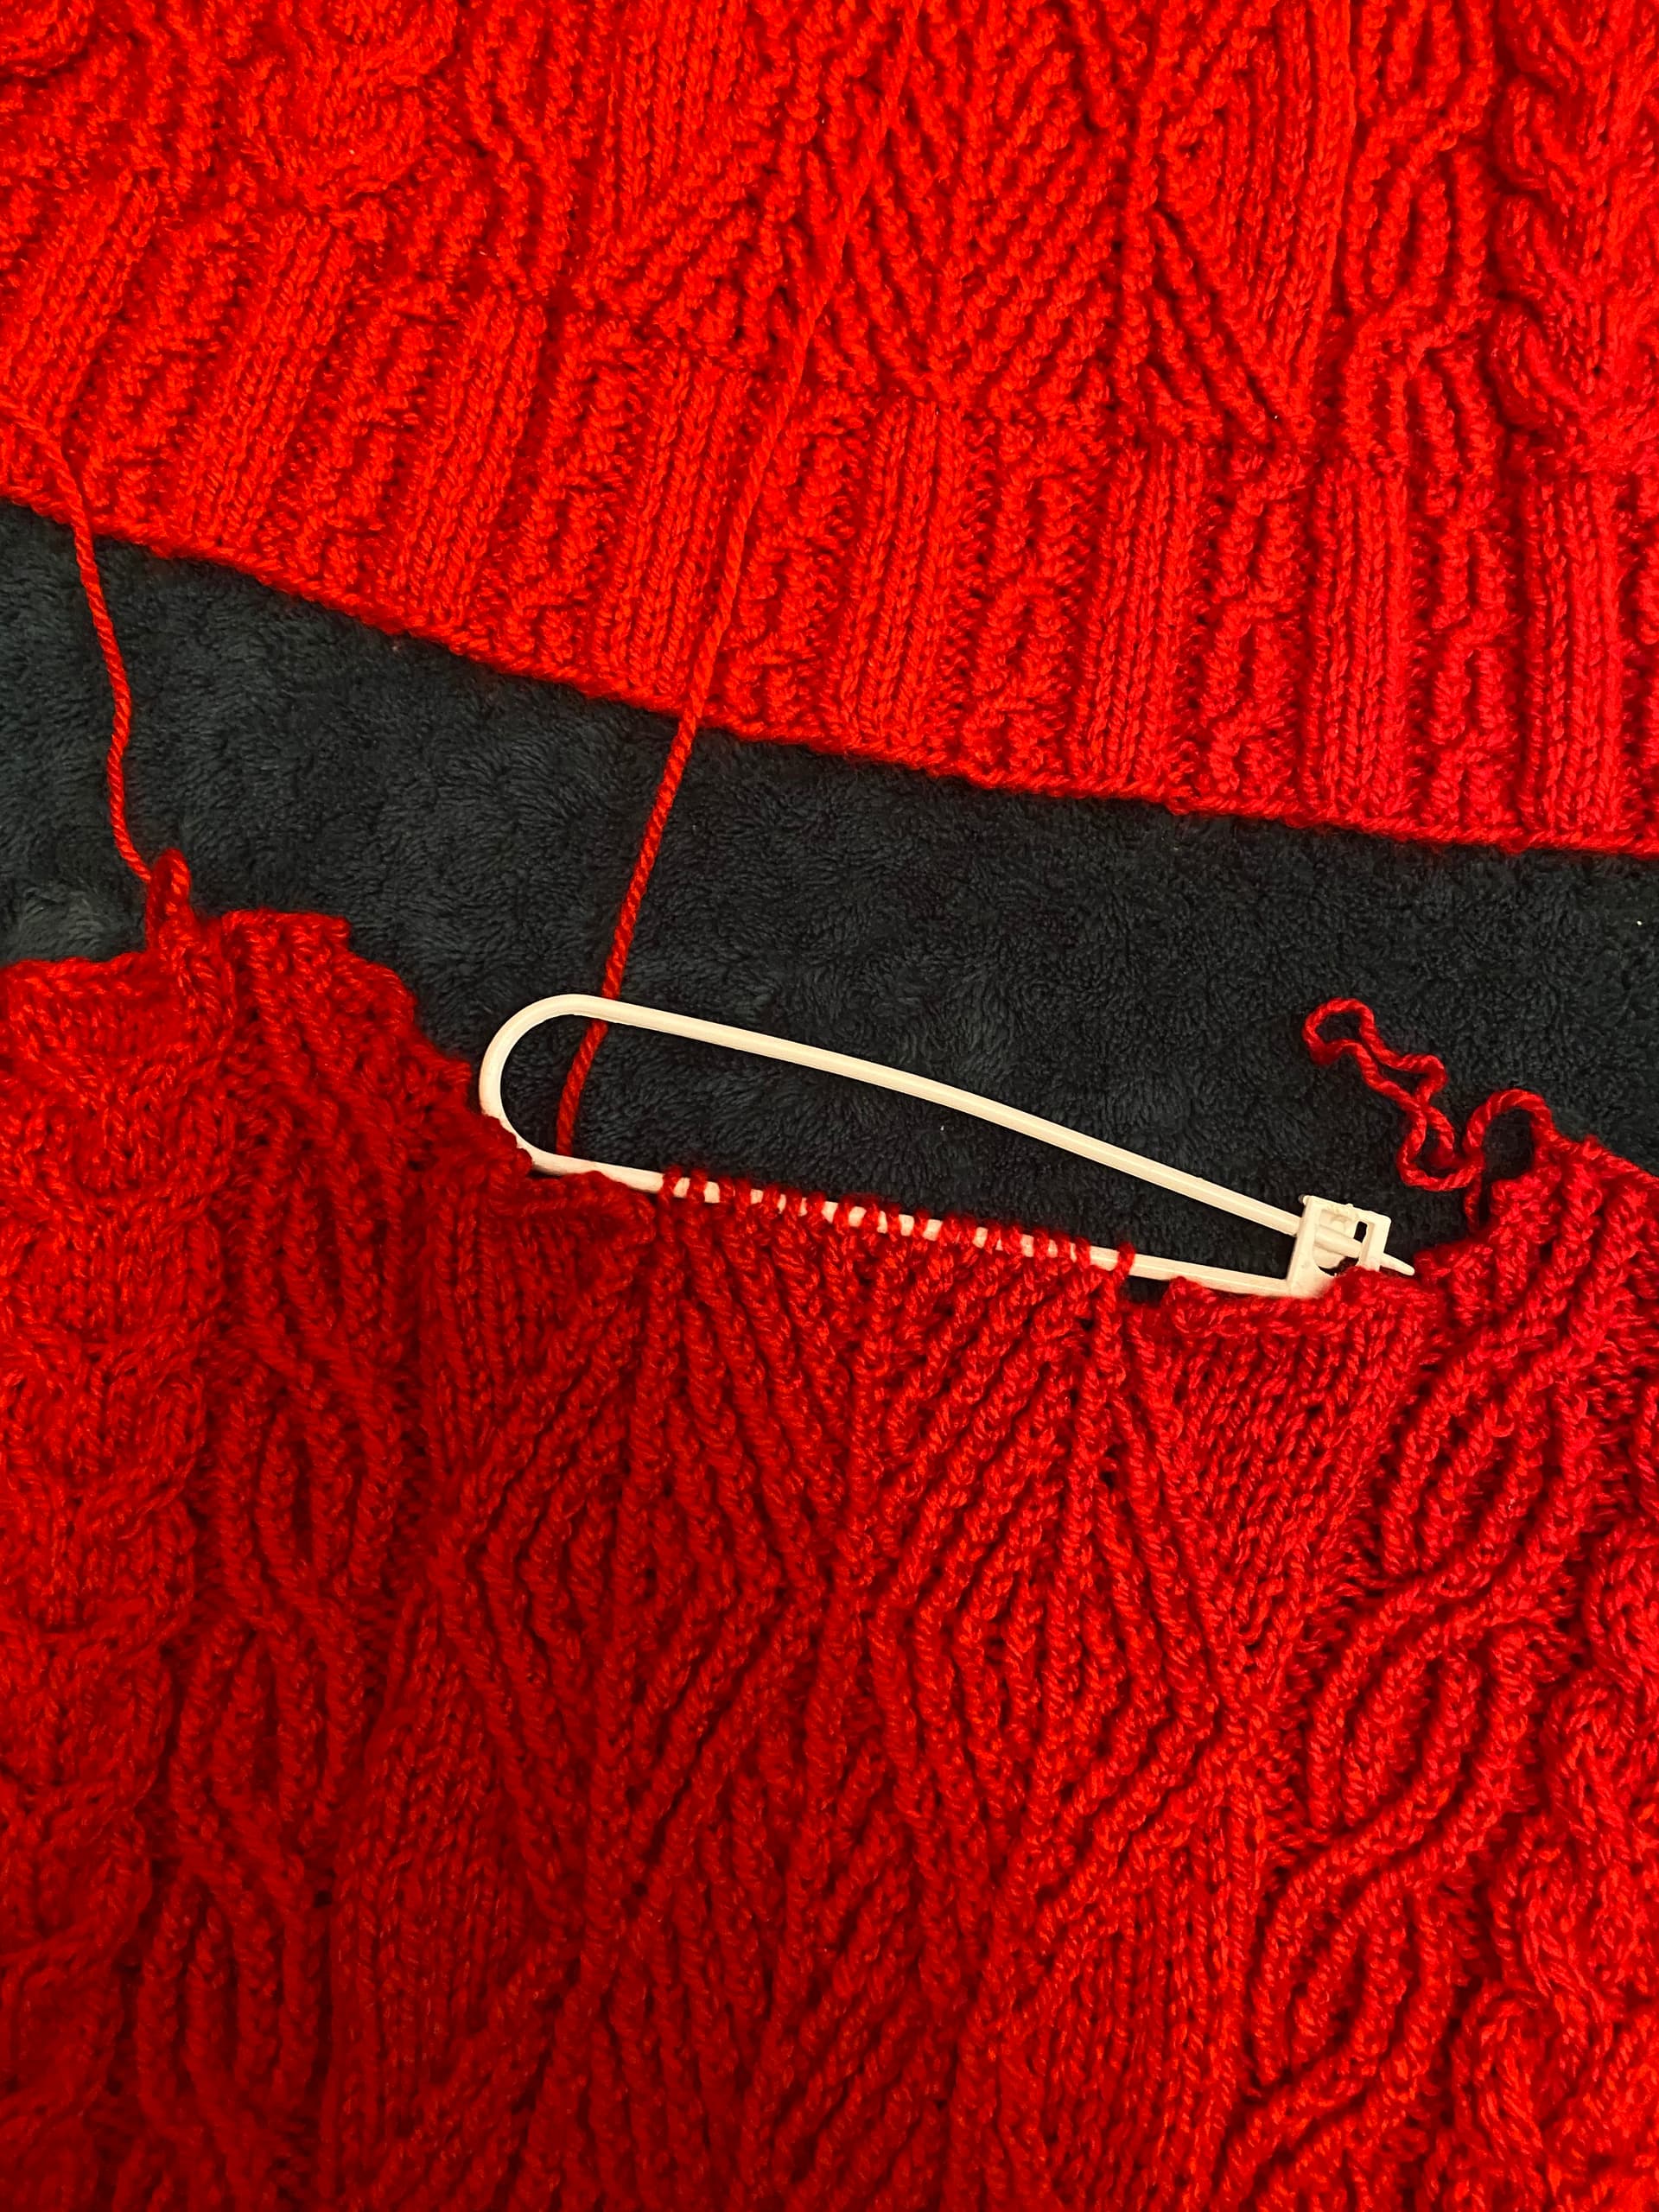
If the stitches are on a stitch holder (like in your pic) and you feel it’s in the way of your needles you can move them onto a length of yarn. I use a tapestry needle to get stitches onto scrap yarn and i make a slip knot each end and join with a stitch marker or knot them together so the stitches can’t slip off. I have holders the same as yours but sometimes i find they get in the way.
3 Likes
Ooo I’m going to try this next time as I powered through and whoop woooo i’ve finished the front!! Just got seaming and neckline to do ahh so happy.
4 Likes
You are almost at the finish line with a sweater to wear with pride and enjoyment. Good going!
2 Likes
Your knitting is so lovely! This is going to be a spectacular sweater!
1 Like
Thank you guys!!
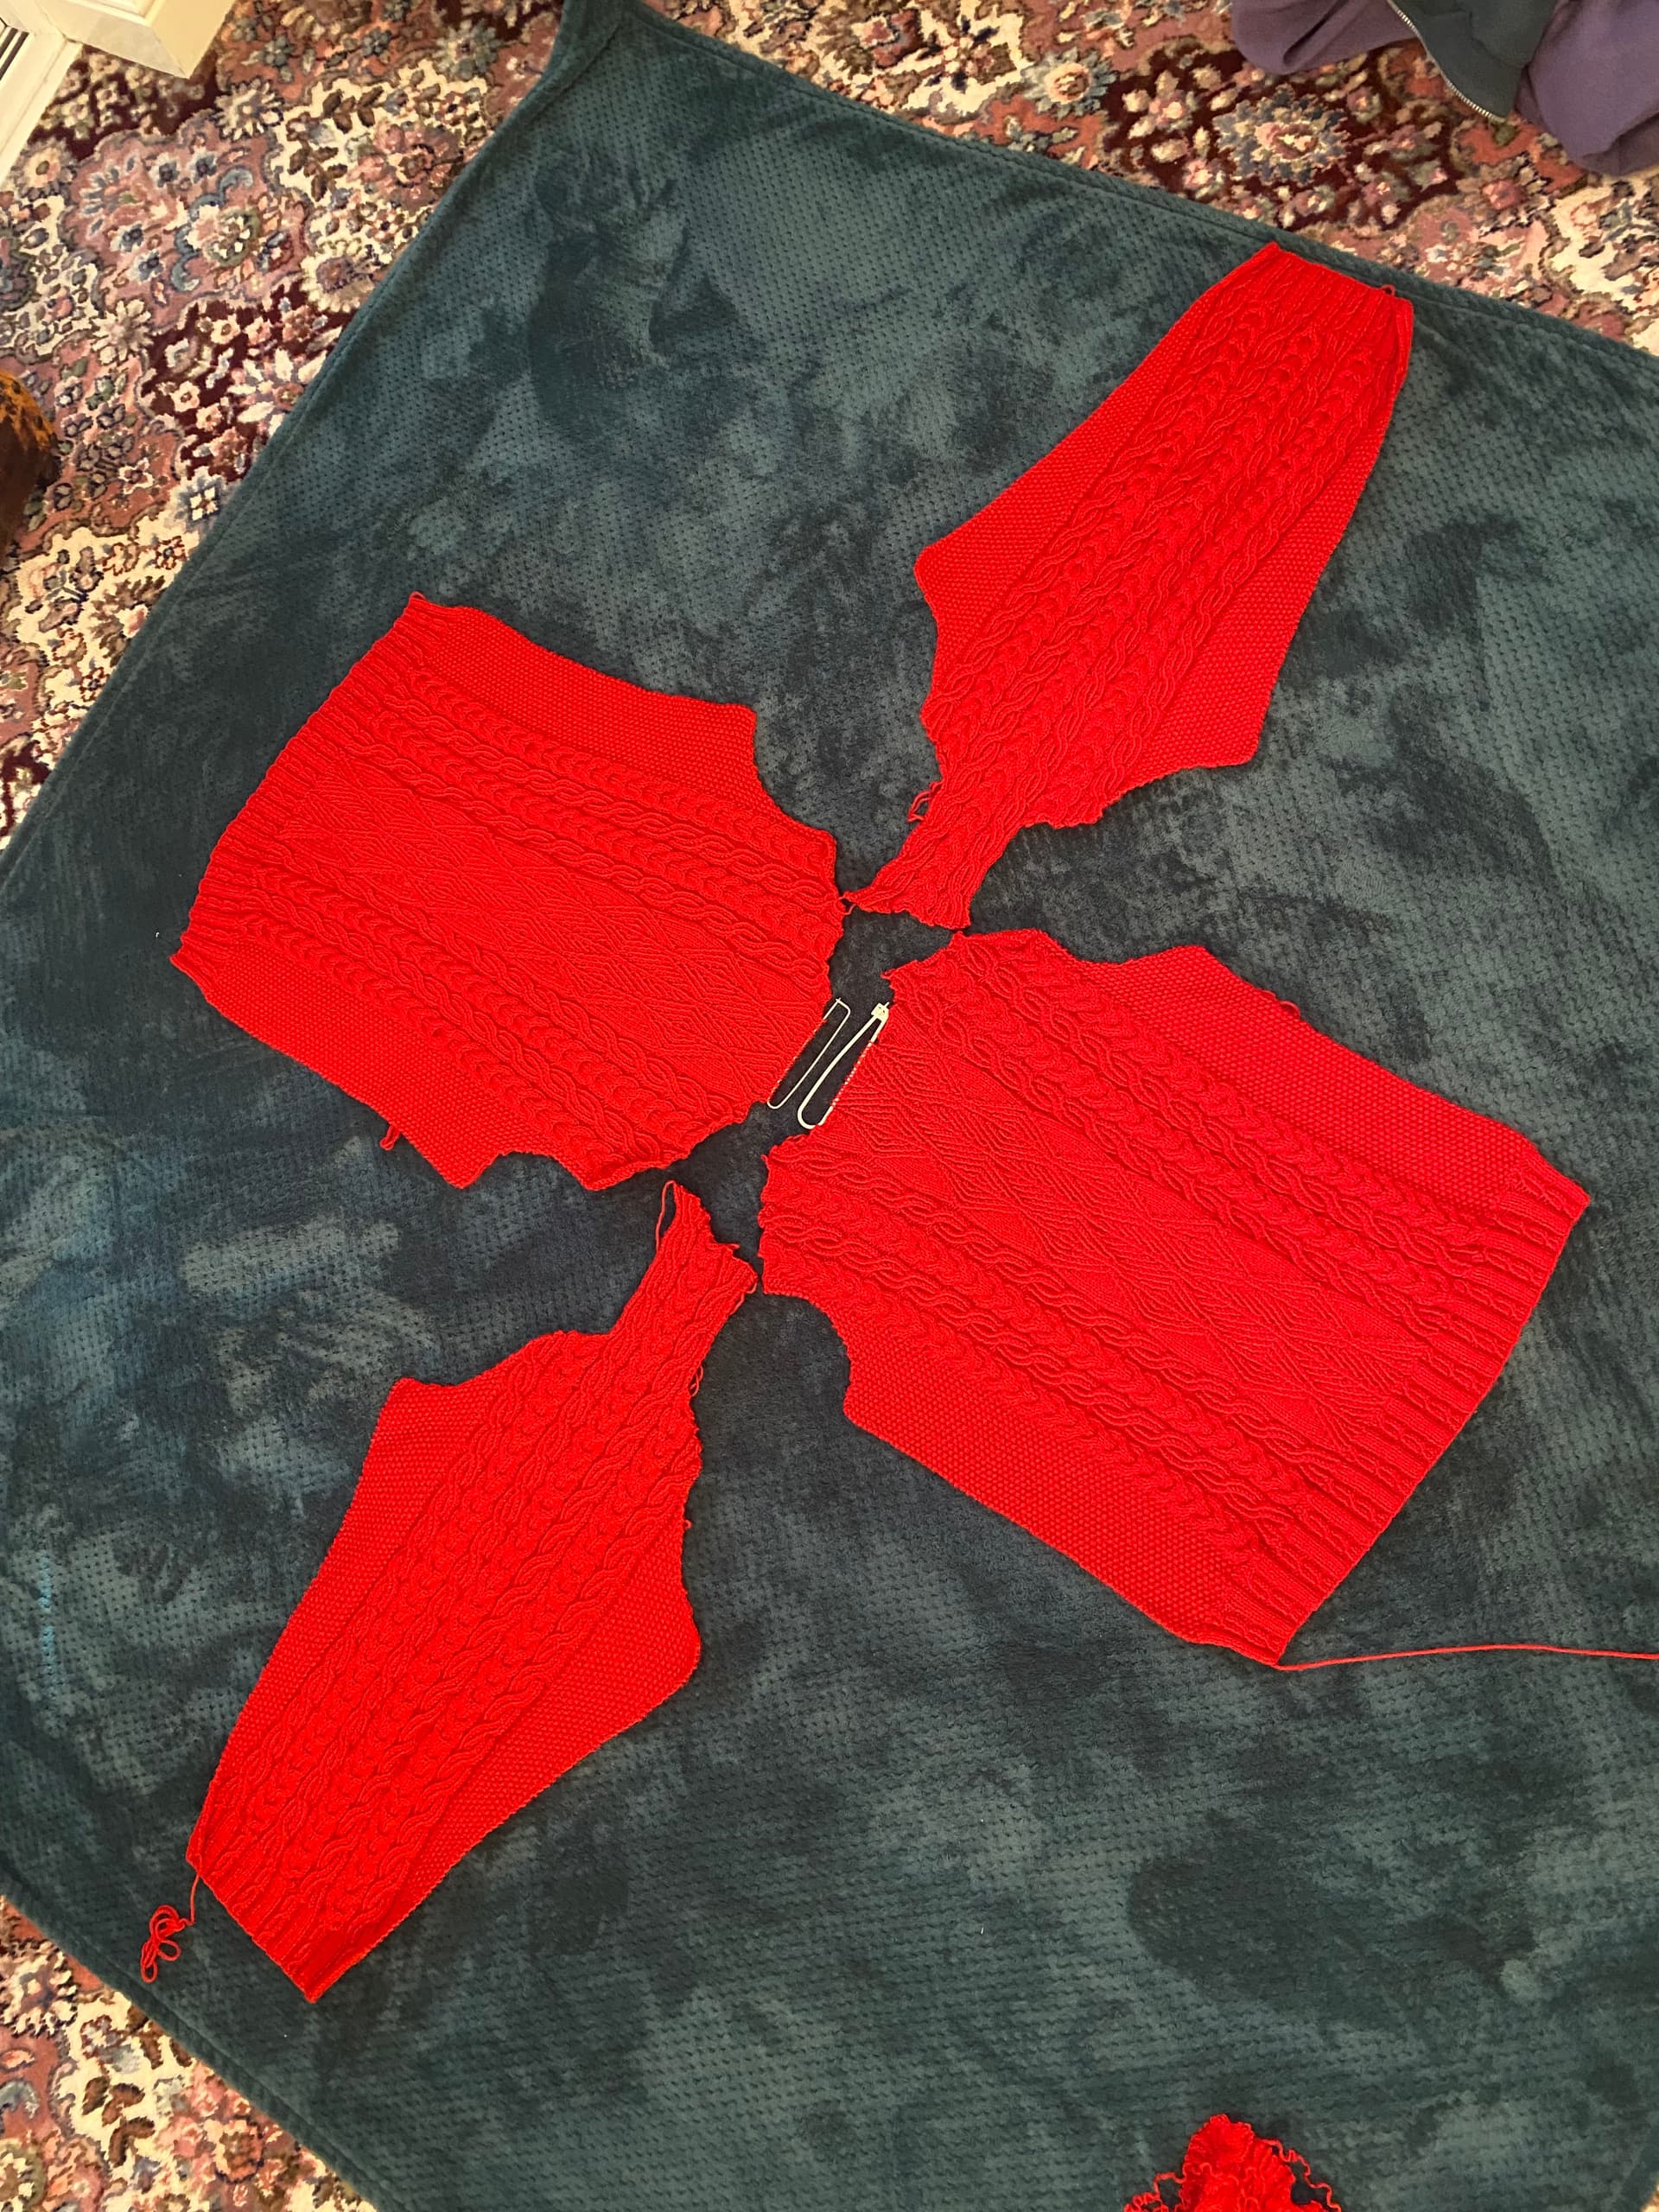
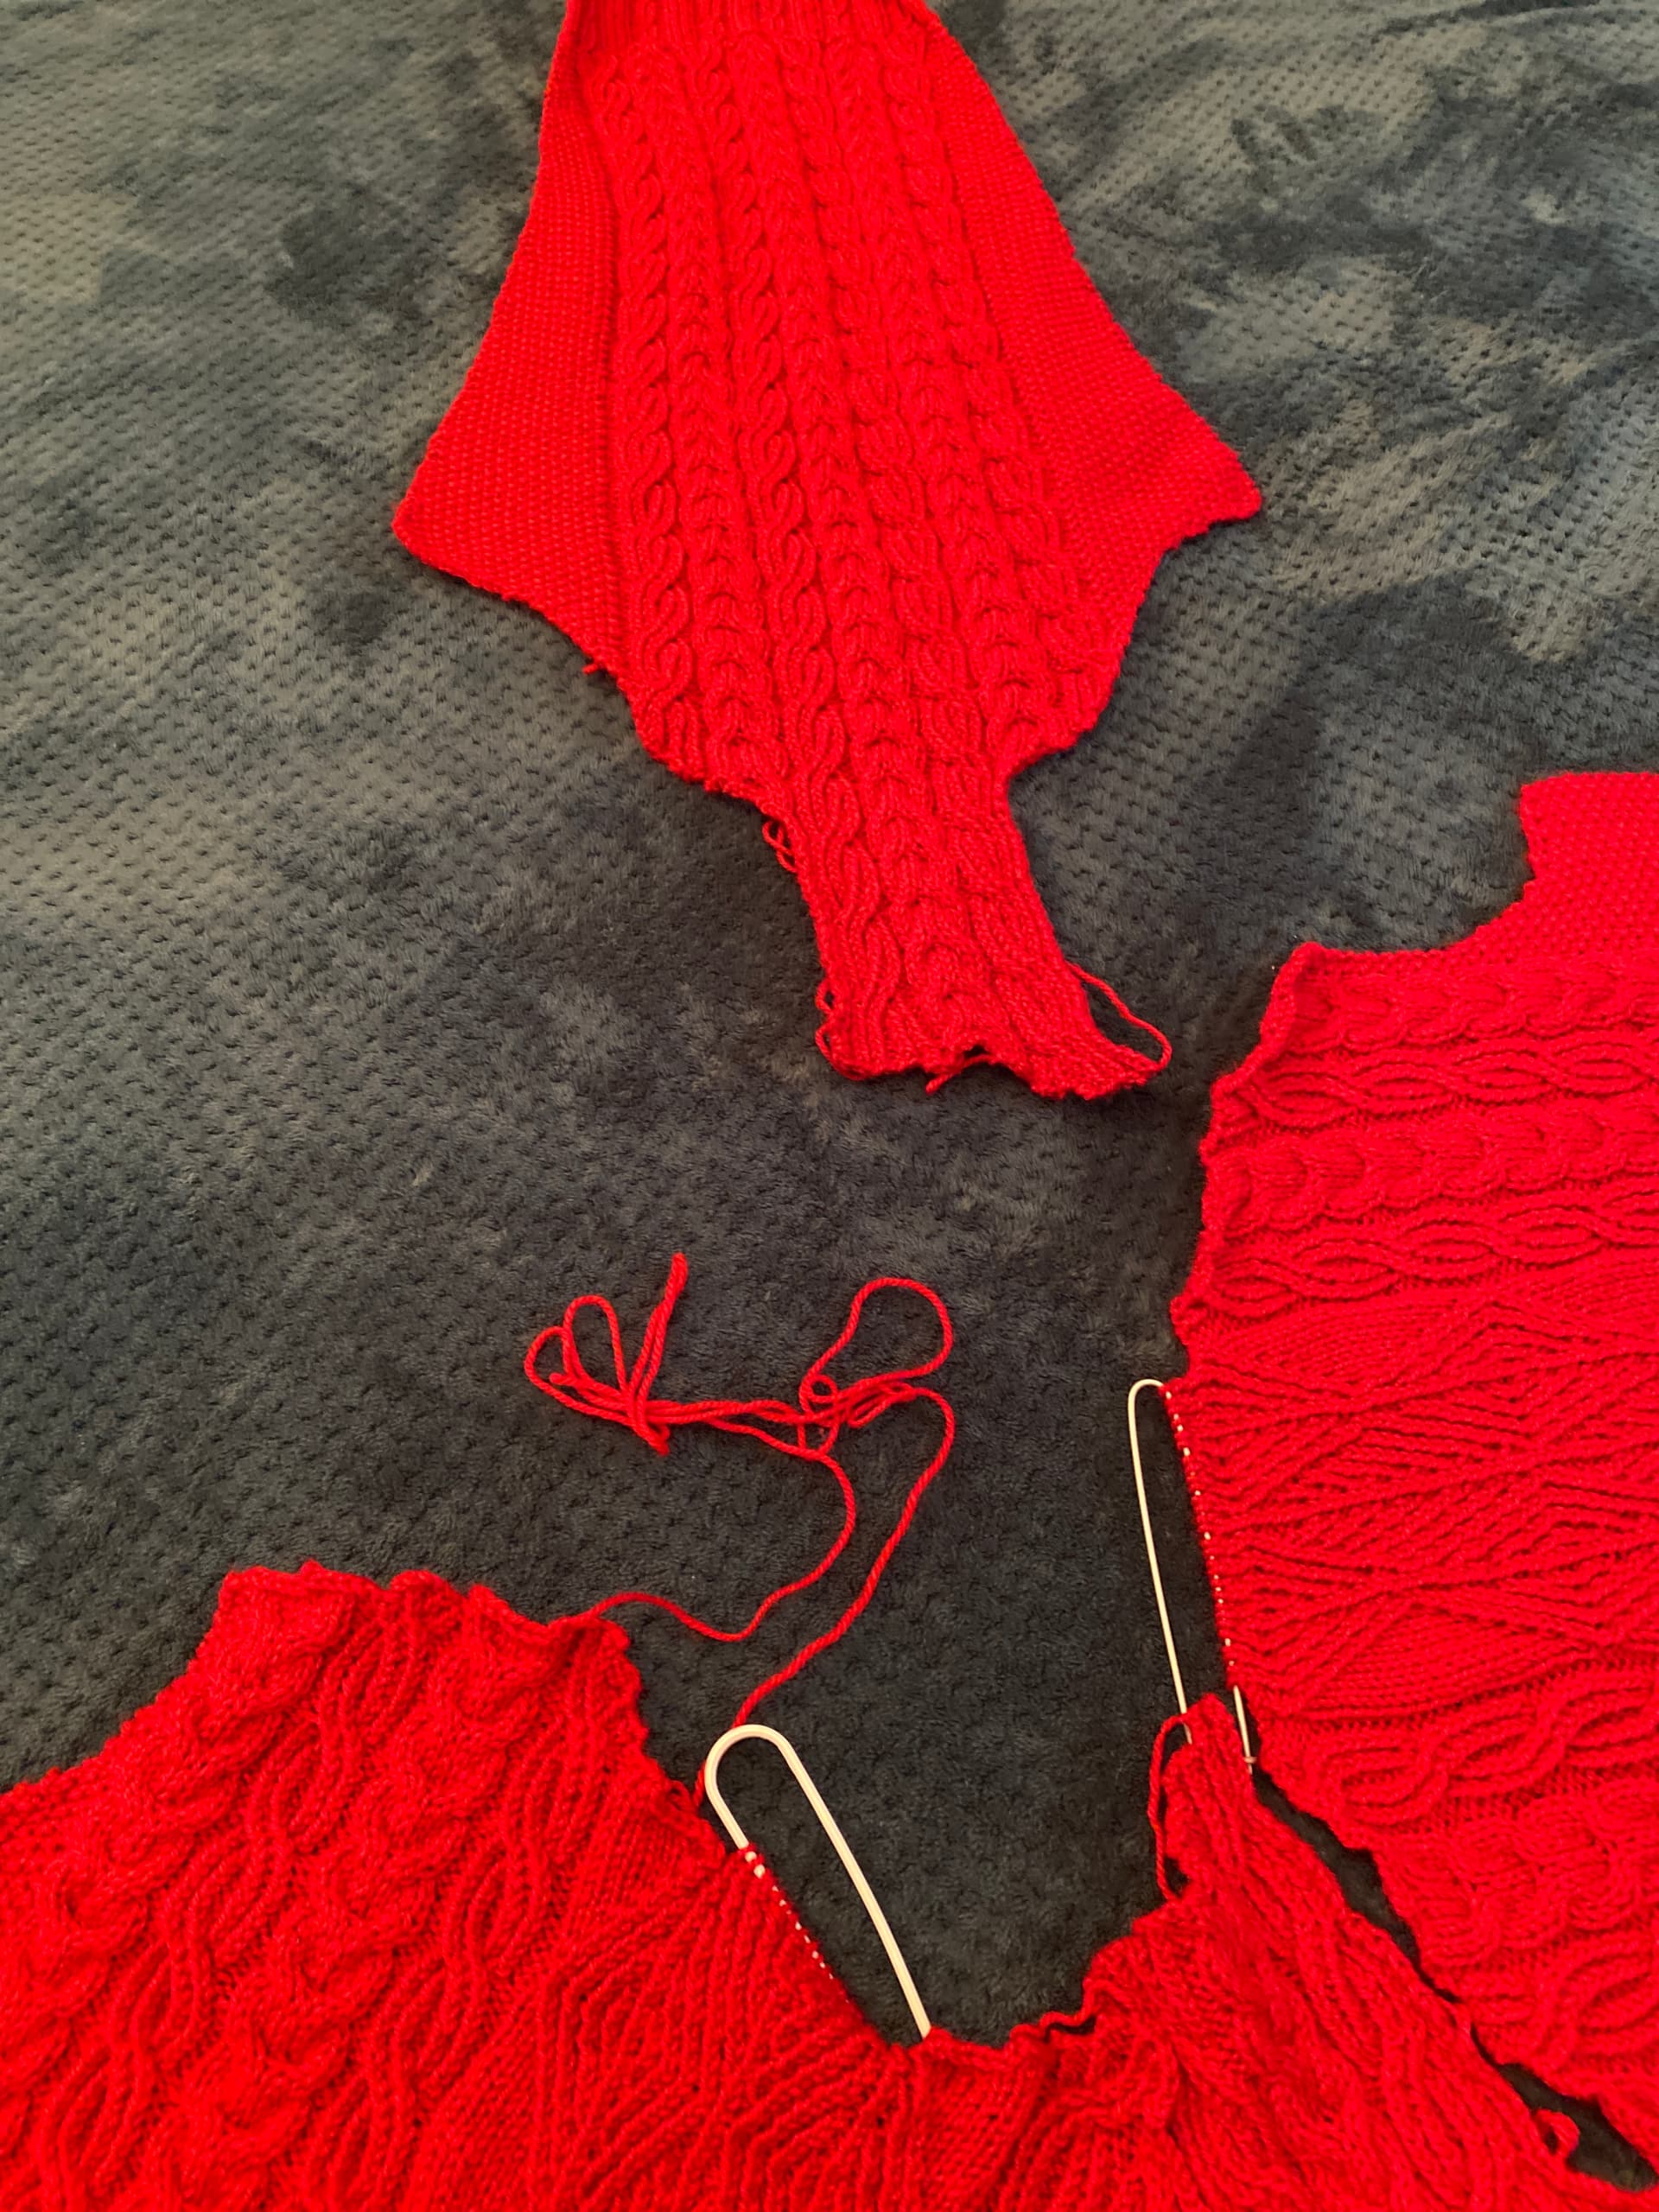
Ahh I need help!! How the hell do I seam this together? I feel like the saddle shoulders too long to fit in.
I can smush it in just about but then how do I get the other sleeve on as the gaps too wide or am I being thick and once one arms done the back and front panel can be brought closer together to attach the next?
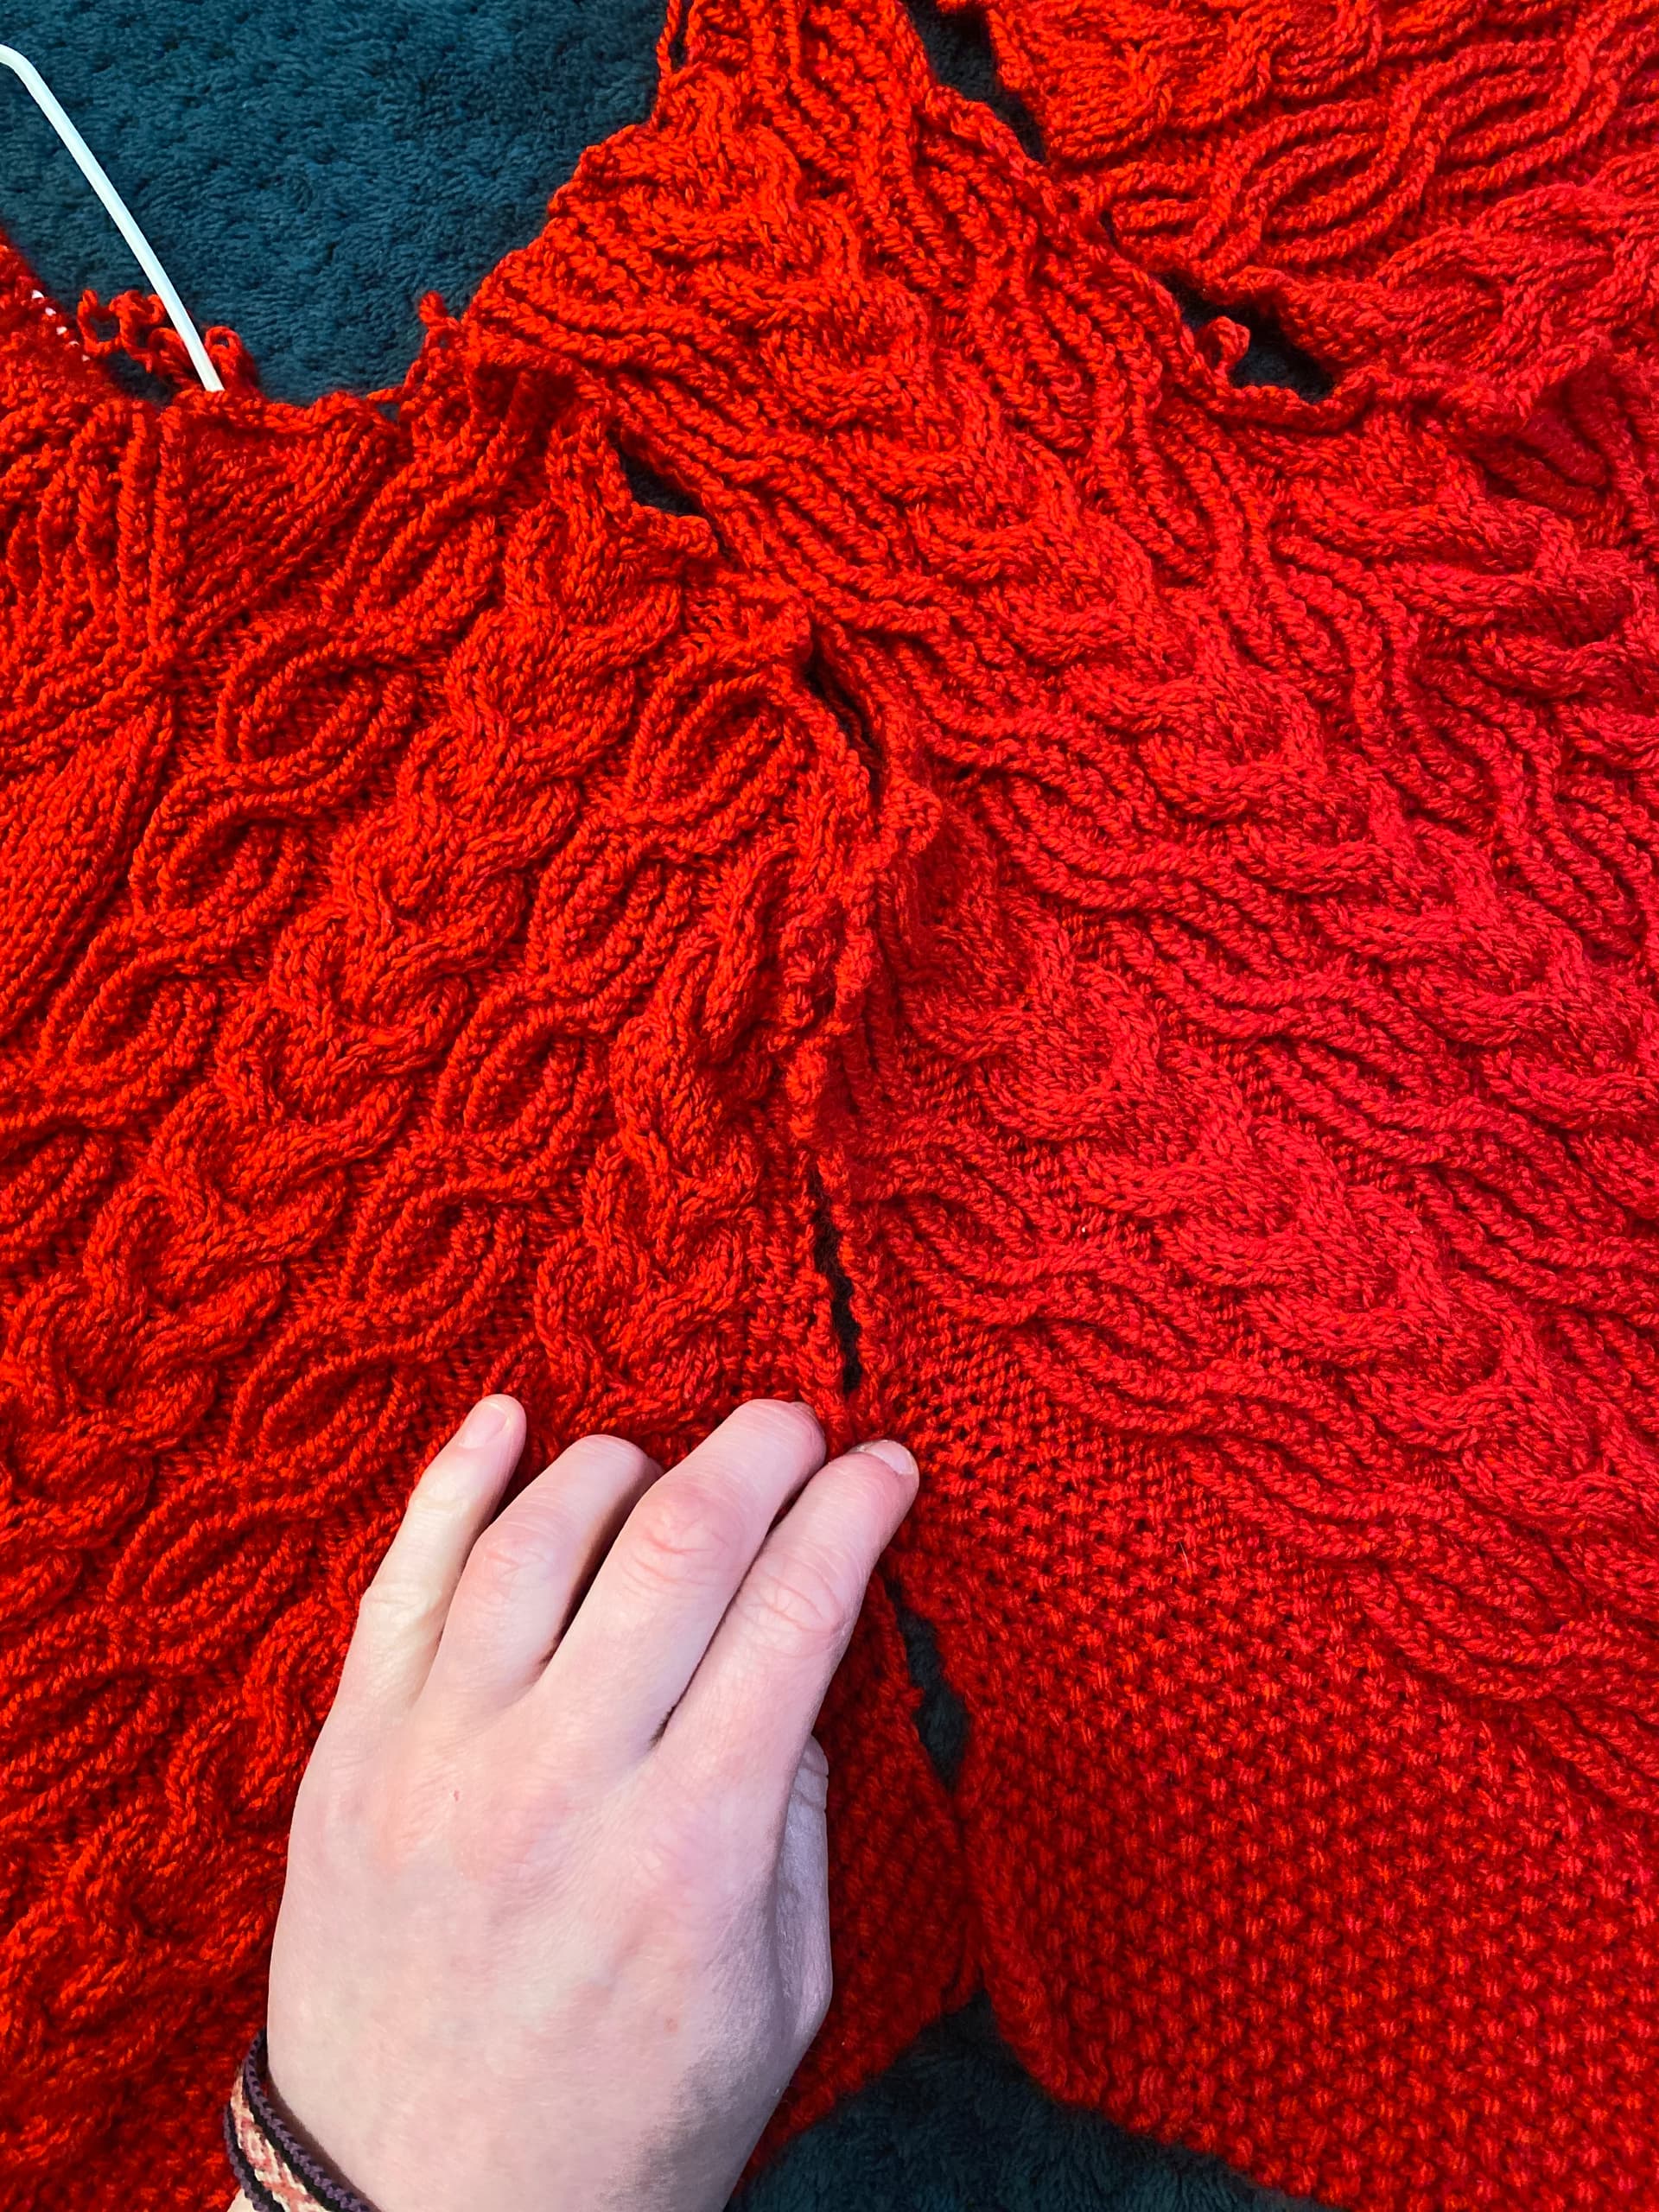
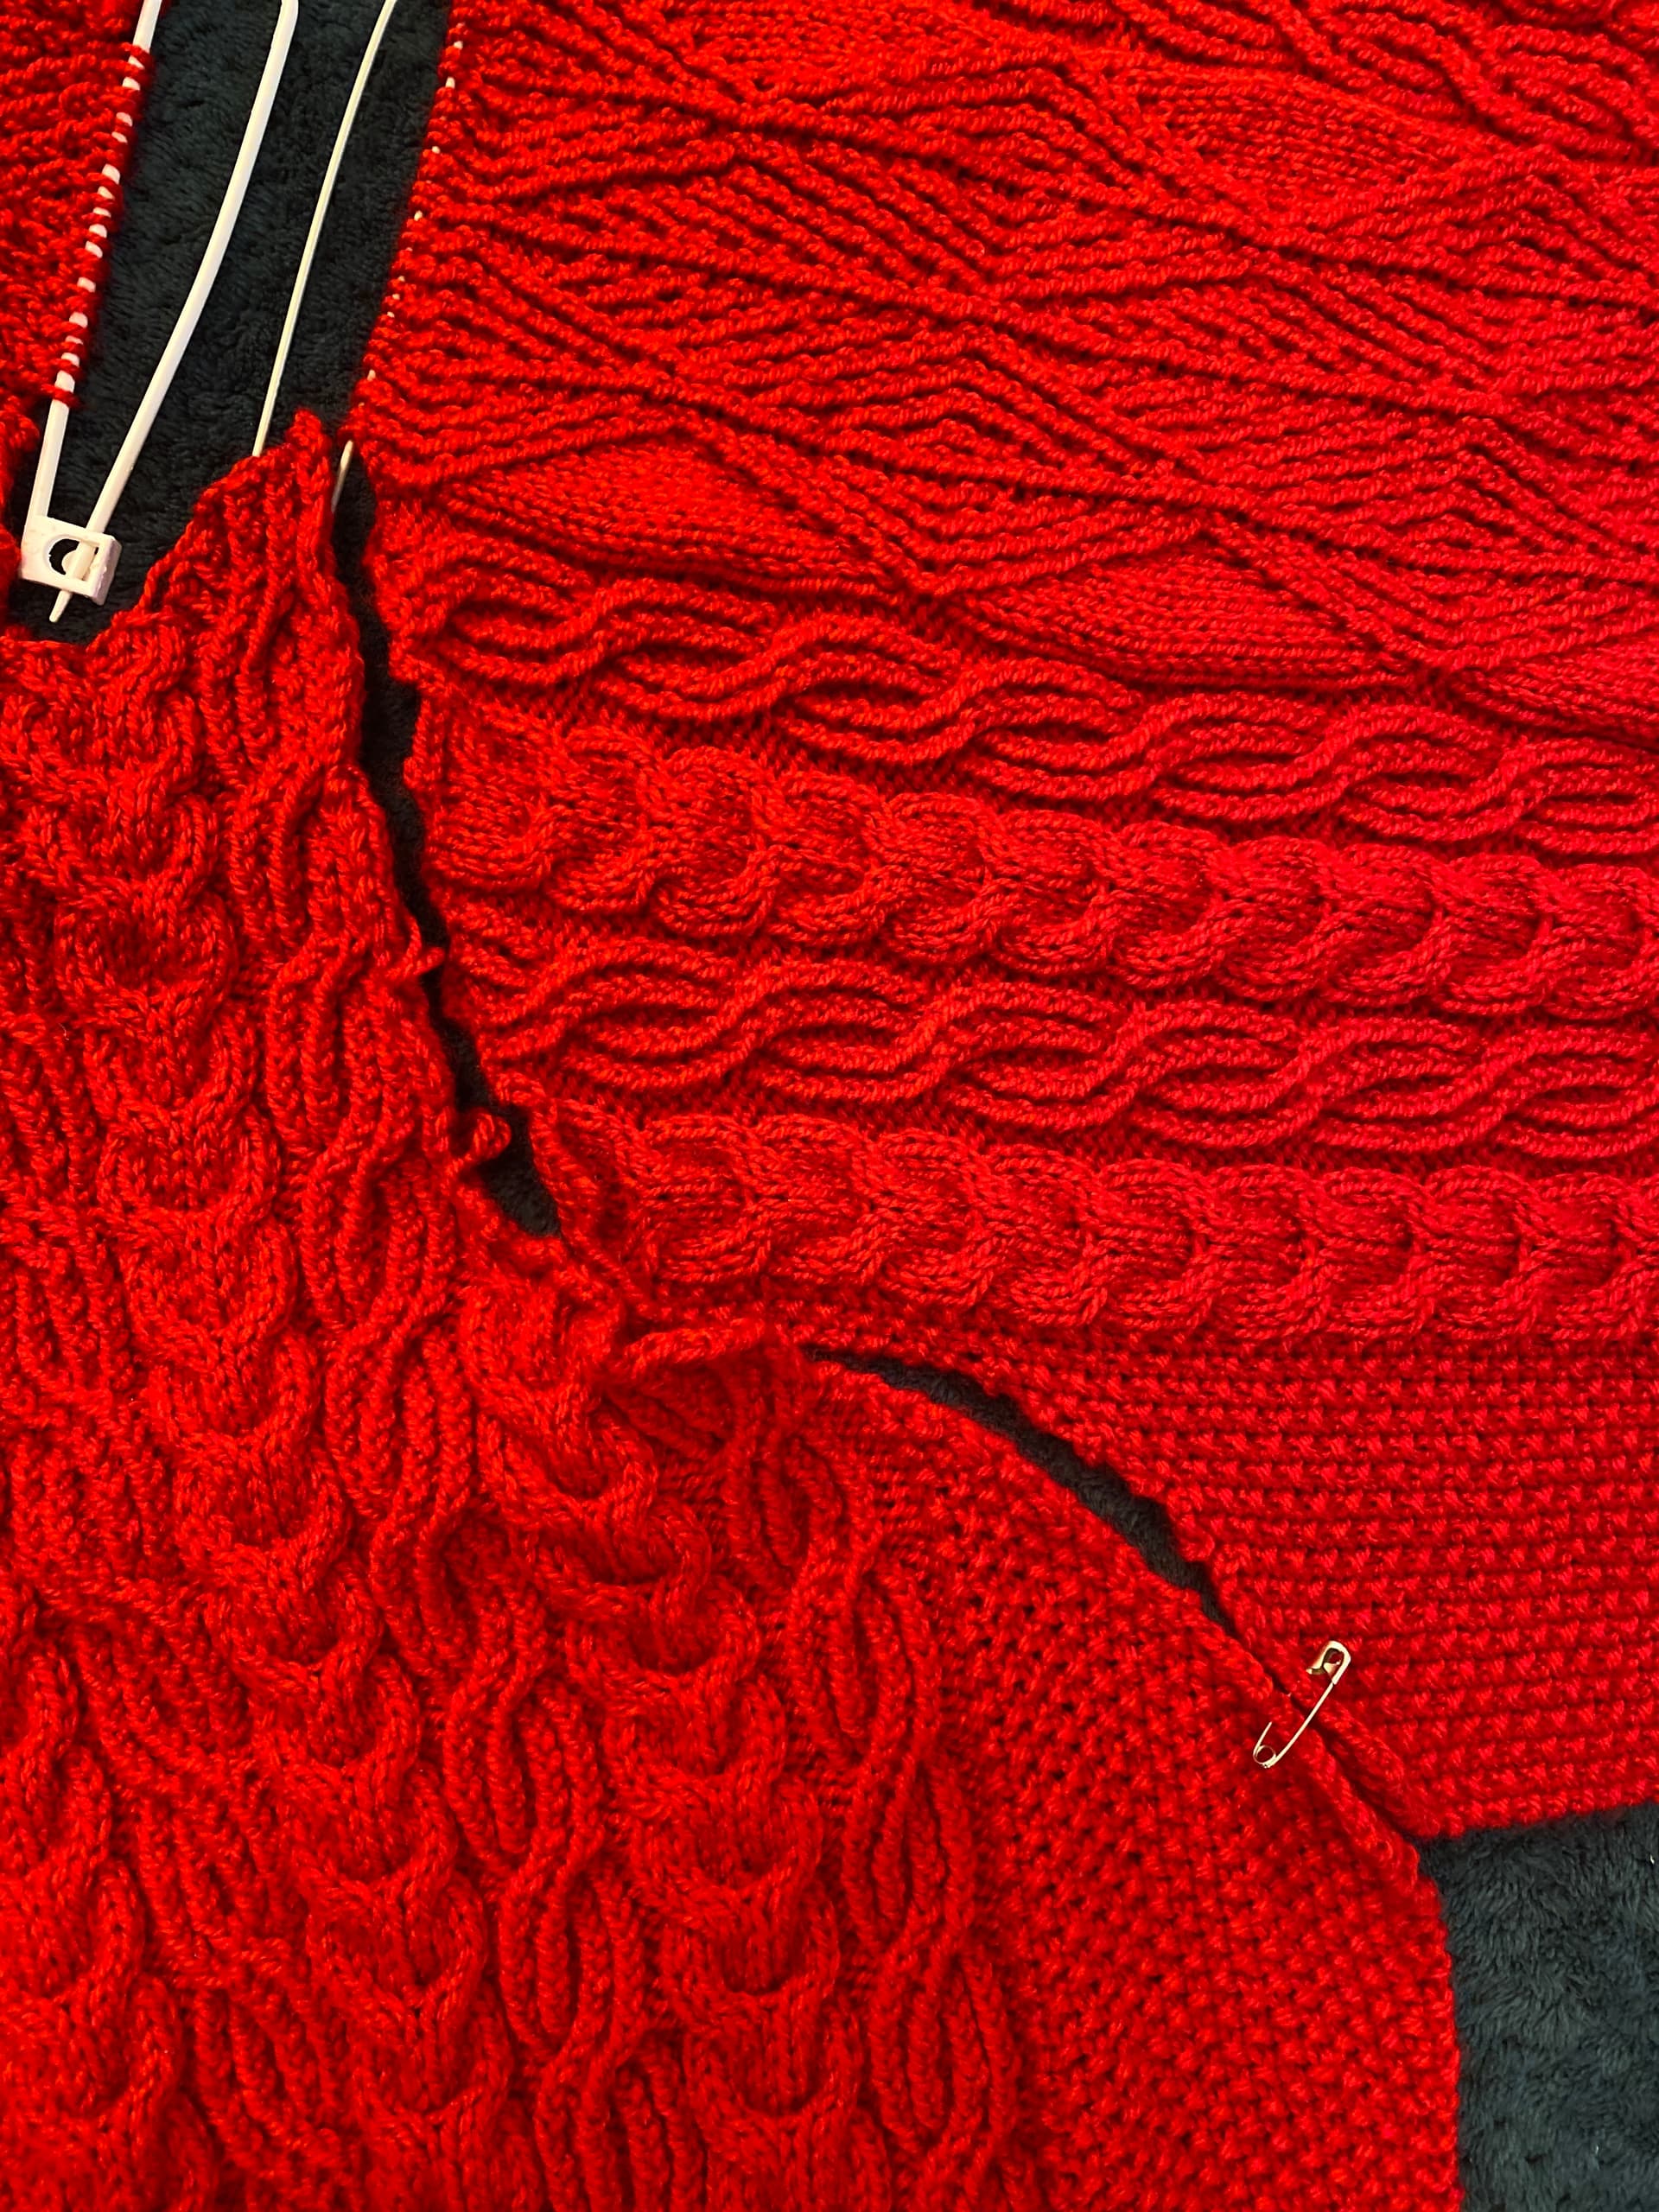
Don’t panic!
You can do this, just don’t expect it to be done in 5 minutes, take your time.
Smooshing in is involved, but usually called “easing in”, it’s the polite term for smoosh.
You have some key areas to pin in place:
underarm
change of angle where sleeve cables sit almost at right angles to body cables (look at the pattern photo)
beginning of saddle goes exactly at the start of shoulder shape on body
top of saddle exactly at neck.
Where you have a clear set of stitches to rows (shoulder is stitches, saddle is row edges) you probably need a ratio something like 3 sts to 4 rows. You can calculate this by looking back at your pattern notes for these numbers, or you can count them in the fabric. The ratio helps tremendously with the smooshing.
The almost horizontal cables meeting the body might also be stitches to rows but switched, this time sleeve cables are stitches and body is row ends. Check how many rows down you use on one side/sleeve so you can use the same number of rows on the other side/sleeve, this will make that section look even and symentrical on all 4 seams.
I find when I start to break it down like this, in sections, i get a better idea of what must go where, and I have much more confidence I’m smooshing in the right places.
The curves are perhaps the hardest part. You can mark them at half way, and pin there then smoosh the rest. Or, if you are like me, you can count how many places are obvious places for a mattress stitch on each of the curves and work out a ratio. I go all out with working out where to sew, i put in several tacks with embroidery thread, then i seam with embroidery thread as a practise to check I’m going to like it. It’s possible to unpick the thread several centimeters and seam properly with yarn, as you go, or the thread can just be pulled straight out if you use mattress stitch.
My top tip is to put a slip knot in the tail of your seaming yarn, and a stitch marker or safety pin in the slip knot, it prevents accidentally pulling the thread out when tightening the seam. I leave these without weaving in so i have a spare tail to close any small hole either end afterwards with a bit of faux grafting.
Don’t worry about the other sleeve, it will all move and smoosh.
Hope this helps
1 Like
You’re doing the right thing in pinning the pieces of the sweater together. I sometimes baste the pieces together to make sure they fit nicely and smoothly together.
You might start with the front and seam the sleeve and saddle to the front on both sides. If the saddle is too long you may need to rip back to the correct length.
Once that’s done, seam the sleeve and saddle to the back on both sides.
Then the only thing left is to seam the sleeve together and continue down the side seam.
Mattress stitch works nicely for these seams.
You’re almost finished and it’s worth taking time to make sure the seams are as perfect as possible. You’ve got this.
2 Likes
I have taken note of the don’t rush point, would be an awful shame to ruin all my hard work by making the seaming bad.
Thank you very much for your detailed reply. Now I’ll be reading this in more depth tomorrow but just a few things:
- The do you find the numbers for the ratio in the pattern?
- The neck seems odd from the saddle shoulder ending as it’s jagged and I’m just wondering will this be where I pick up stitches from for the neckband?
Thank you once again!