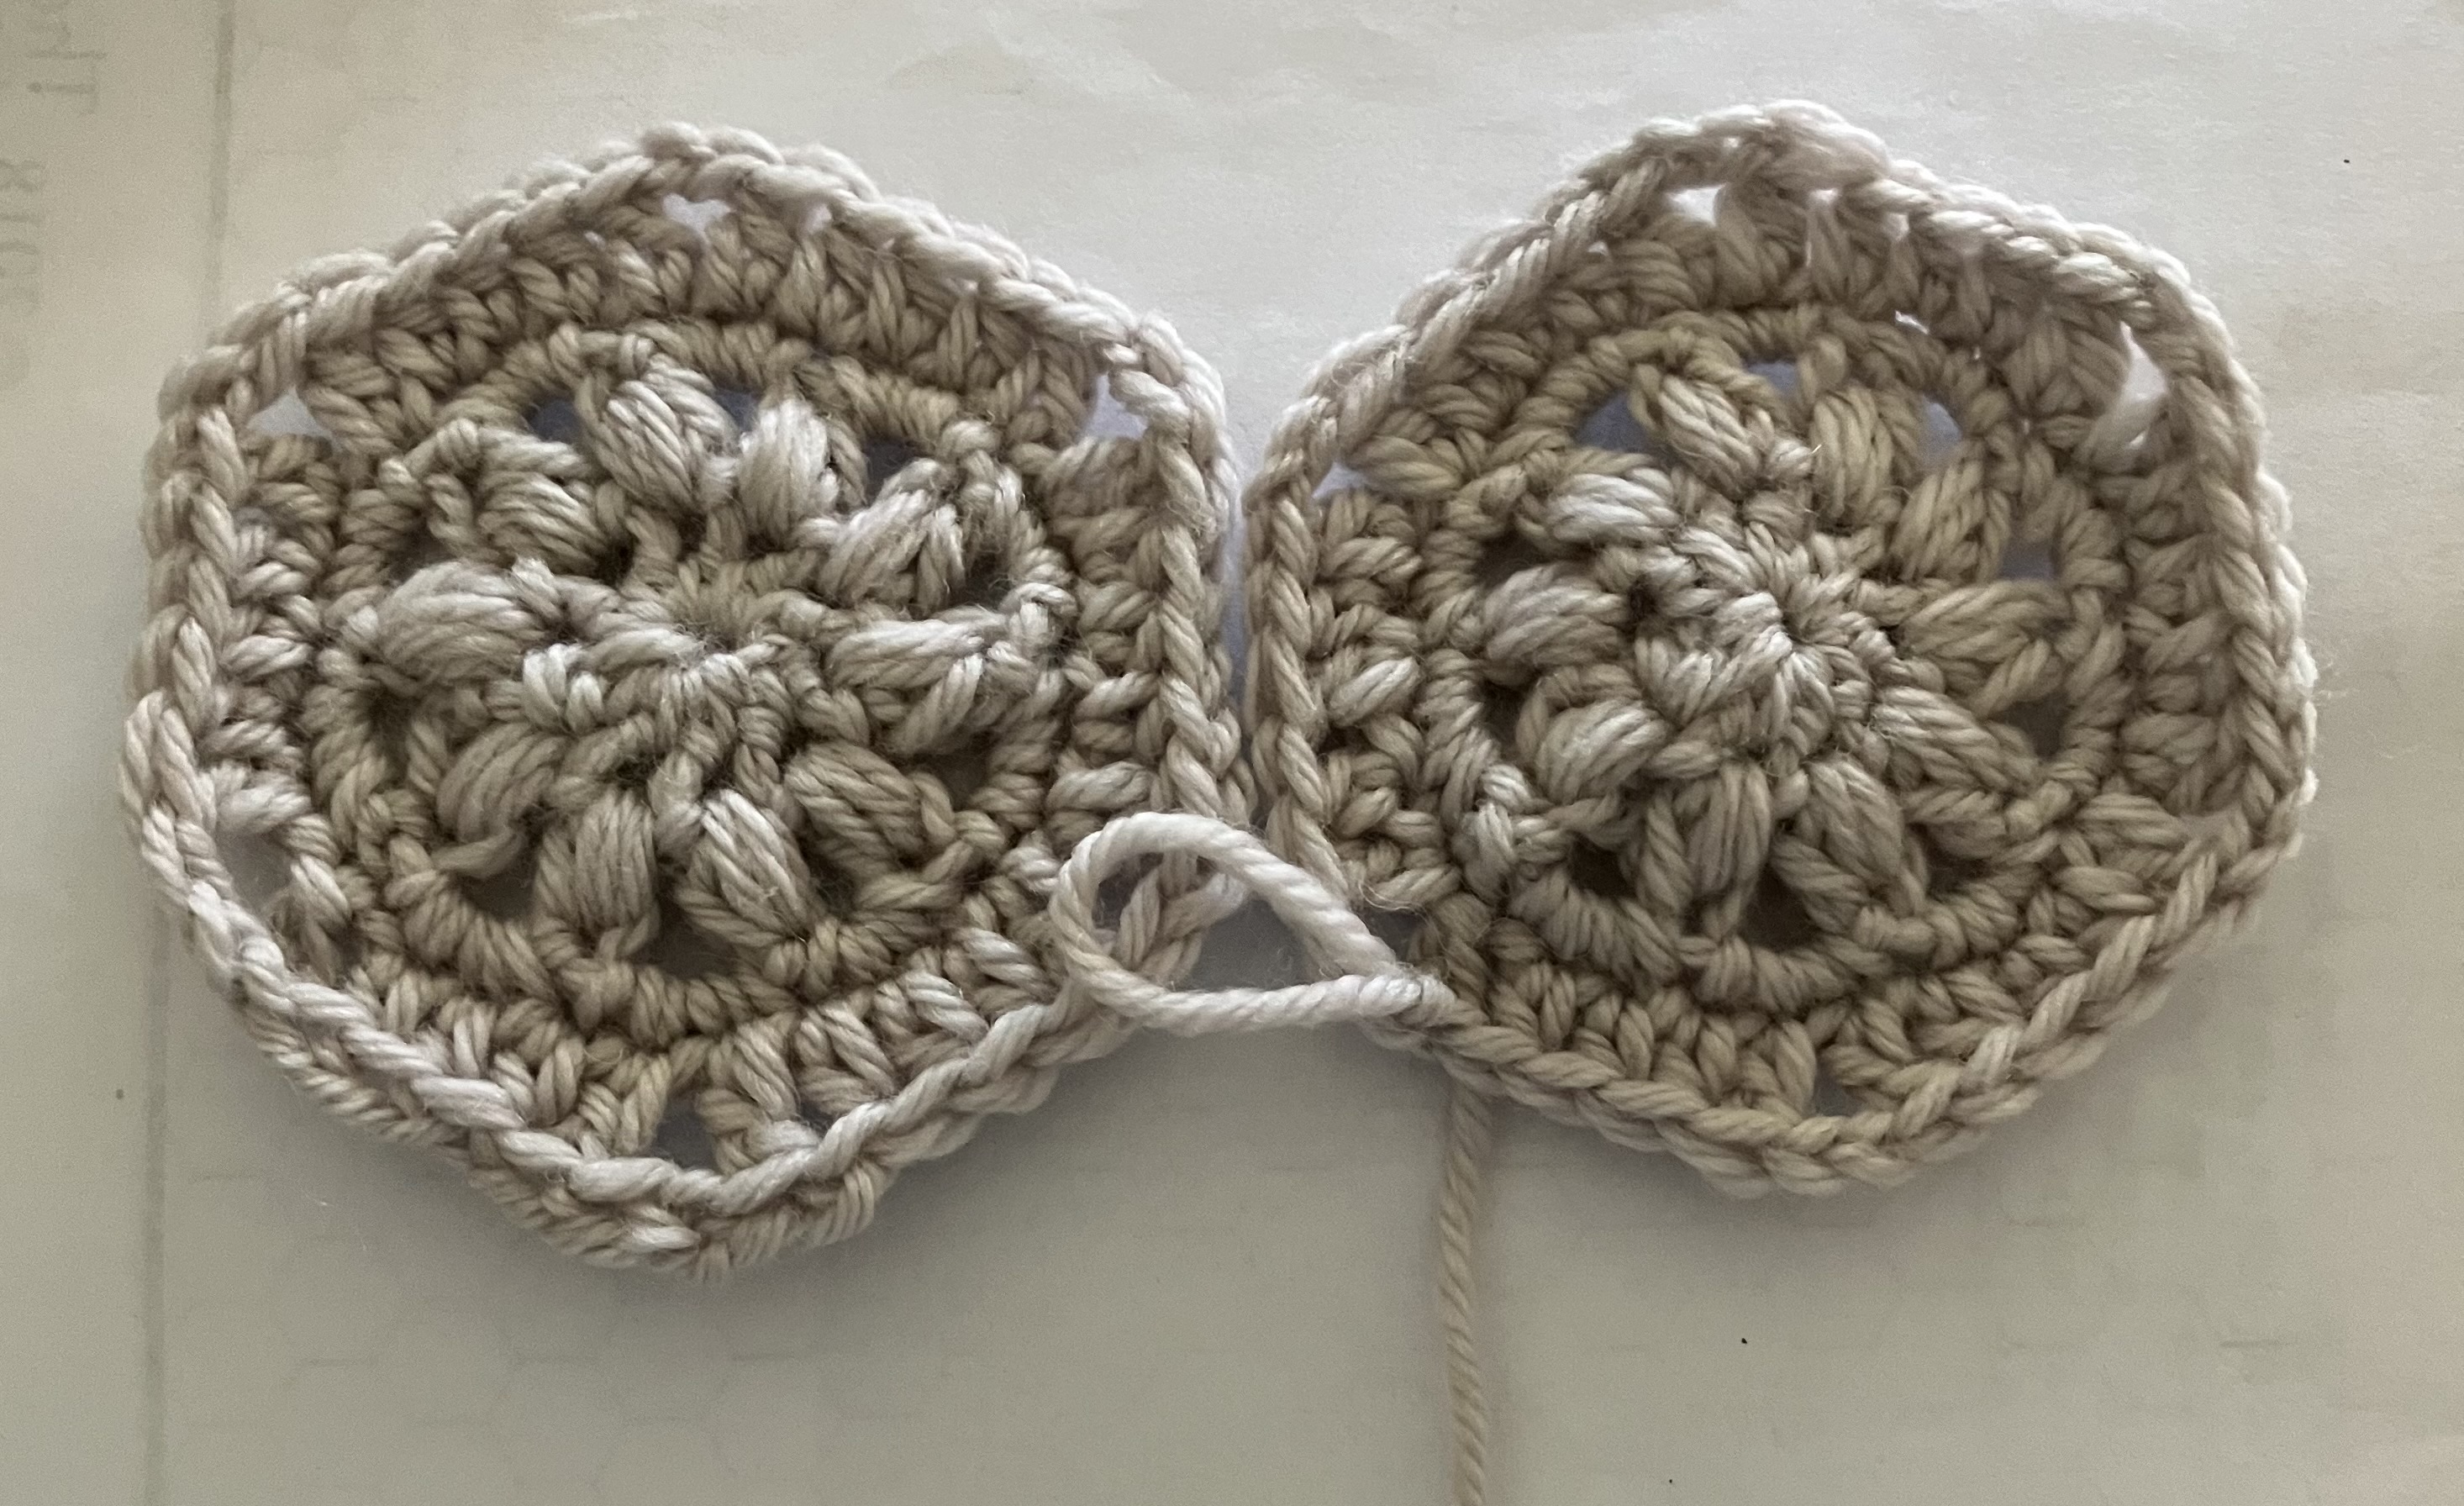
Second motif is completed but not joined. It kind of looks like it might be the way this picture was taken. I just laid them next to each other.
2 Likes
Brilliant!
You have positioned motif 2 on the wrong side in this photo. As they are identical it doesn’t really matter, but to follow the schematic you should move motif 2 to the left of motif 1.
Align the edge and the hexagon corner. Use the bigger hook recommended and the slip stitch seam through the back loop as in the video GrumpyGramma posted previously.
You are getting there.
1 Like
Creations
I only put the motifs the way you see them so that GrumpyGramma could see them as I had finished the second motif.
She was stating: “With the end of the yarn start the center of the next motif and when you finish the last round we can help you with the joining. One step at a time and soon you’ll be an old hand at this.”
I guess I just do each motif individually and I will JAYG.
1 Like
Just be sure to join it to the other(s) before cutting the yarn.
GrumpyGramma
Is it not possible to:
- Make a motif
- Make second motif with new yarn and join to the first leaving the joining yarn that was used to connect the first and second motif.
- Make the next motif and join with the yarn that was used to join the first two motifs and so on ?
@ZKOhio and @Creations gave very good, detailed answers on how it’s done, much better than I could hope to do myself. I am sorry you find this impossible. What will you do? You could join after all motifs are made as in the video you posted. You could sew them. You could use any one of many, many methods for joining motifs. I hope you figure out how to get your blanket done.
1 Like
Yes, just understand that. I agree k e step at a time, and also that this is likely to make more sense when you have done a few.
I was helping with the next step, joining the two together.
Have you done this now?
You also asked
Couple of things to note on this
- If you position motif 3 where it goes next to motif 2 you will see the yarn attached to motif 1 and 2, the end you’d like to use for joining, is not in the right place. It is too far away to use as a joining thread.
- The joining for the first line/row of motifs is only the vertical seam between each motif, the joining for the second row will include a “horizontal” (angled edges) seam and both horizontal and vertical seams.
- If you prefer to do one long run of slip stitch seaming in one go you could do the joining as you go just on the rows of motifs, making a series of strips, then join the strios on the “horizontal” seam right across in one go.
Whichever way you approach it there is a lot of seaming but it’s up to you which way you prefer to tackle it.
You can certainly post photos and go step by step.
I’m back! Do these look like they were joined correctly?
First pic is from the front second pic is from the back.
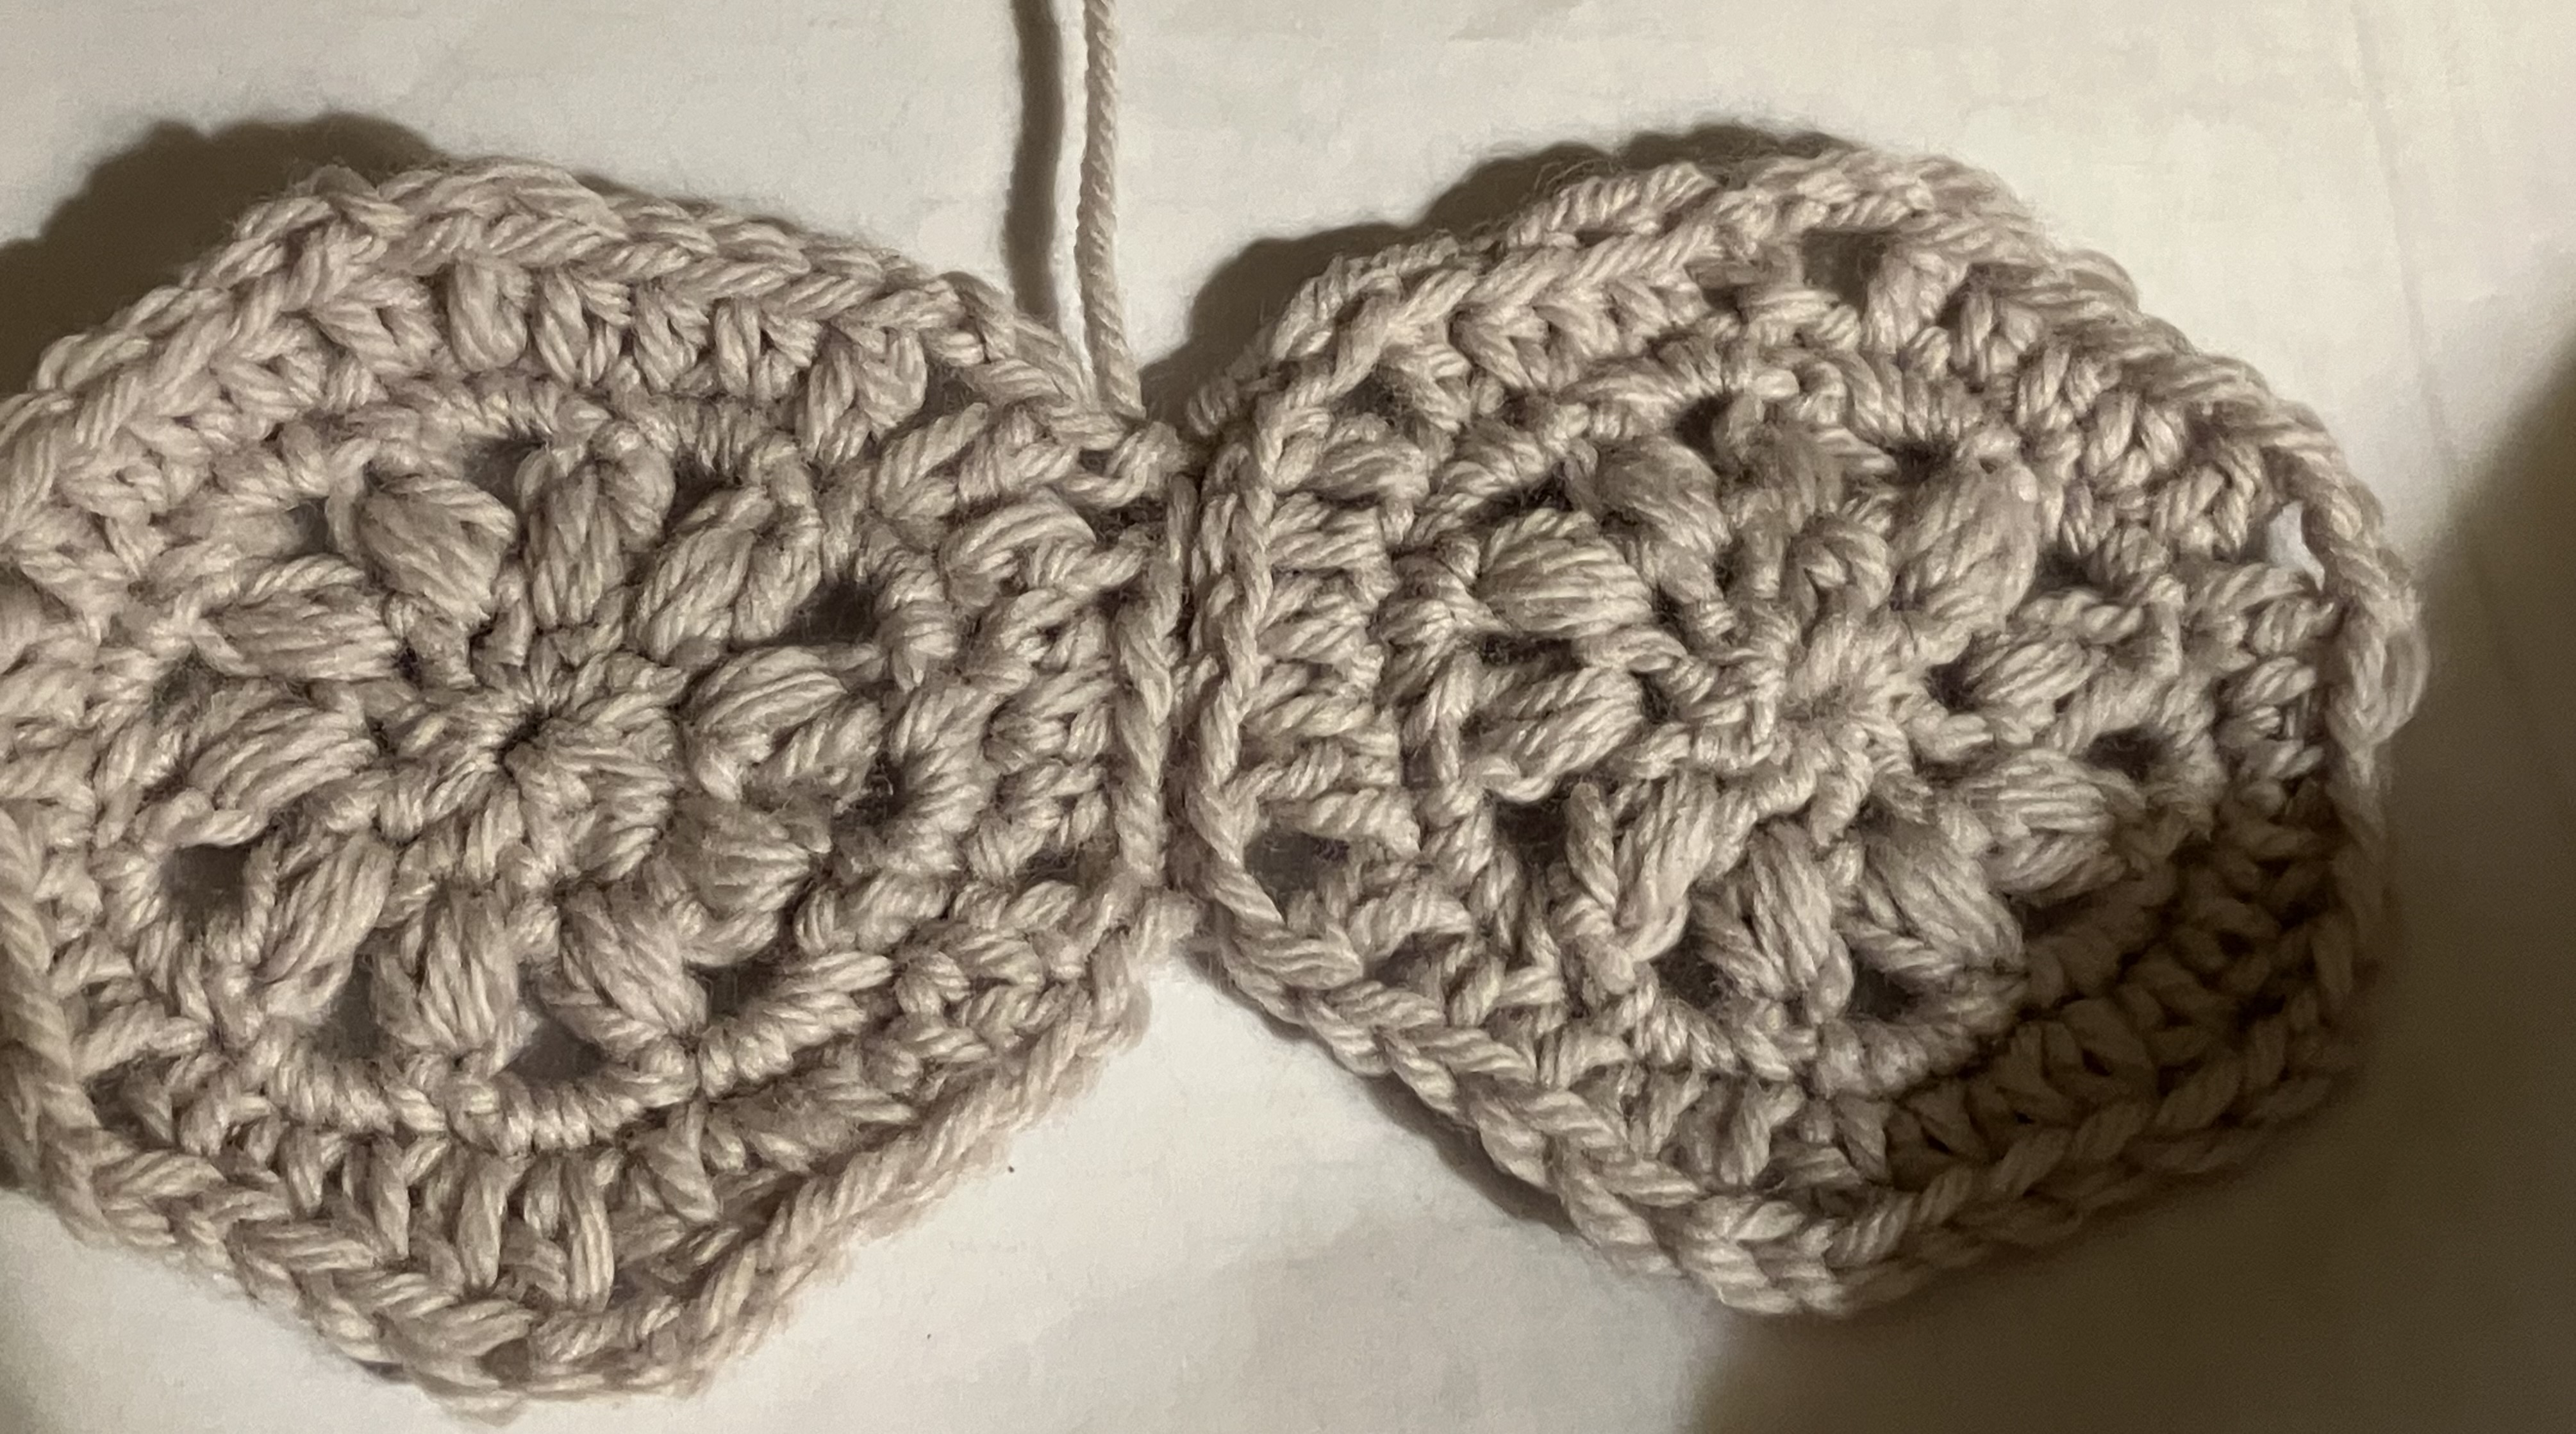

What I find a little confusing is that when I get to the end of the hexagon my yarn is in the front. So when I place them with right sides facing each other it seems that the yarn is in between the two hexagons.
Any suggestions.
Sorry for bothering everyone about this.
Thank you for your help and advice!
The next hexagon is one of the flower ones.
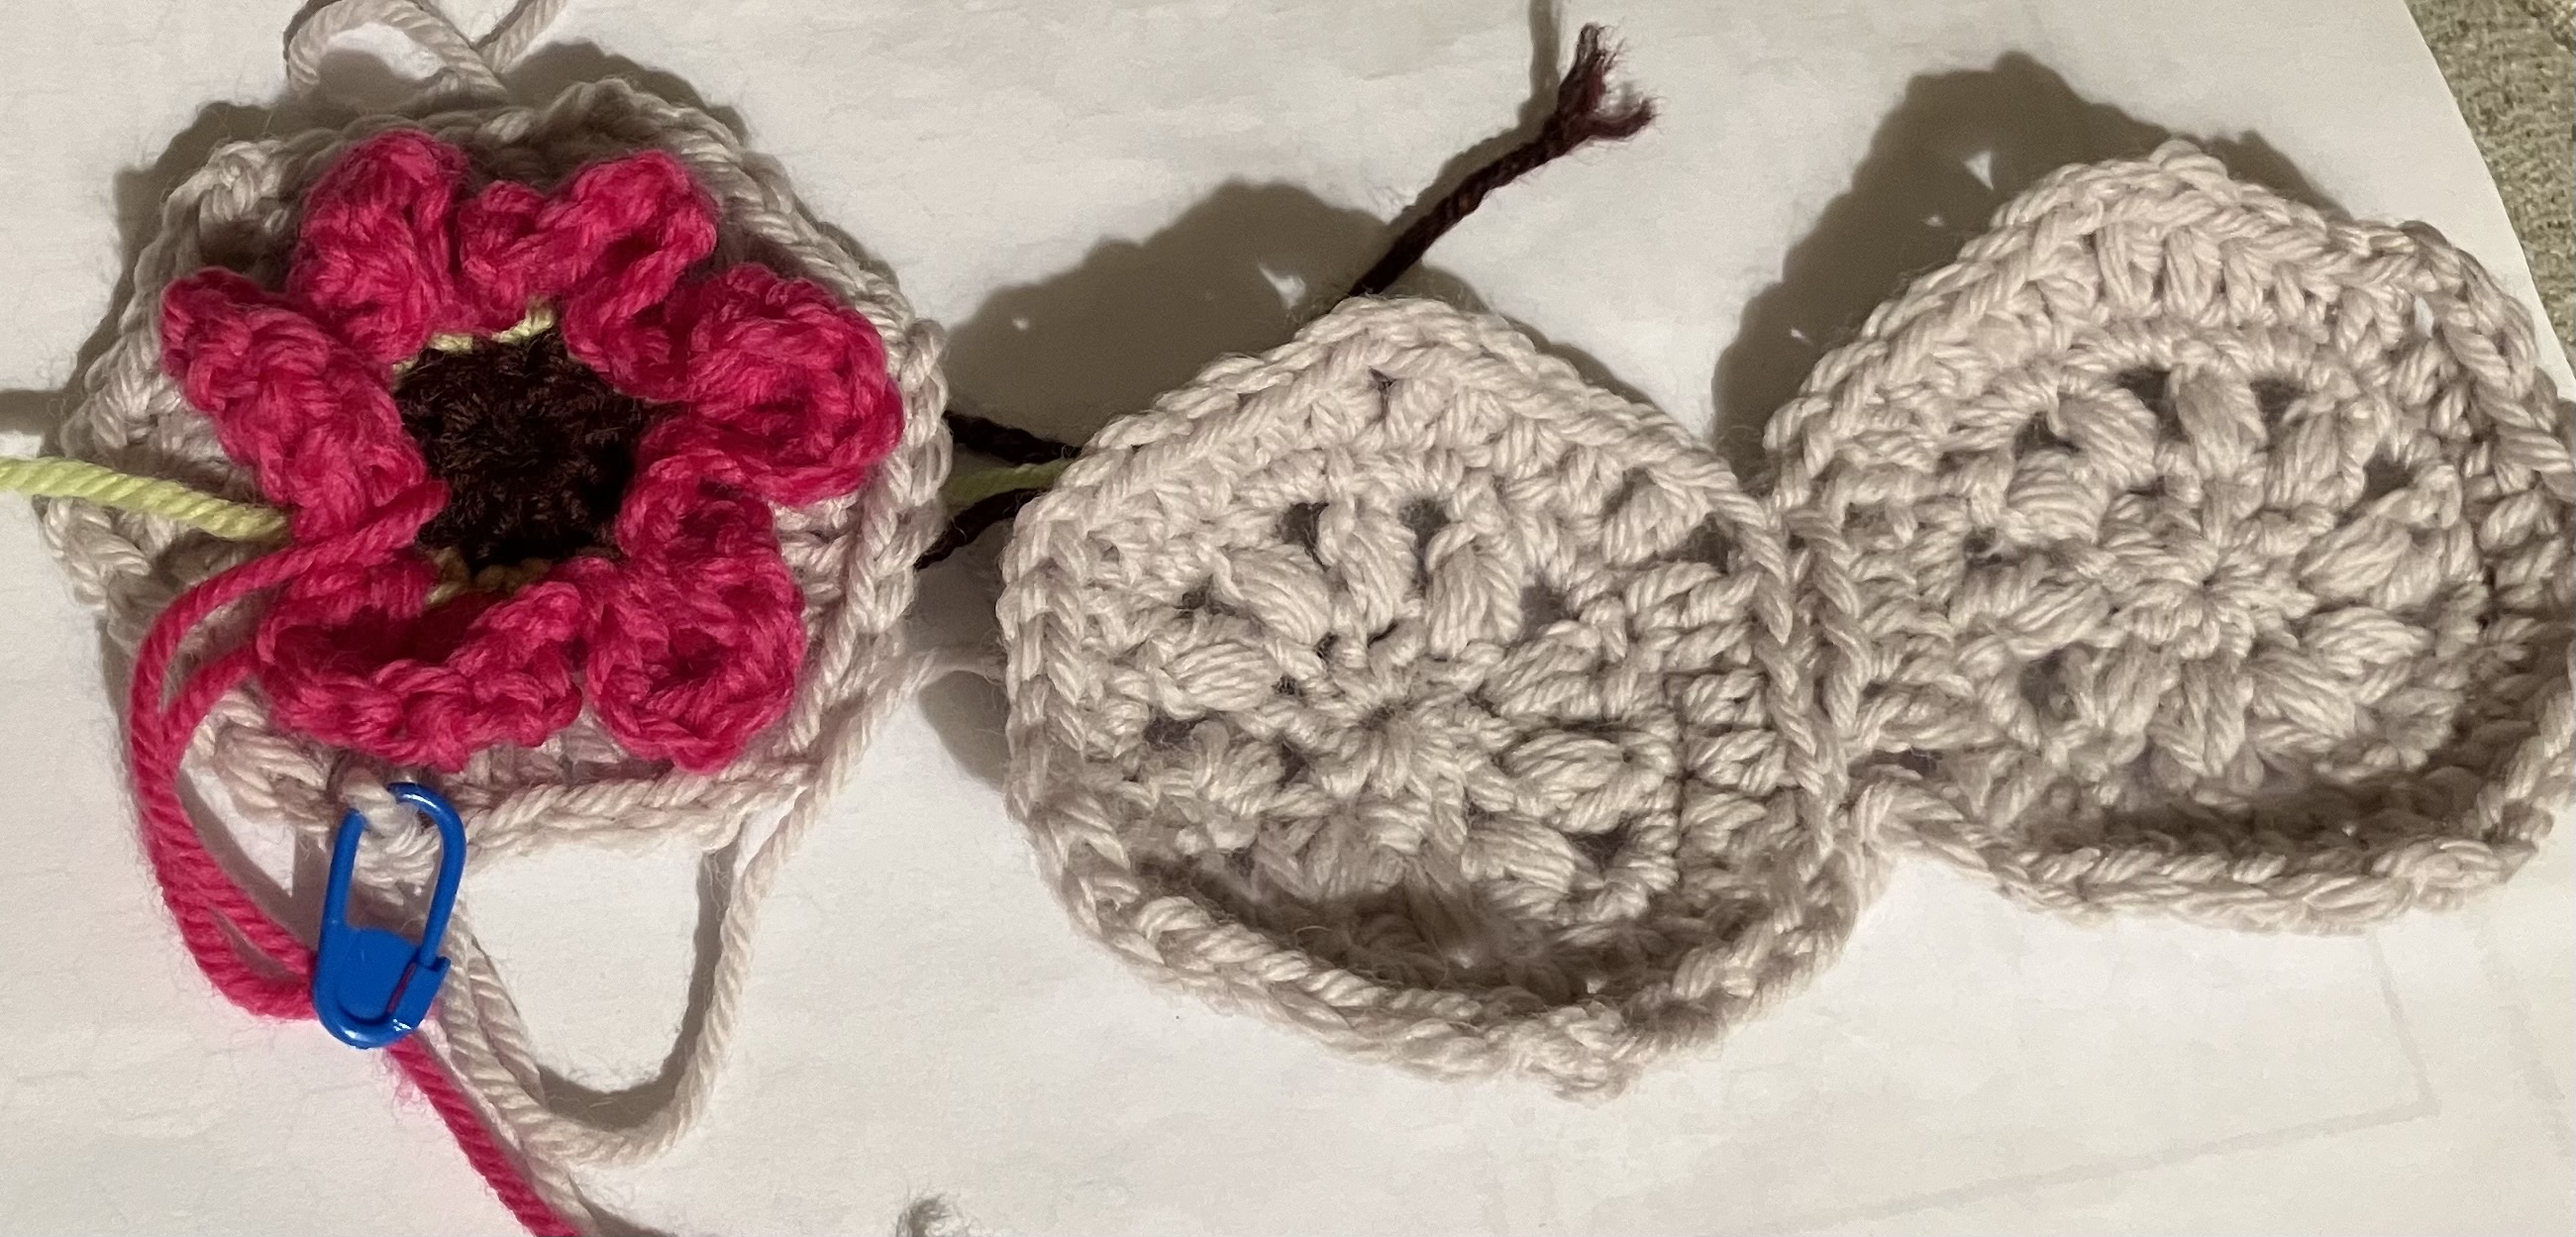
Do I continuously break the yarn and join?
3 Likes
Looking good!
Please don’t say sorry for bothering people with this, its not a bother, no one is forced to be here, people only come who want to help. It really is no bother at all. I am not a great crocheter but I understand this enough to help out a bit, and if I can’t then someone else will.
These are looking good. The join looks right to me, its invisible on the right side and neat on the wrong side.
So, now those two pieces are joined you fasten off that yarn and weave in the end.
Now the flower motif, looking great and ready to join.
Align it with motif 2 and seam it with the slip stitch join in the back loop just like before.
You mention the yarn being between the 2 hexagons. This sounds just as it should be. The working yarn is expected to be behind and between the two motifs.
Let me just check though, you say when "with right sides facing each other ", for this method of seaming the 2 right sides are not facing each other or put together. Instead the two right sides are facing you, they are flat on the table like in the photo and with them flat the yarn will be underneath and the hook will be on top. The back loops are found by kind of peeping behind the hexagon to reveal the loop to work into.
I just want to clarify that as you want the motifs laying flat for a flat seam.
I think it is what you have done, but just checking.
So, on with seaming motif 3 on and then breaking the yarn and making motif 4.
You are getting there.
1 Like
That’s it! I compared your photo to the photo of the blanket in the link above and to me they look just the same. Well done! You’re conquering the ‘impossible’ and doing it beautifully.
You’re a better crocheter than you give yourself credit for AND you can explain things like how this join is done. You’re a teacher. I can’t tell you how much I appreciate you.
1 Like
Thanks for the advice!
I’m just clarifying. I will attach motif three to motif two and break the yarn and so on until the end of this row reaching motif eleven.
When I start the next row up which starts with motif twelve thru twenty two snd shows half of hexagon of number thirty four do I do the same as above.
Do I then join that strip to the first one?
Or am I getting too far ahead of myself?
No advice from me but thoughts, suggestion.
Good question but I do think you’re getting ahead of yourself. The general advice is to read and understand everything in the pattern before starting. I find that doing that adds more confusion than understanding. IMO finish the the first row then look at the next. With the first strip in front of you the next steps will be easier to grasp. This is one reason I offer suggestions rather than advice. I often disagree with the advice generally given.
2 Likes
Yes that’s it. Exactly.
You can do this yes. If this is what you prefer to do.
Or
The pattern as given is to attach on more than one edge when you reach this second row of motifs.
Motif 12 will be made and then joined to motif 1 on the diagonal edge (or top right edge of motif 1) before breaking the yarn.
Then break yarn
Then make motif 13, then join 13 to 12 (vertical edge) AND join it to motifs 1 and 2 (diagonal edges) before breaking the yarn.
Then break the yarn.
Then make motif 14. Join to motifs 13, 2, and 3.
It’s okay to come back and ask again when you get to that part. It might be easier to see what’s happening once you have the pieces in front of you.